Year-End Masonry Inspection Checklist: Assessing Your Property’s Restoration Needs
As the year winds down and colder weather sets in, commercial building owners and facility teams in the Chicago area face a critical window for proactive assessment: the year-end masonry inspection.
Chicagoland winters are harsh. Repeated freeze/thaw cycles, moisture penetration, and temperature swings put enormous strain on masonry facades. Left unaddressed, small issues like cracked mortar joints or rusting lintels can escalate into major structural concerns and costly emergency repairs. The goal of a thorough year-end review is simple: identify vulnerabilities now while you still have time to act so you’re not caught off guard in the middle of winter.
Below, you’ll find a comprehensive masonry inspection checklist developed from decades of field experience across commercial, institutional, and historic buildings. Whether you're overseeing a multifamily property, a school, or a high-rise commercial structure, this guide is designed to help your team assess conditions accurately, budget effectively, and prioritize restoration needs going into the new year.
Why Year-End Matters
Winter is the most punishing season for masonry systems. Moisture that seeps into small openings can freeze and expand, widening cracks, dislodging brick, and accelerating deterioration of embedded steel components. According to the National Institute of Health, freeze-thaw cycles are one of the leading causes of brick damage in cold climates.
Compounding the issue is the cost of deferred maintenance. Sarah Mitchell, the Managing Director at Freedom Facilities notes that emergency repairs cost 3 to 5 times more than planned maintenance. Year-end inspections are a strategic step in controlling long-term costs.
Year-End Masonry Inspection Checklist
Use this list to guide your walk-through or share it with your maintenance team, architect, or structural consultant.
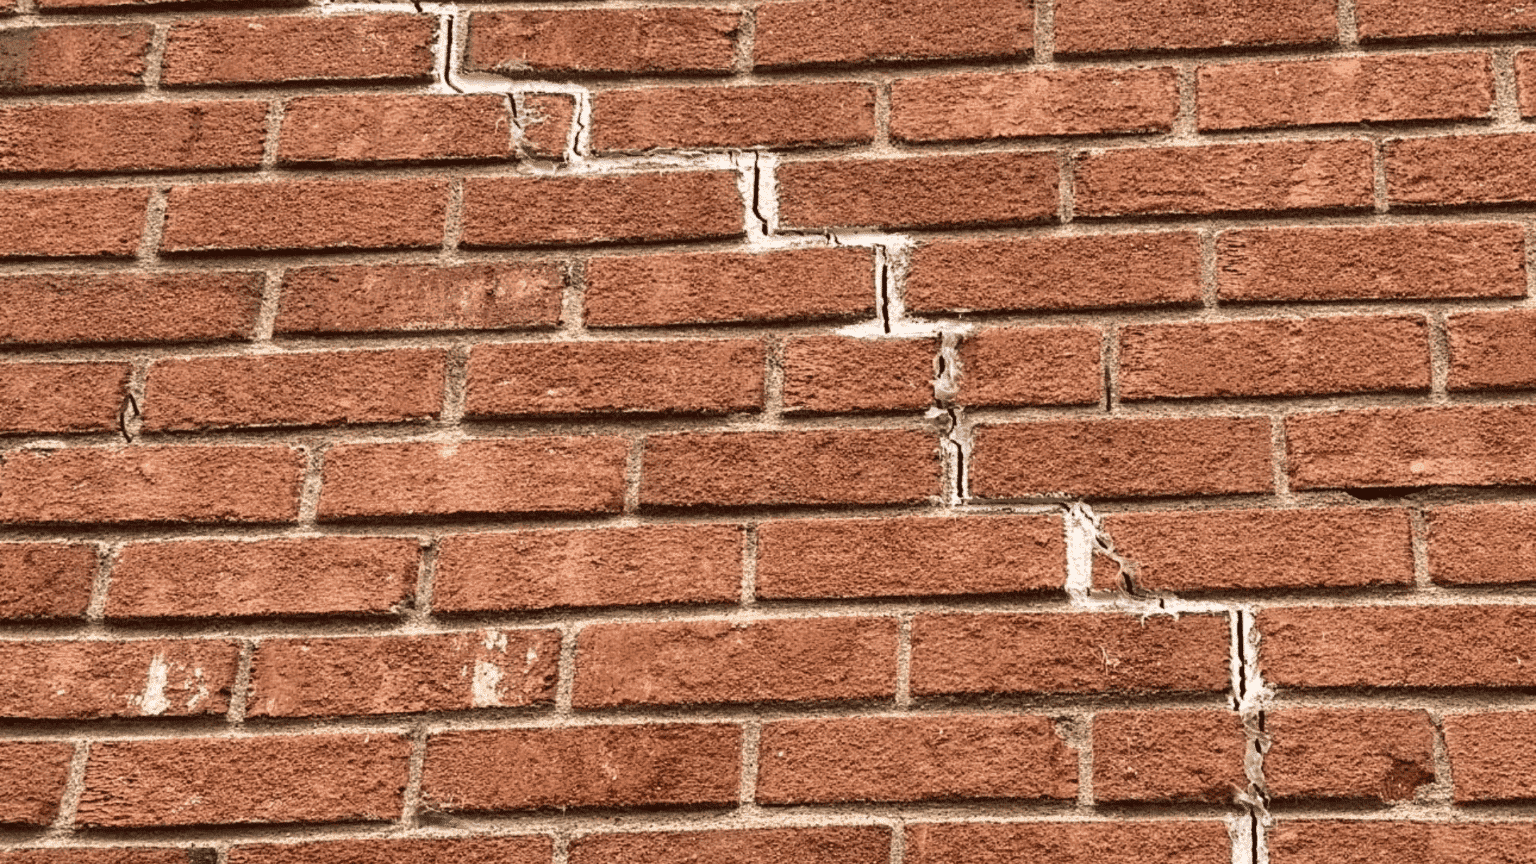
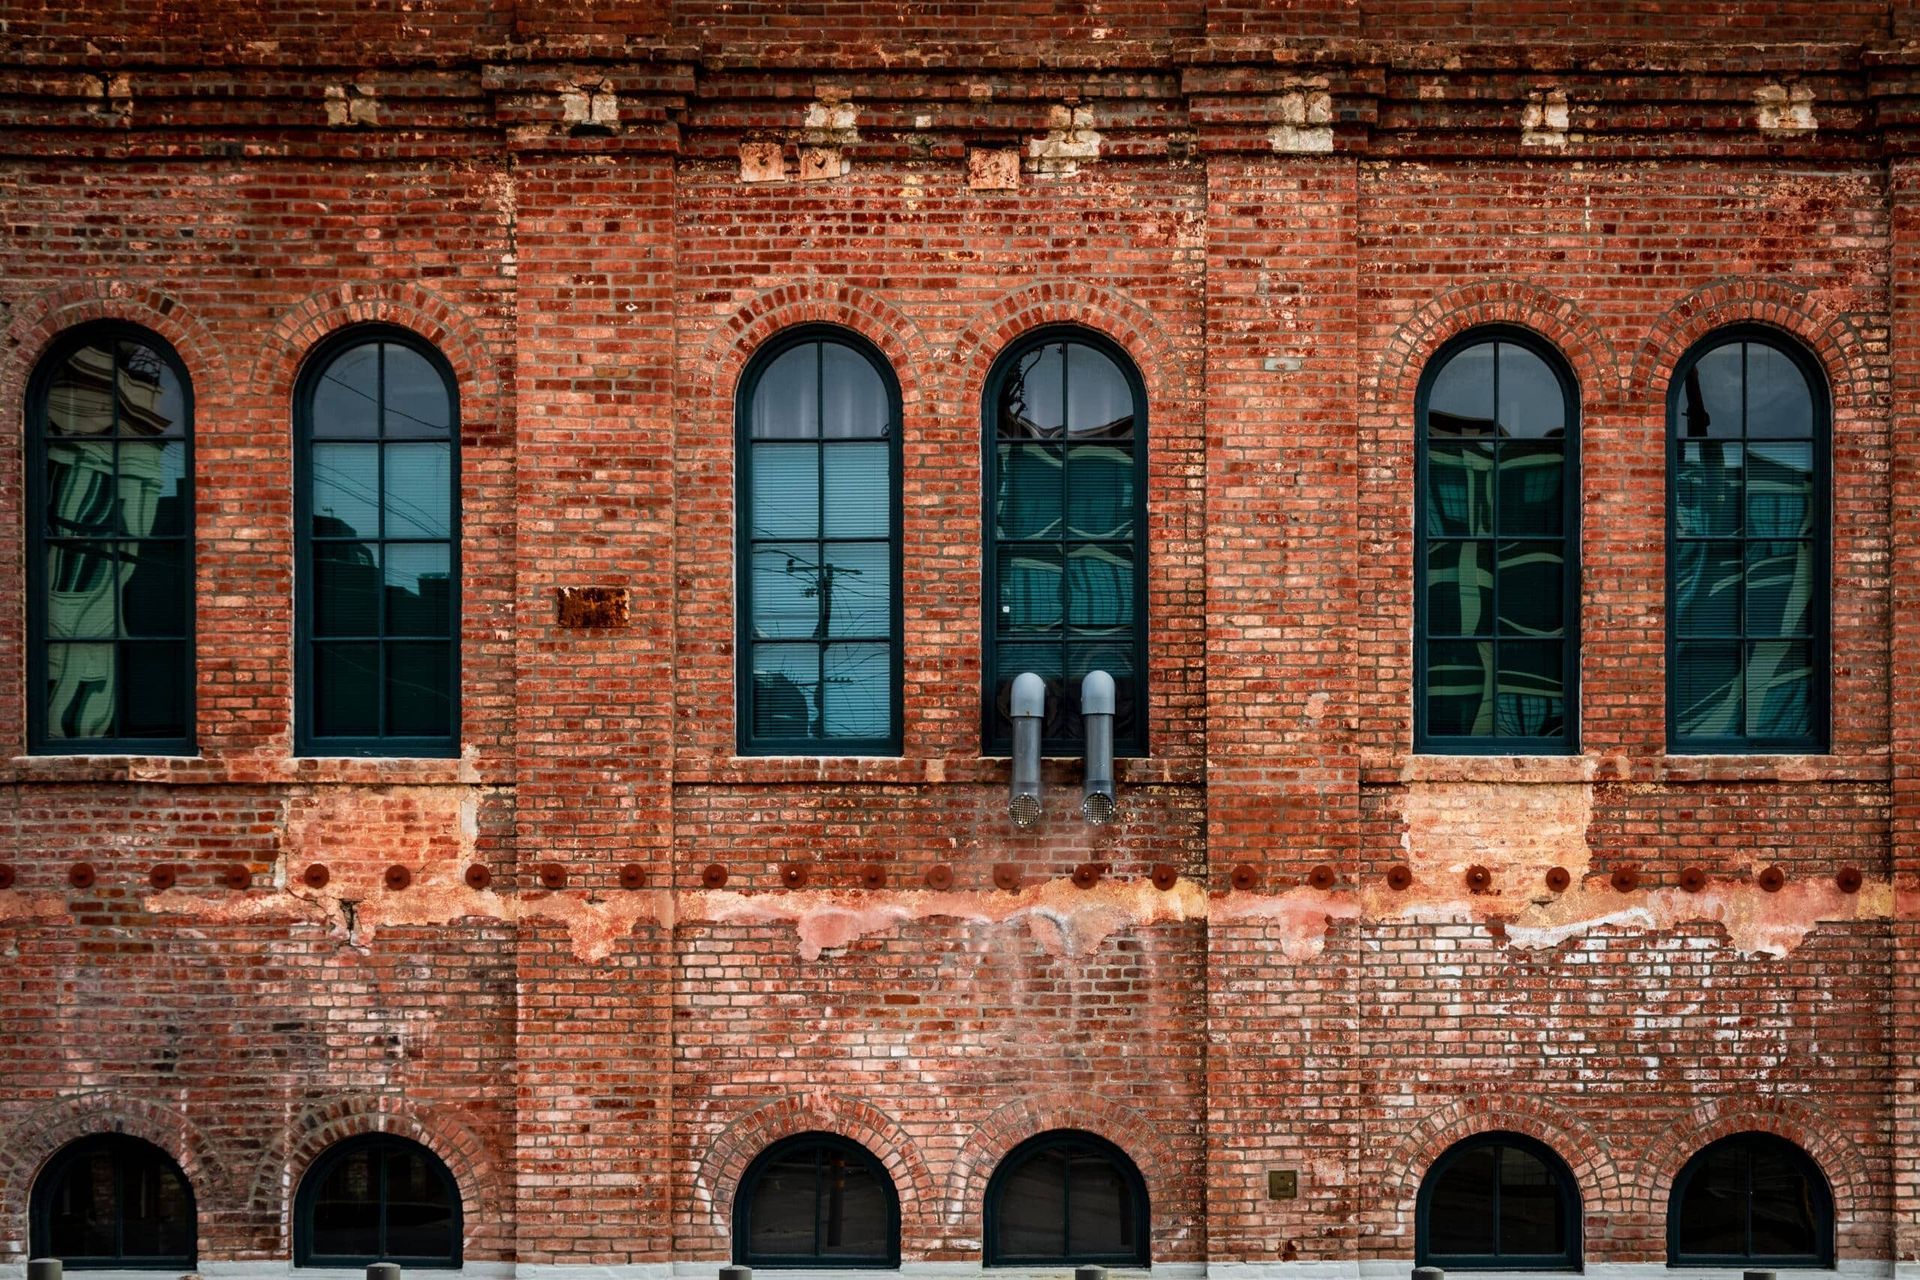
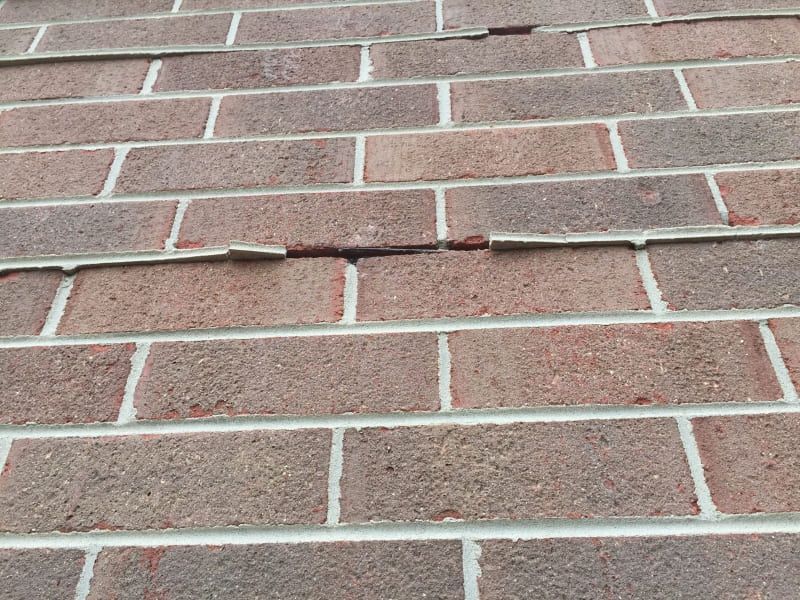
1. Mortar Joint Condition
- Check for cracked mortar joints, crumbling, or complete loss of joint material.
- Pay attention to hairline cracks. They can widen over the winter.
- Inspect areas of past tuckpointing for adhesion and compatibility.
Why it matters: Mortar degradation is an early indicator of wall movement and a primary avenue for water infiltration in buildings.
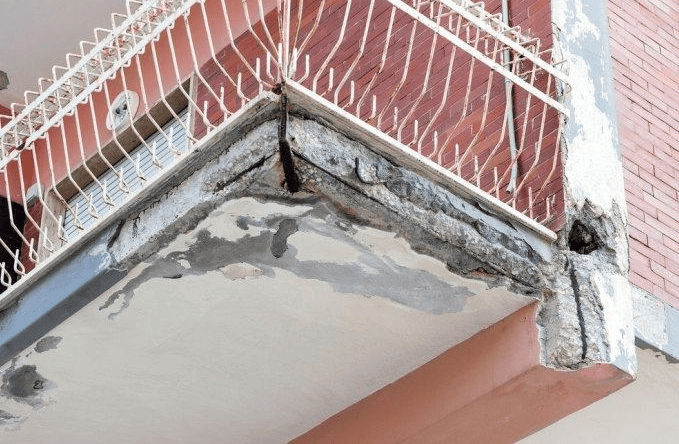
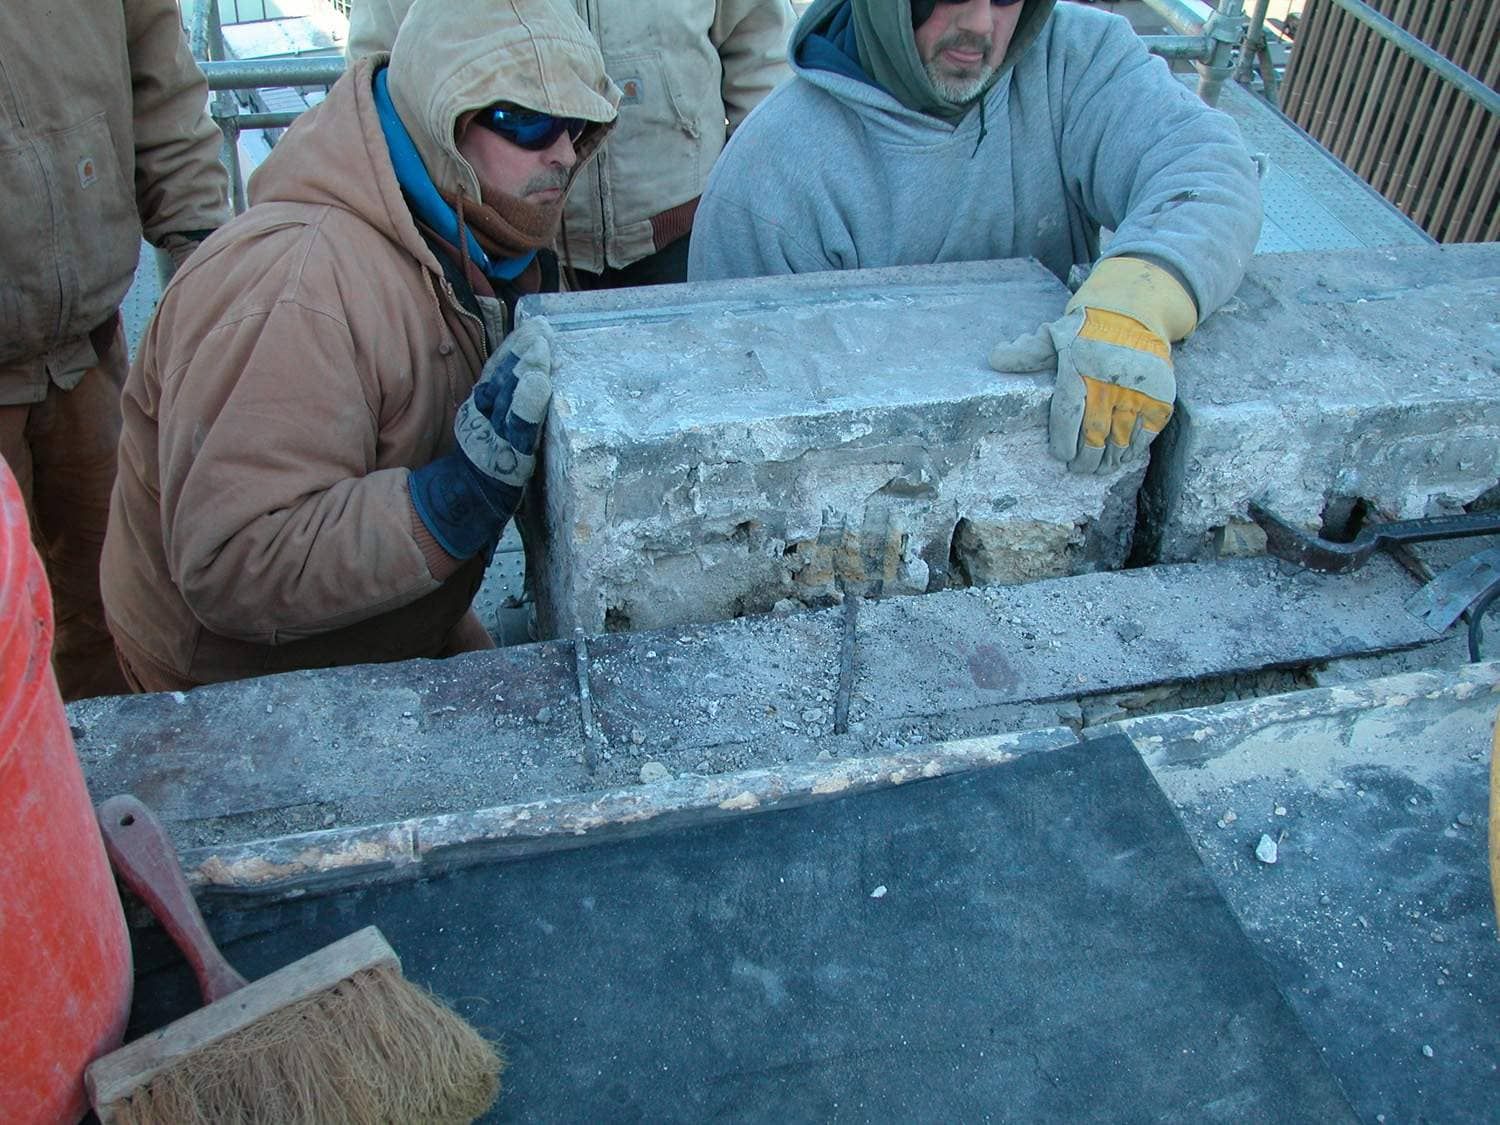
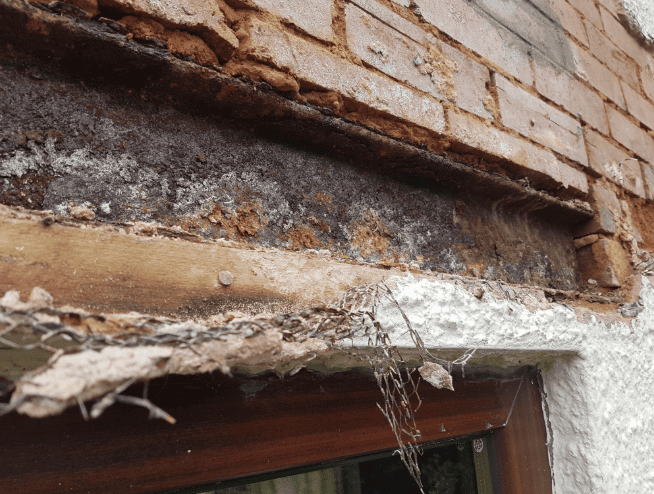
2. Lintel Inspection
- Inspect all visible lintels (steel, concrete, or stone) above windows and doors.
- Look for rusting lintels, spalling brick above, or cracked mortar beds.
- Examine whether the lintels appear undersized or bearing unevenly.
Tip: If you're unsure what a lintel is in building construction, it's a horizontal support spanning an opening. Failure here can compromise entire wall sections.
Action items: Plan for window lintel repair or concrete lintel repairs if deformation, corrosion, or displacement is visible.
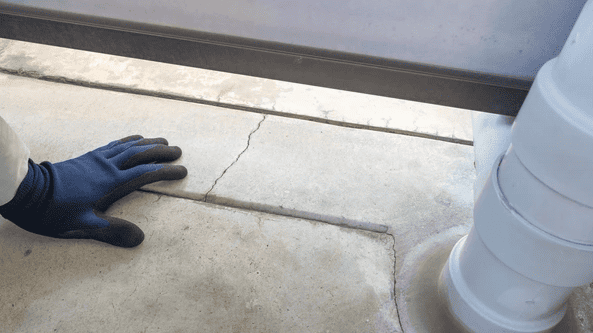
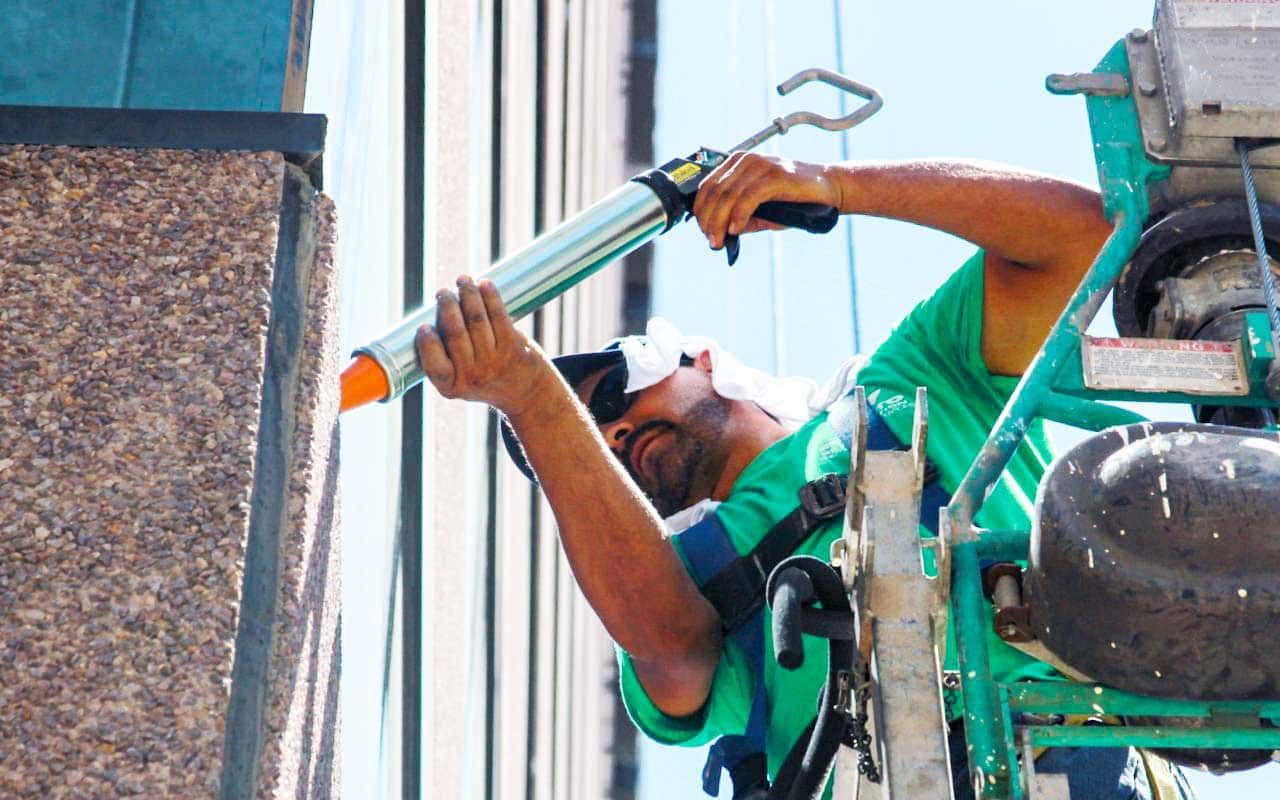
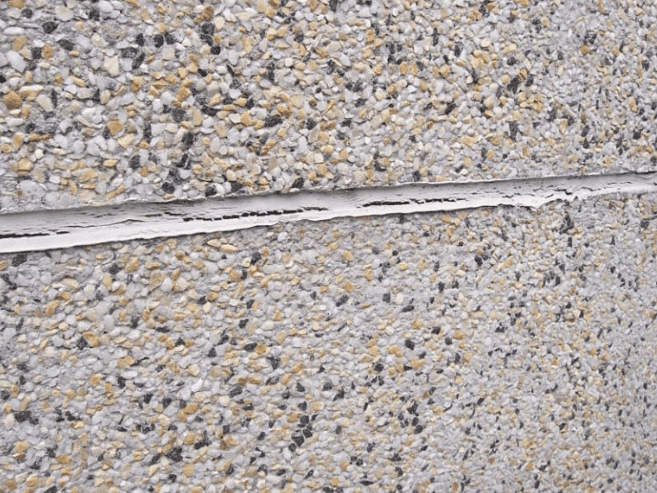
3. Sealants and Expansion Joints
- Check all control joints, window perimeters, and transitions between dissimilar materials.
- Look for aging, cracking, peeling, or missing sealant.
Why it matters: Sealant failures allow water and air infiltration and are common culprits behind hidden moisture damage.
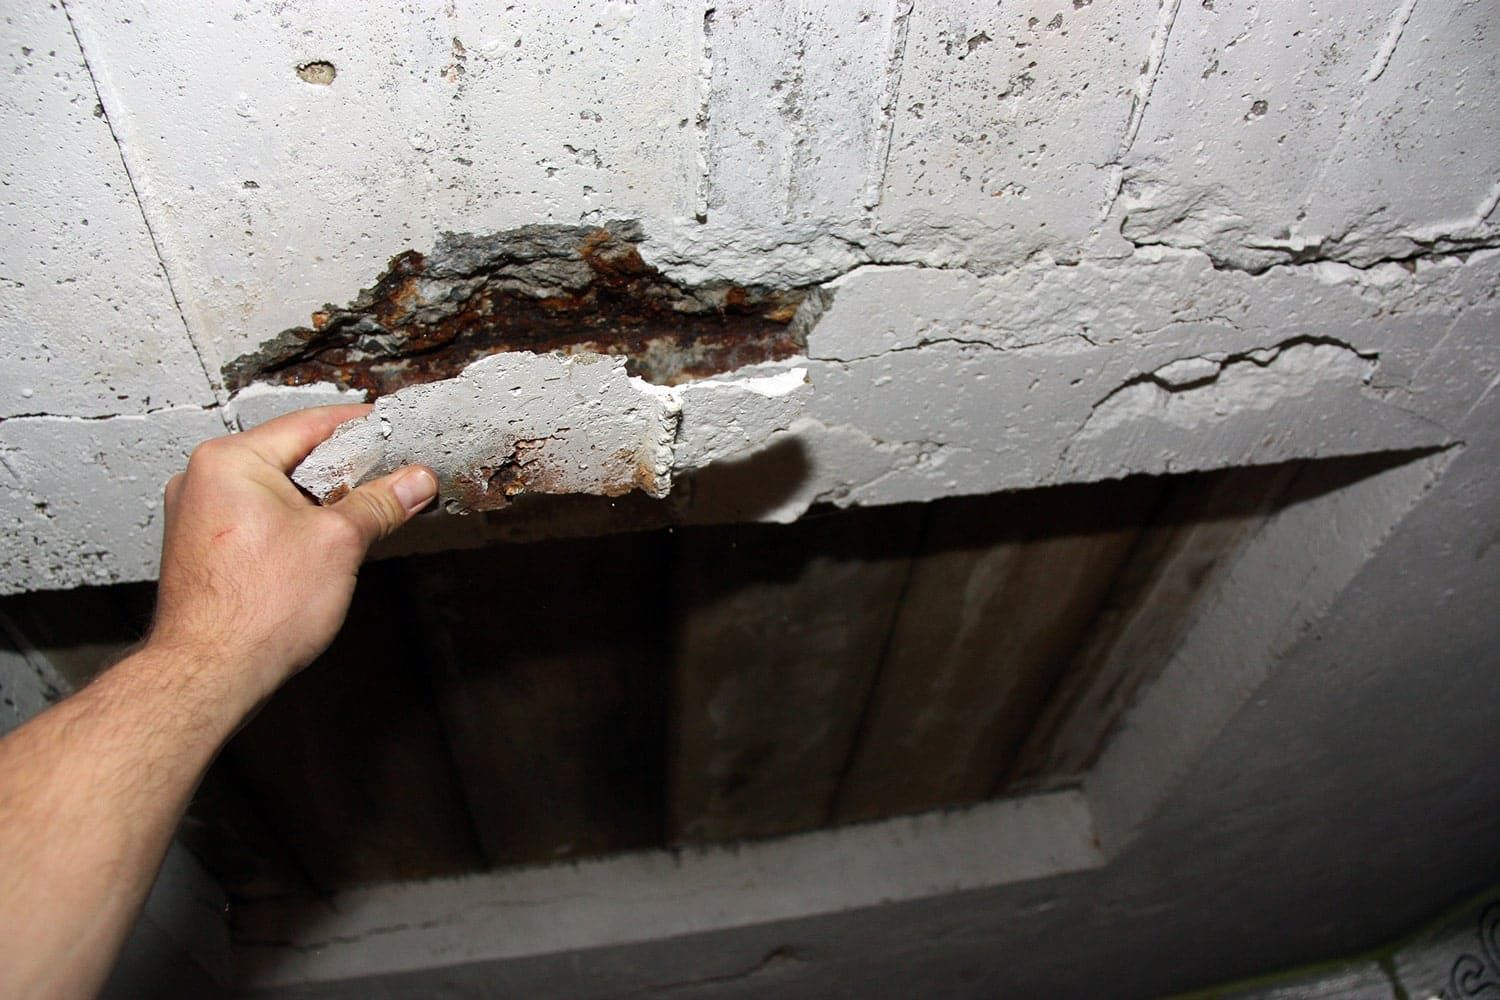
4. Embedded Steel Elements
- Observe areas where steel angle irons, shelf angles, or anchors may be embedded behind masonry.
- Look for rust stains or bulging masonry. Both are signs of steel expansion from corrosion.
Preventative measure: Early intervention protects surrounding masonry and avoids full rebuilds.
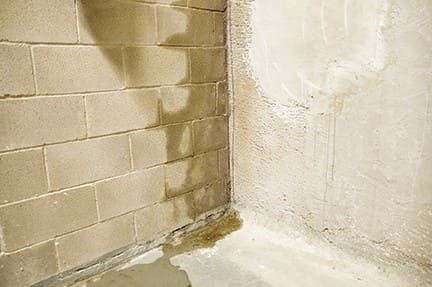
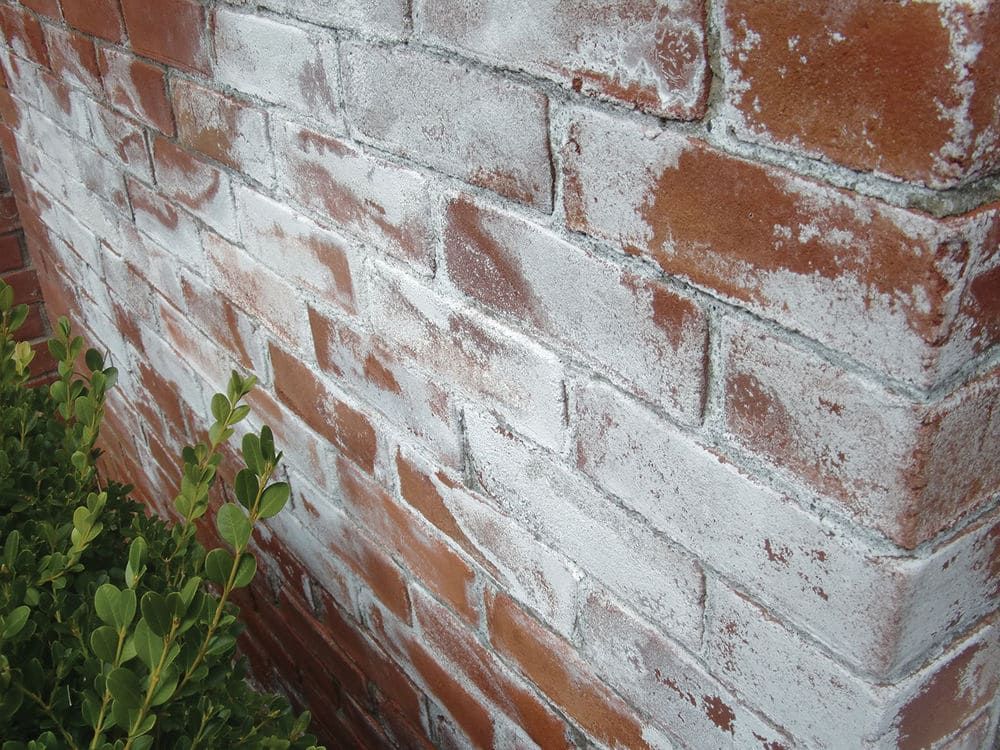
5. Signs of Water Infiltration
- Examine the interior for efflorescence, damp patches, mold, or water stains, especially near windows and parapets.
- Review past leak reports or tenant complaints for recurring patterns.
What to flag: Unexplained paint bubbling, musty odors, or plaster cracking may point to moisture intrusion behind the walls.
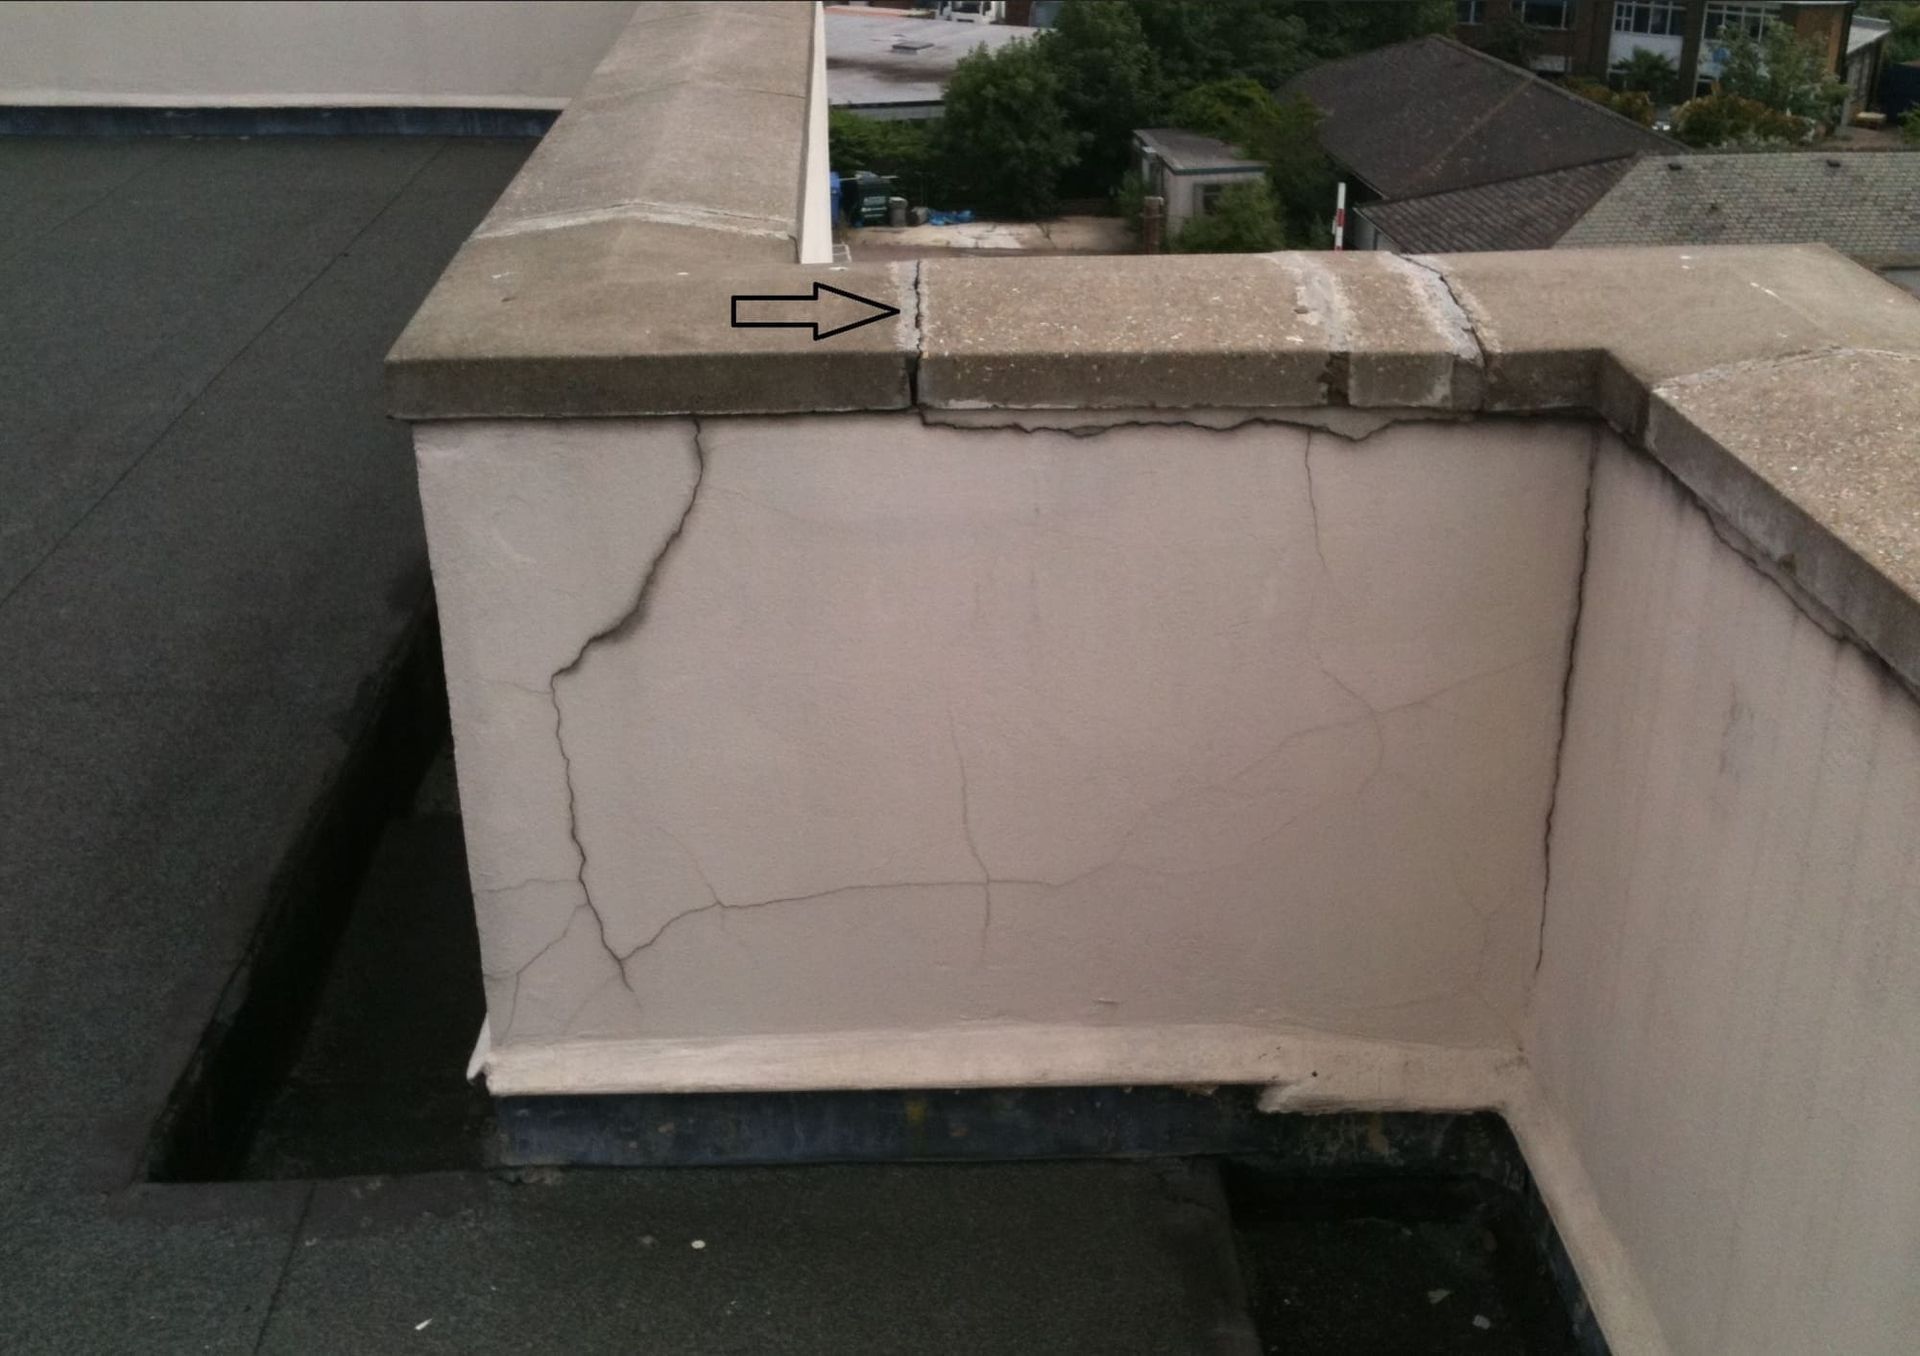
6. Parapets, Copings, and Roof Transitions
- Check flashing, coping stones, and the integrity of parapet walls.
- Look for dislodged or cracked elements, especially at corners and terminations.
Freeze/thaw impact: These exposed areas are first to take on water and wind-driven snow.
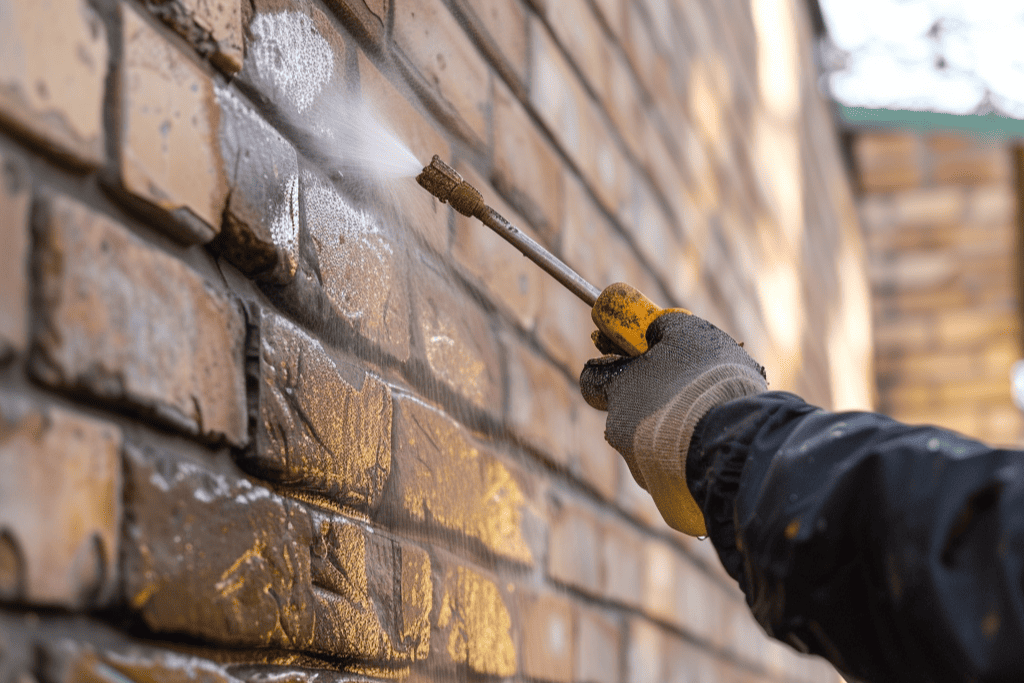
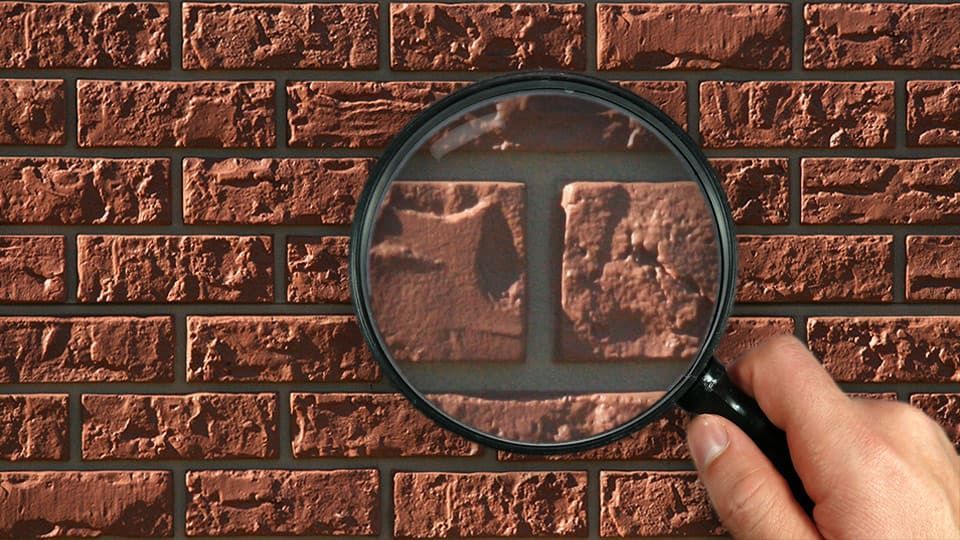
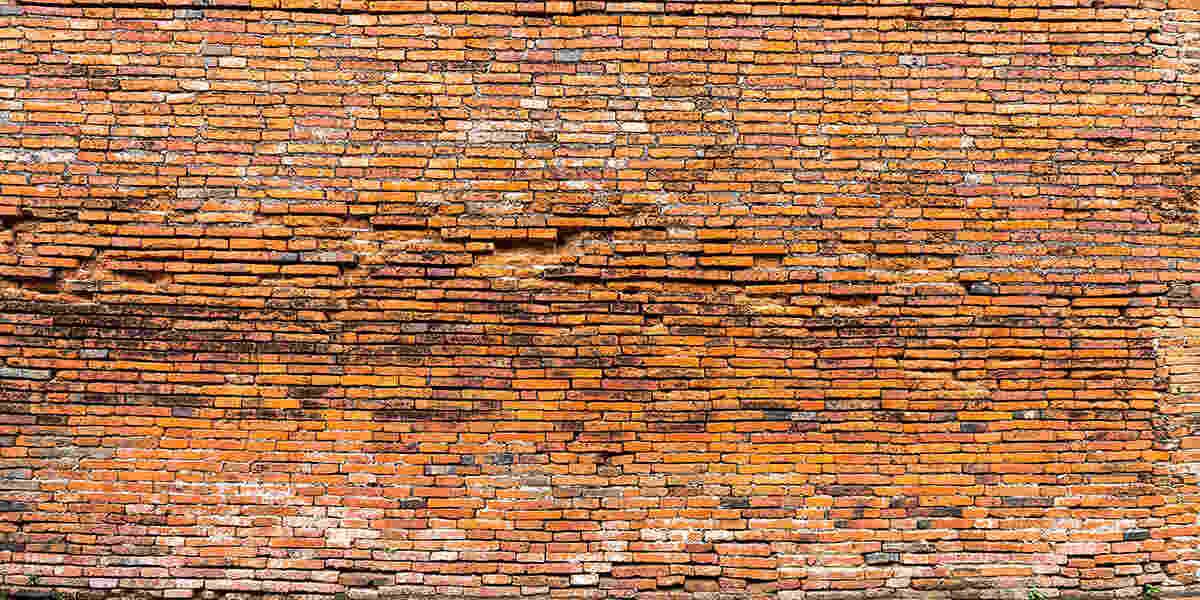
7. Masonry Units Themselves
- Assess brick, stone, or CMU blocks for cracks, scaling, or face spalling.
- Evaluate historic masonry for compatibility of past repairs or material mismatches.
Special note for historic properties: Inappropriate patching or aggressive cleaning can do more harm than good. Restoration methods should be carefully matched to original materials.
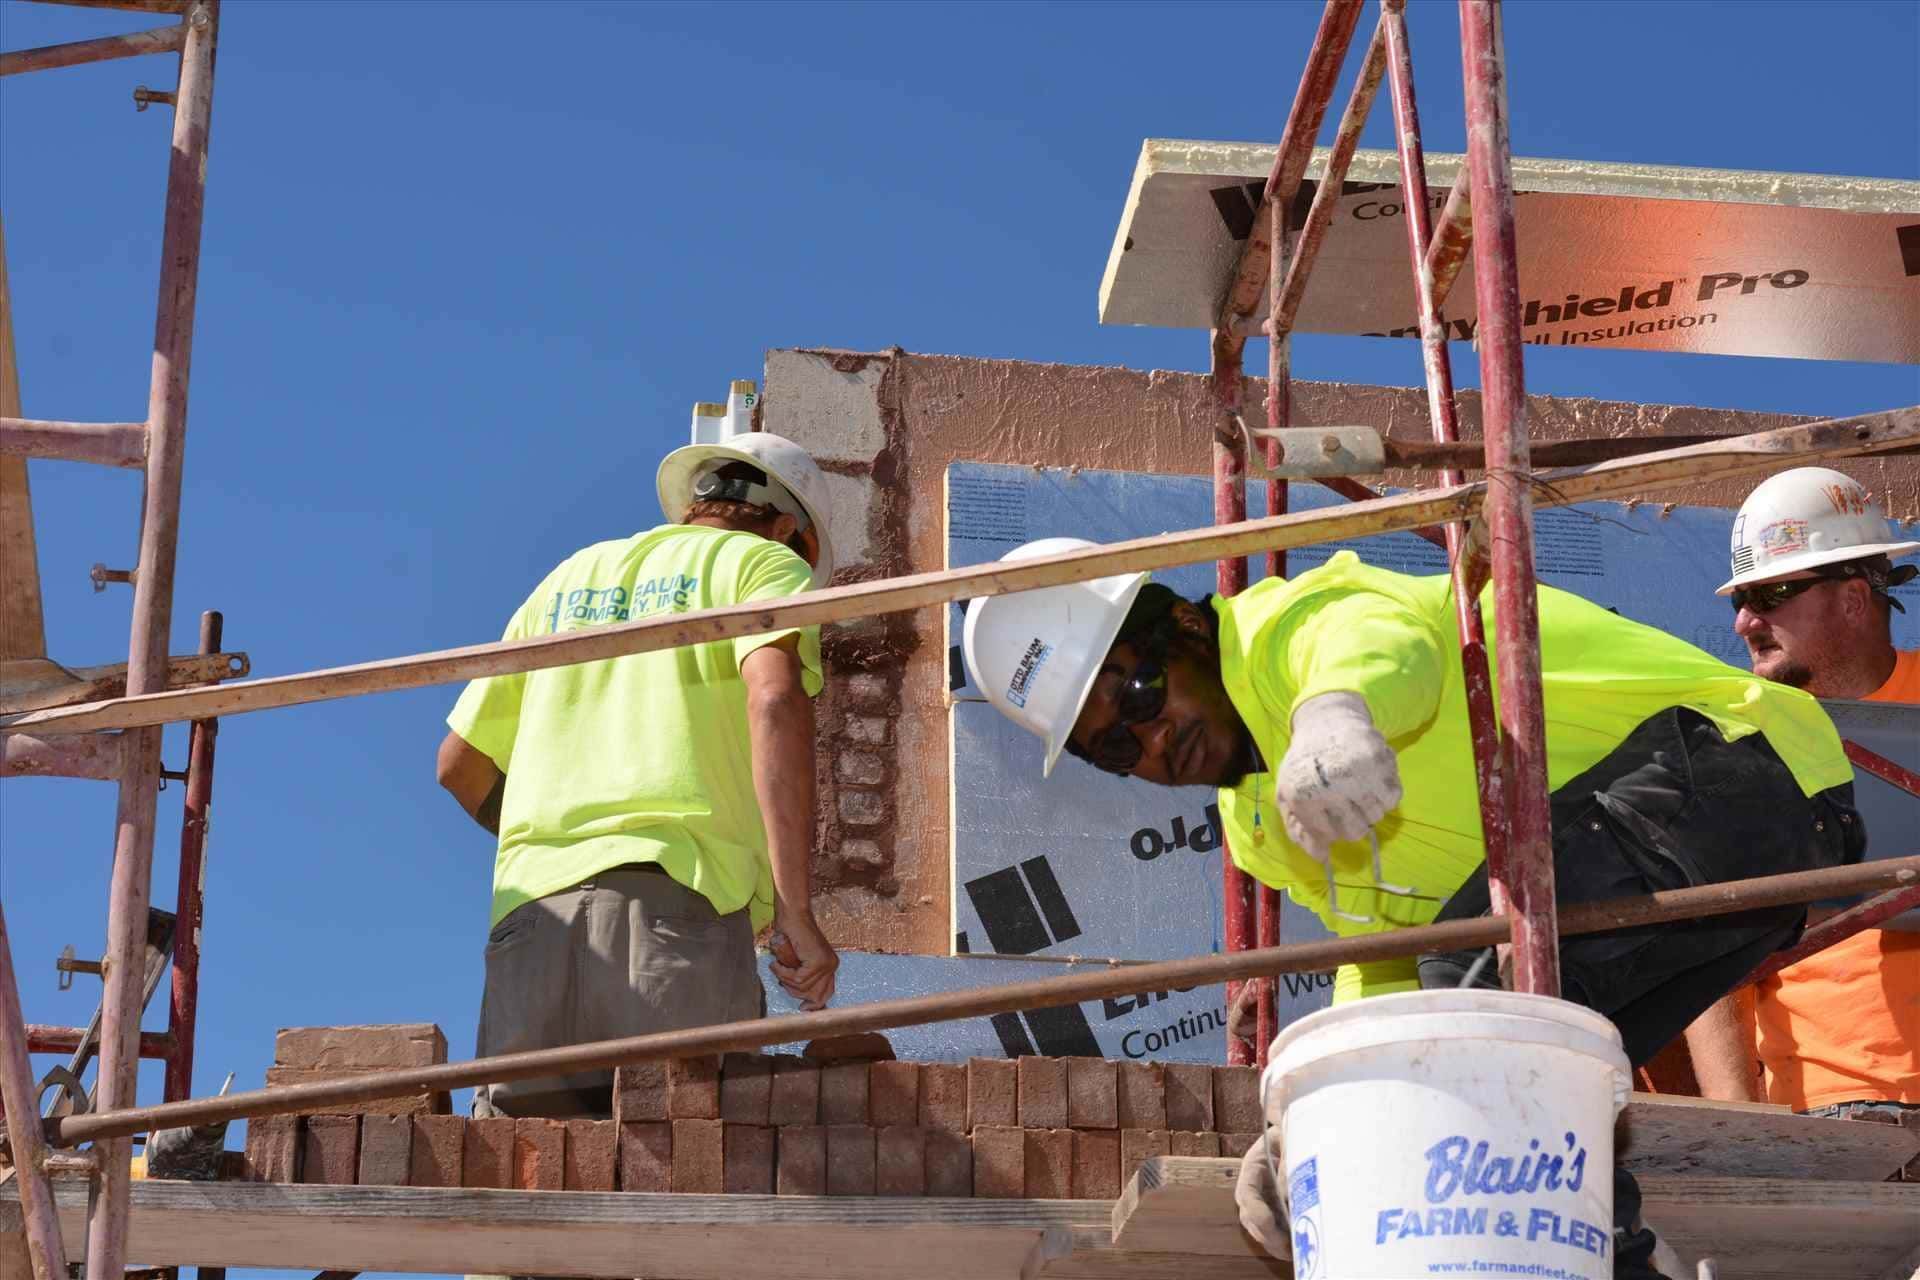
8. Previous Repairs
- Revisit any known repairs completed in the past 3–5 years.
- Check for signs of early failure, such as color variation, material shrinkage, or delamination.
Why revisit? Even recent work can deteriorate prematurely if materials weren’t properly installed or compatible with existing systems.
Making the Most of Your Inspection
A checklist alone isn’t enough. Photos, notes, and early coordination with your restoration partners will help you translate observations into real-world solutions. Prioritize:
- Critical structural concerns (ex: displaced lintels, bulging walls)
- Active water intrusion
- Weather-exposed or high-risk areas
If you’re planning capital improvements for next year, a late-season inspection can support budgeting and project scoping, ensuring competitive pricing, proper phasing, and fewer surprises come spring.
A Trusted Partner in Restoration
At RestoreWorks, we’ve spent decades helping building owners and design professionals assess, plan, and execute restoration projects that stand the test of time. Our team understands the unique challenges of masonry restoration in Chicago and throughout Illinois and Northwest Indiana, from historic landmarks to commercial towers.