Tuckpointing for Commercial Buildings: Costs & Signs
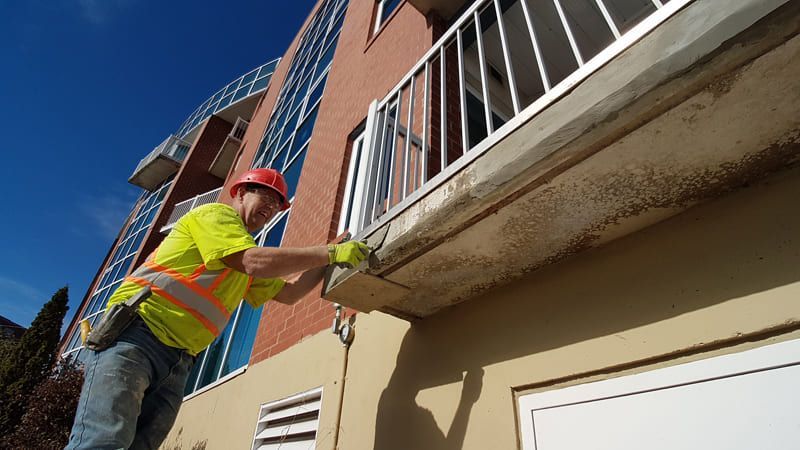
Tuckpointing is one of the most common (and most misunderstood) maintenance items for commercial masonry buildings. For property managers and building owners, the challenge isn’t just knowing what tuckpointing is. It’s knowing when deterioration has reached the point where repairs are necessary, how much to budget, and how to plan the work without disrupting operations.
In the Chicago region, these decisions are accelerated by freeze–thaw exposure, wind-driven rain, and aging building stock. Mortar joints are often the first line of defense, and the first place failure shows up.
What Is Tuckpointing and Why It Matters for Commercial Buildings
Tuckpointing is the process of removing deteriorated mortar joints and replacing them with new mortar that matches the original in strength, composition, and appearance.
In a commercial building, mortar joints serve two critical functions:
- Water management – preventing moisture from entering the wall system
- Load distribution – allowing the masonry assembly to move without cracking units
When mortar begins to fail, water infiltration typically follows. Once water gets behind the façade, it can lead to:
- Corrosion of steel lintels and shelf angles
- Interior leaks and tenant complaints
- Freeze–thaw expansion causing brick or stone damage
- Long-term structural deterioration
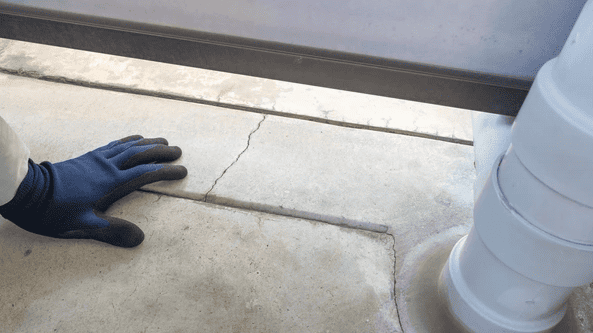
It’s also important to understand that masonry walls are not designed to be completely waterproof. Brick and mortar can absorb and store moisture, and wind-driven rain can enter through small openings, especially at cracked joints or failed sealants.
As discussed in Masonry Magazine, moisture will inevitably find its way into wall assemblies through mechanisms like water flow, vapor movement, and capillary action. The goal of a well-performing wall system is not to prevent all moisture entry, but to manage how that moisture drains and dries.
When mortar joints deteriorate, that balance breaks down. Water enters more easily, and just as importantly, it becomes harder for the wall to properly shed and dry that moisture.
This is why tuckpointing is rarely just a cosmetic repair, it’s a control point for restoring how the wall manages moisture and performs over time.
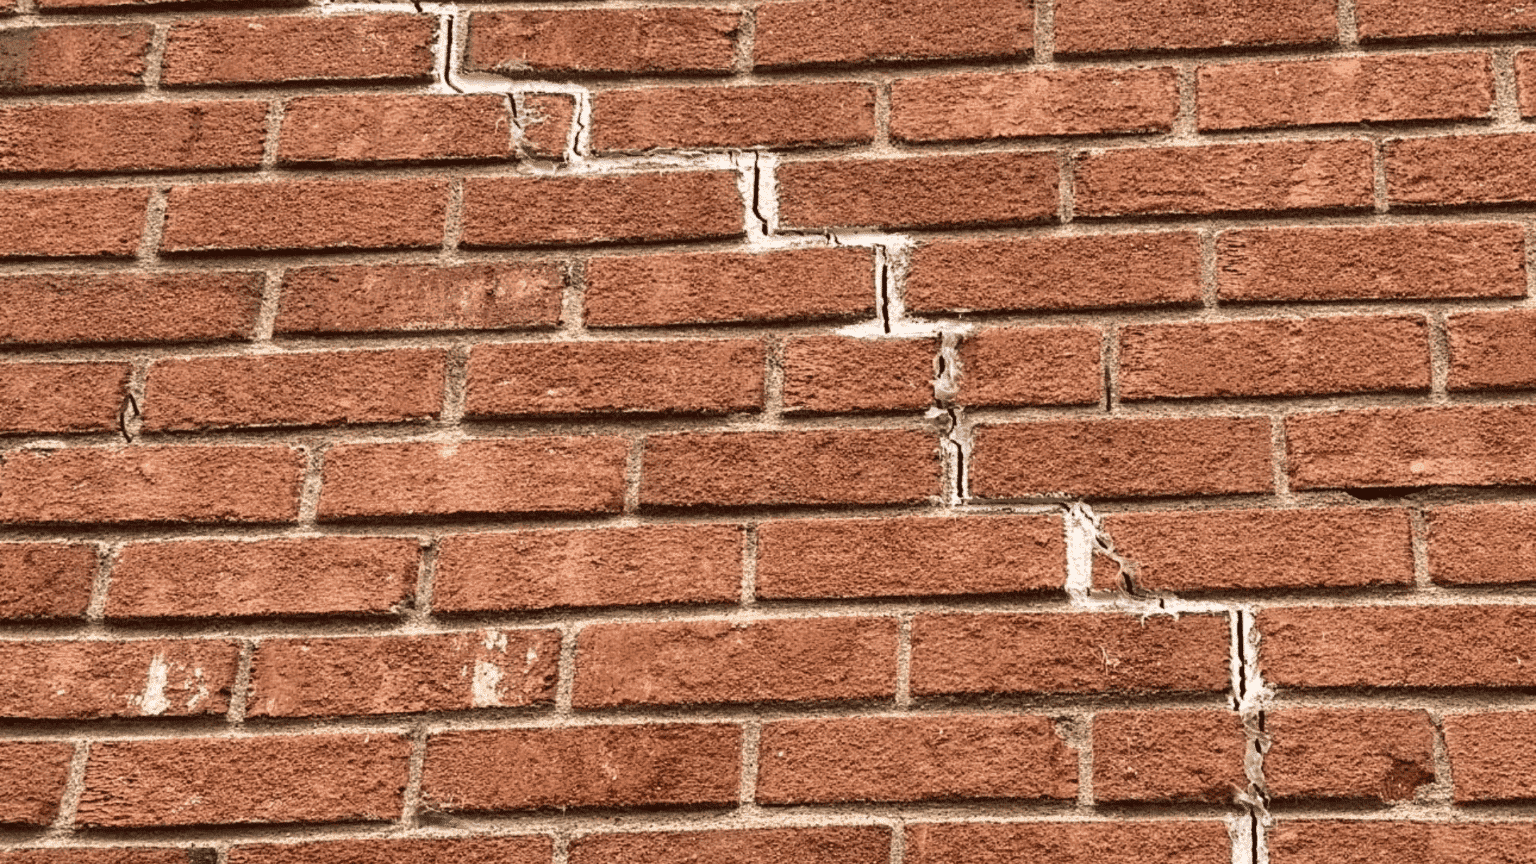
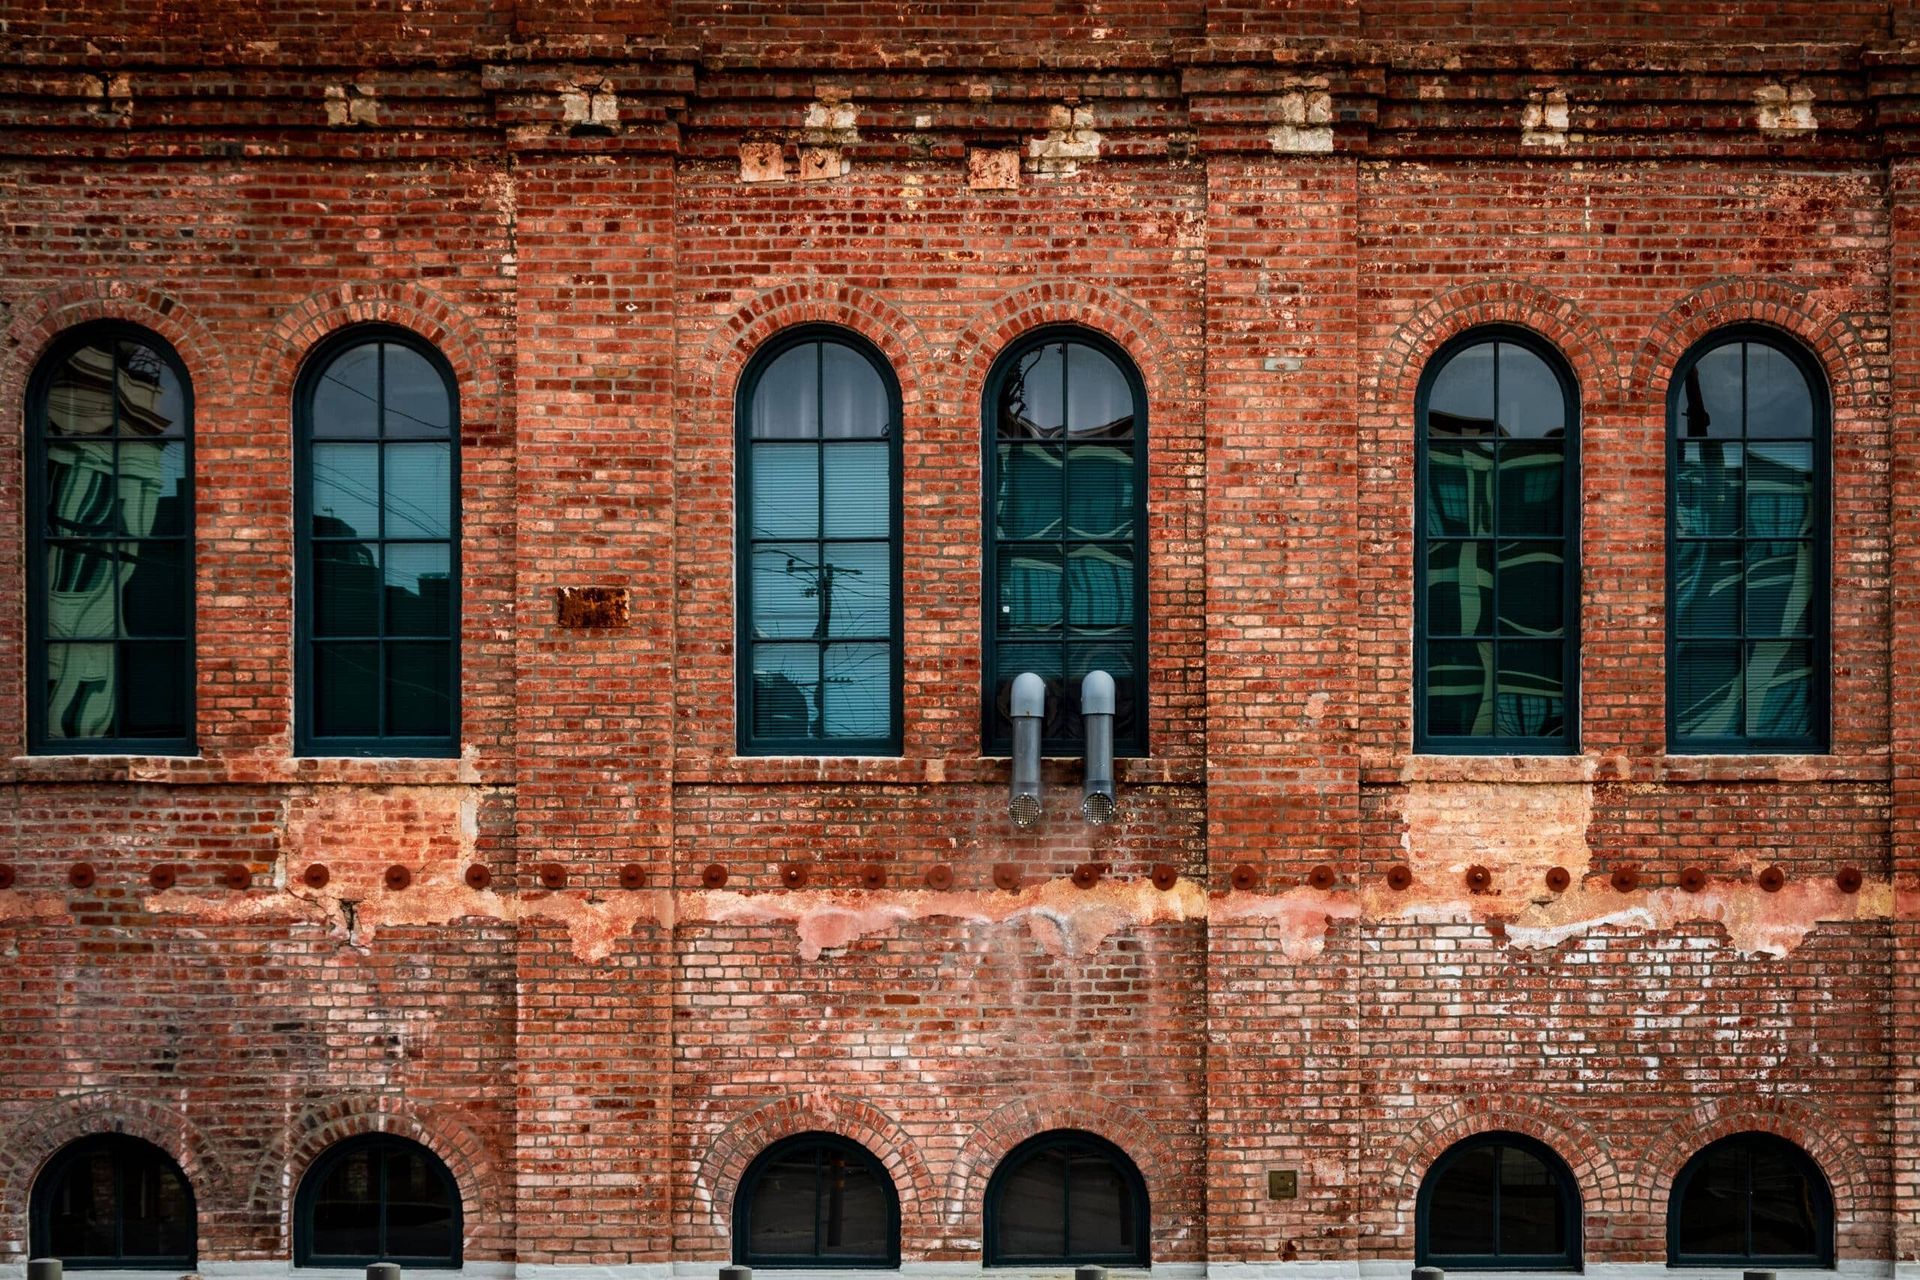
Signs Your Building Needs Tuckpointing
Mortar deterioration rarely happens all at once. It develops gradually, often going unnoticed until damage becomes visible from the ground.
Common warning signs include:
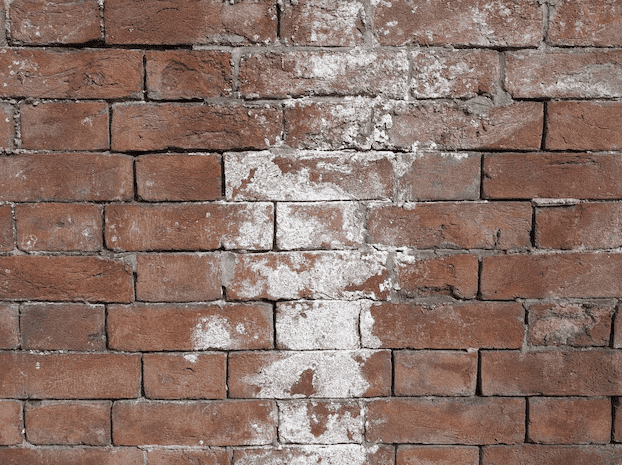
- Cracked or missing mortar joints
- Recessed joints where mortar has eroded back from the brick face
- Loose or shifting masonry units
- Efflorescence (white staining) indicating moisture movement
- Interior water infiltration near exterior walls
In Chicago-area buildings, these conditions often show up first on:
- South- and west-facing elevations (higher weather exposure)
- Parapets and upper façades
- Areas below coping stones or failed sealants
If multiple conditions are present, it’s usually a sign the issue has been developing for years, not months.
What Drives Tuckpointing Costs
Tuckpointing costs vary widely depending on access, scope, and building condition. For commercial properties, pricing is less about square footage alone and more about complexity.
Key cost drivers include:
1. Extent of Deterioration
- Spot repairs vs. full façade tuckpointing
- Depth of mortar removal required
- Percentage of joints failing
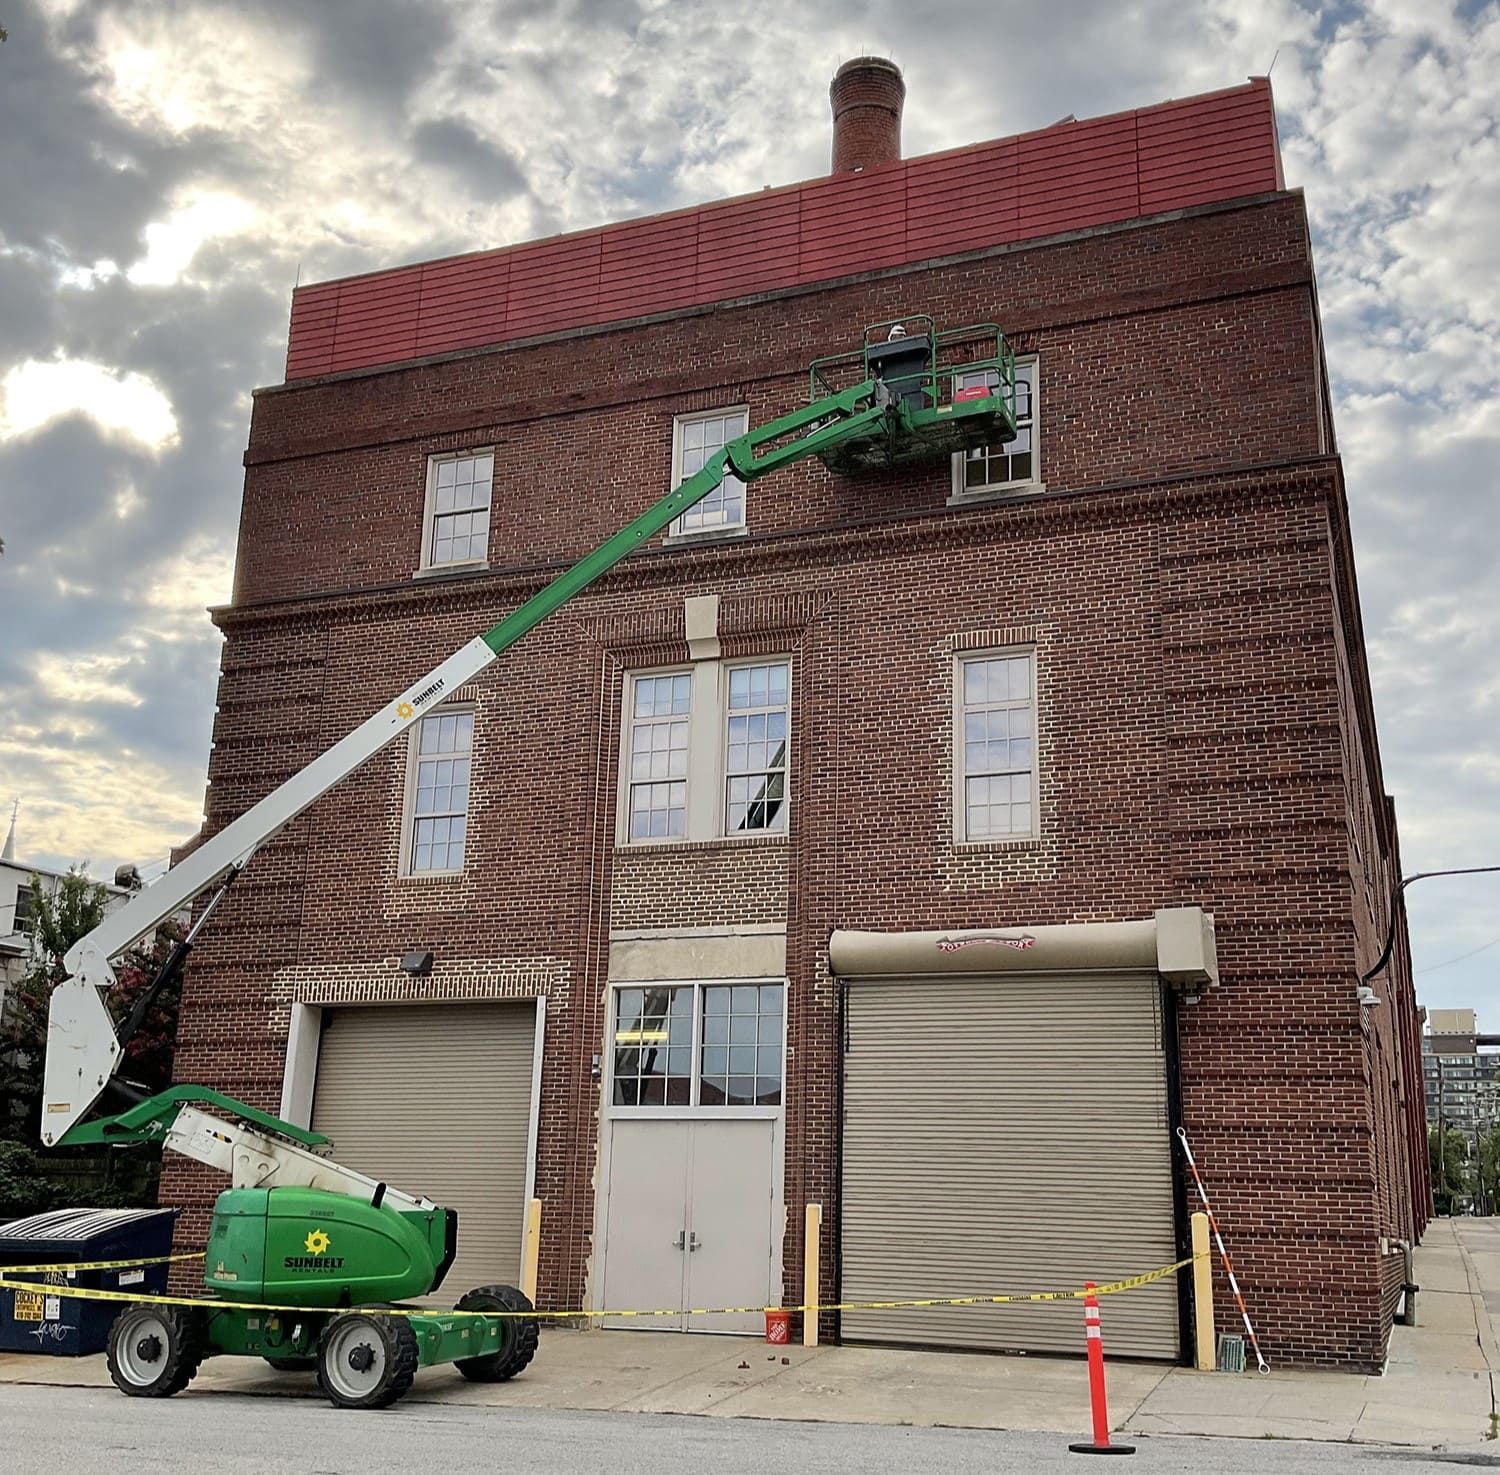
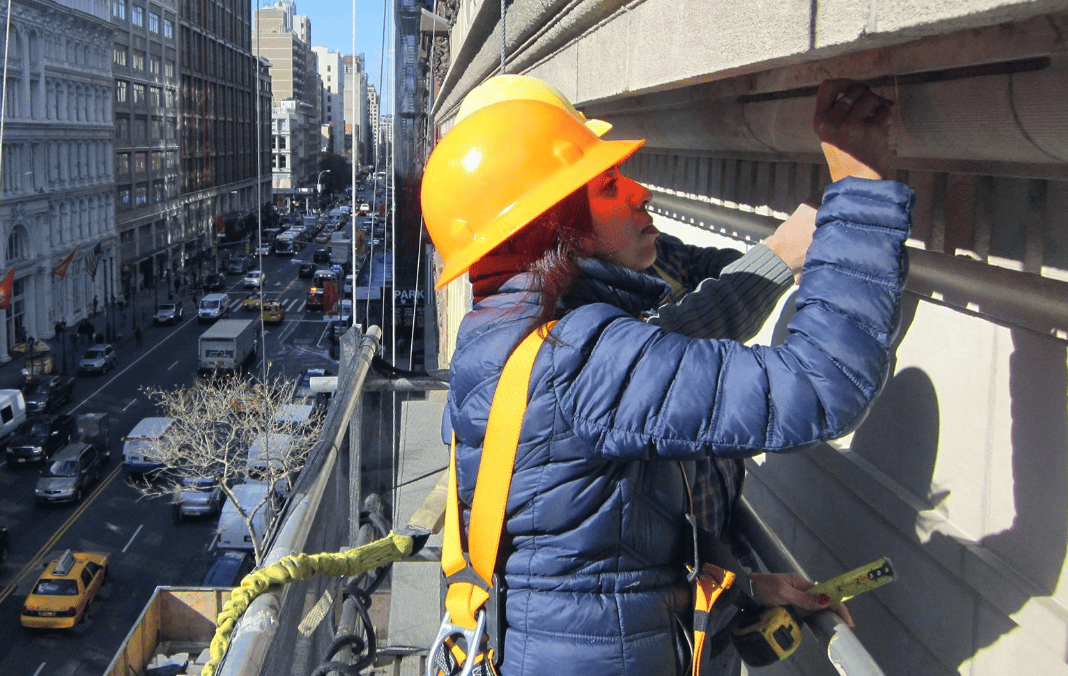
2. Access and Logistics
- Swing stages vs. scaffolding vs. lifts
- Urban constraints (tight sites, pedestrian protection)
- Height and façade configuration
3. Material Matching and Historic Requirements
- Custom mortar mixes for historic buildings
- Color matching and joint tooling
- Compliance with preservation guidelines
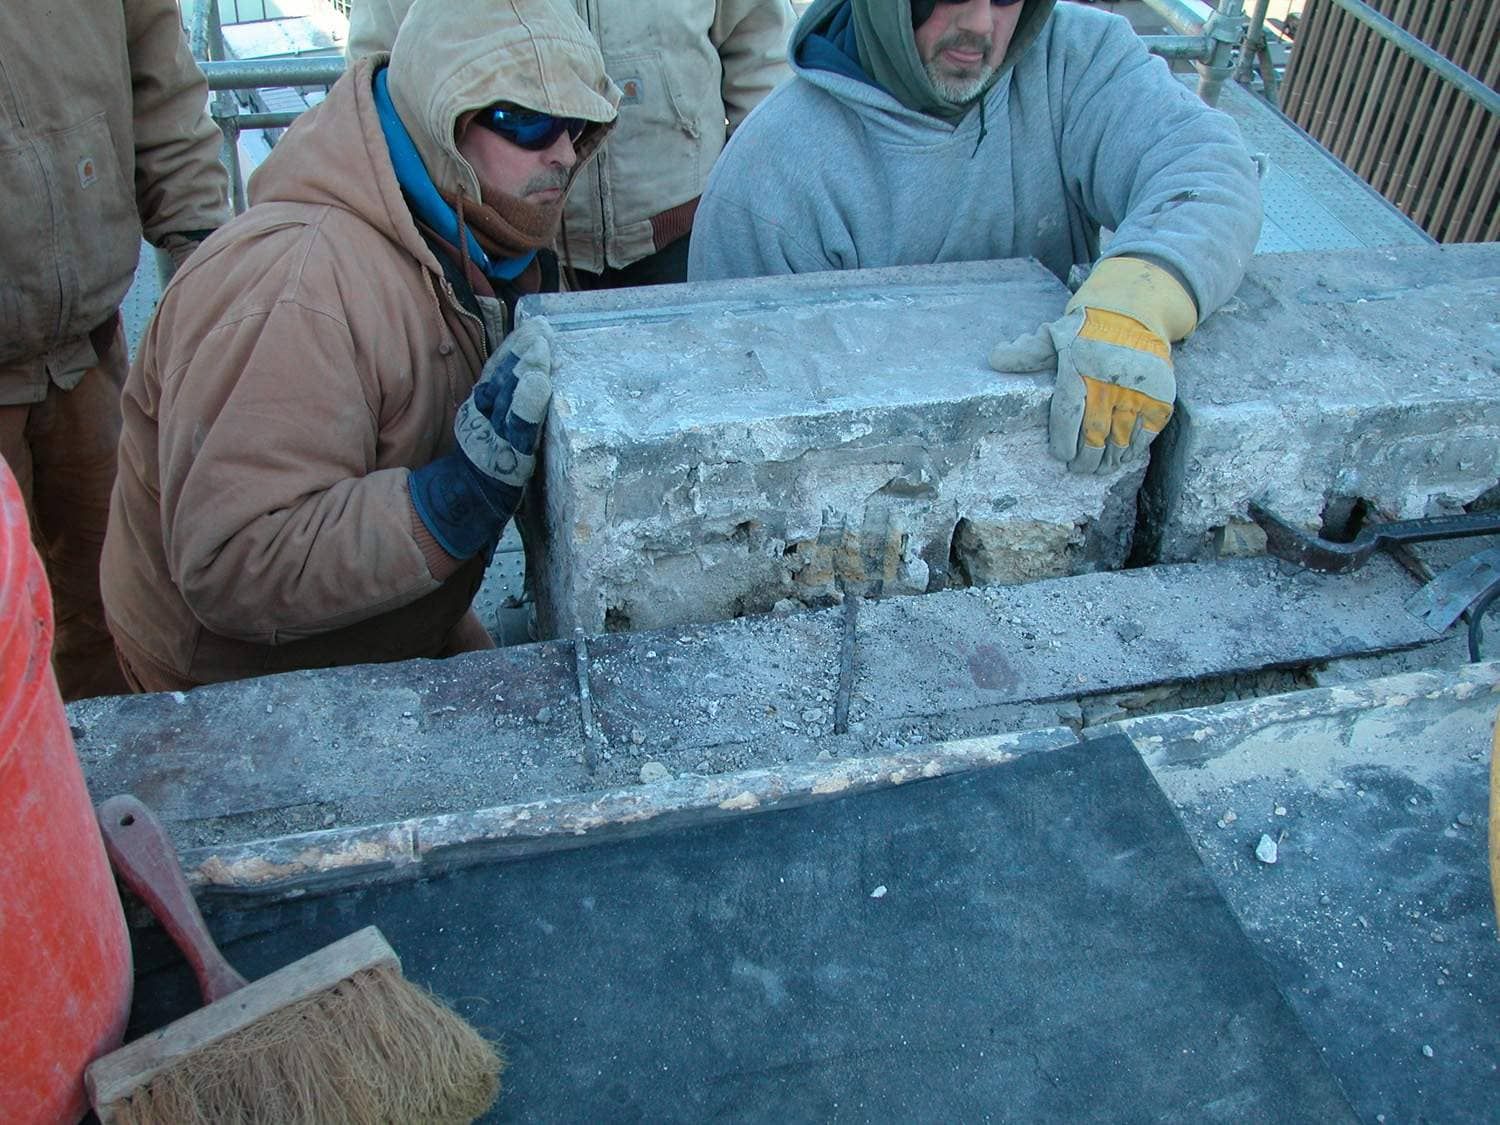
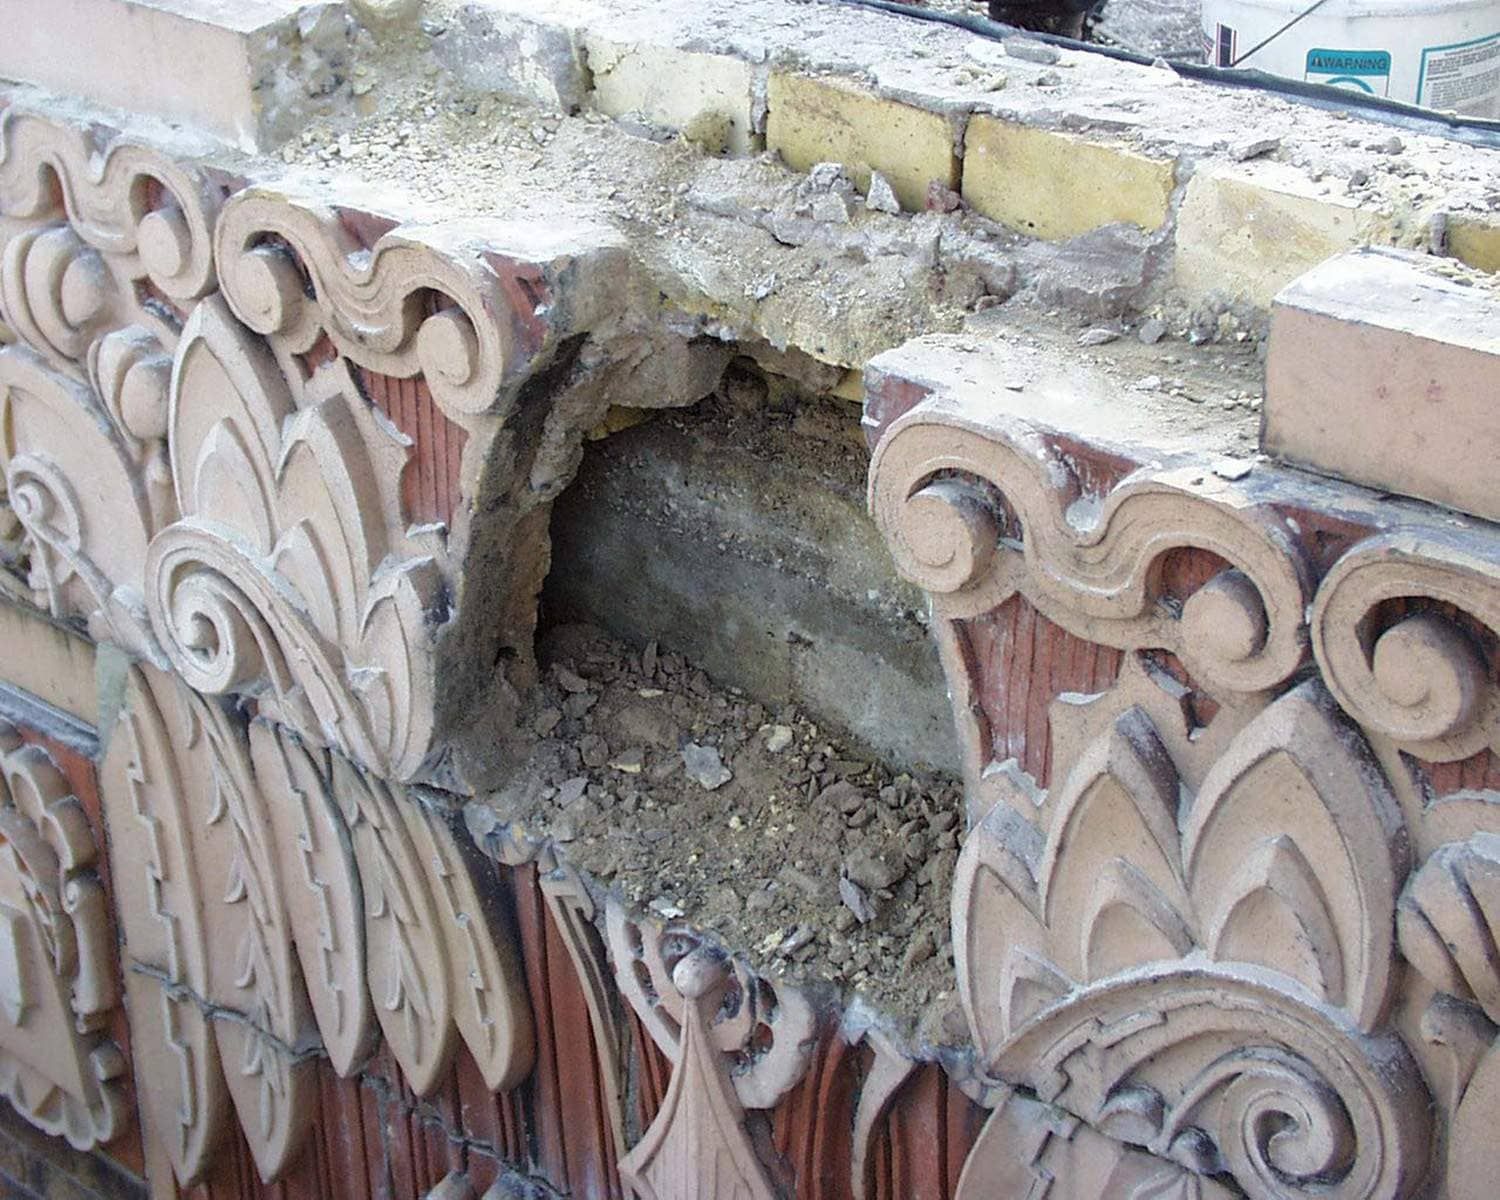
4. Additional Repairs Identified During Work
Tuckpointing often uncovers related issues such as:
- Lintel and shelf angle corrosion
- Failed caulking and sealant joints
- Isolated brick or stone replacement
- Localized restorative cleaning needs
This is why budgets should include contingency, especially on older buildings.
When to Plan Tuckpointing Work
Waiting until mortar is visibly failing across the entire building is where costs escalate. The better approach is to plan tuckpointing proactively, based on condition, not appearance alone.
Masonry walls are durable, but their performance depends on more than the mortar itself. It also depends on how the wall handles water at joints, openings, flashing transitions, parapets, and other vulnerable details. Research from Penn State’s College of Engineering on masonry façade water intrusion reinforces this point: moisture problems often develop at interfaces and construction details long before widespread exterior deterioration is obvious.
That is why tuckpointing should be planned as part of a broader façade maintenance strategy, not as a last-minute response to visible joint failure.
Ideal planning triggers include:
- After a façade inspection or condition assessment
- When water infiltration begins to appear
- When efflorescence, mortar washout, or cracking becomes visible
- When movement joints, parapet conditions, or flashing details show deterioration
- During capital planning cycles (3–5 year horizon)
- Before major tenant turnover or leasing cycles
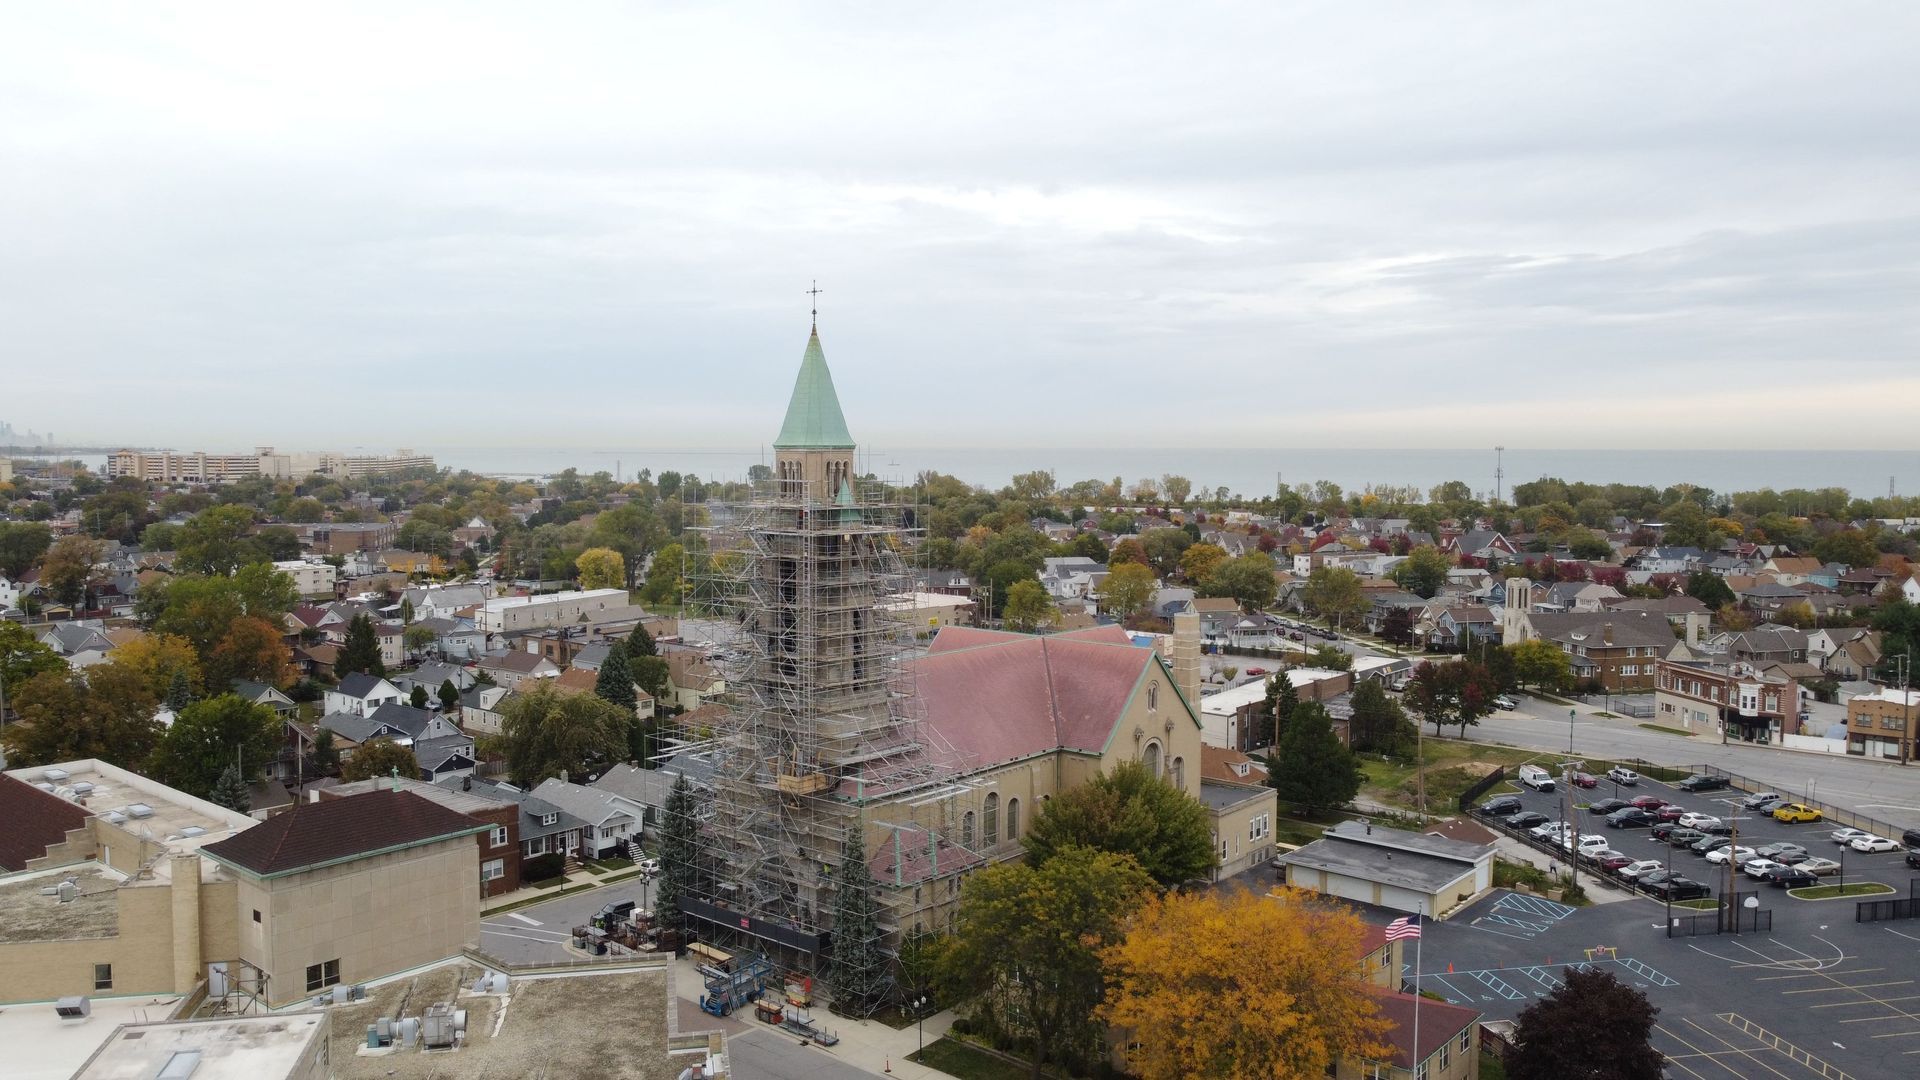
In Chicago, this matters even more. Freeze–thaw cycling can accelerate deterioration once moisture is already moving through the wall. What starts as minor mortar loss can progress into brick damage, cracking around openings, rusting steel, or more extensive façade repairs if the work is delayed.
Best time of year in Chicago:
- Spring through fall, when temperatures are more consistent for proper mortar curing
- Avoid winter work unless temporary protection and temperature control are in place
For large commercial buildings, phased work is often the most practical strategy. Instead of addressing the entire façade at once, prioritize elevations and areas with the greatest exposure, the most visible distress, or the highest risk of water entry.
In other words, the right time to plan tuckpointing is usually before the damage looks severe from the ground.
How Tuckpointing Fits Into a Larger Restoration Strategy
Tuckpointing is rarely a standalone scope on commercial projects. It typically integrates with broader masonry restoration efforts.
A coordinated approach may include:
- Masonry restoration for structural and façade repairs
- Lintel and shelf flashing repair to address hidden corrosion
- Caulking and sealant repair to improve water tightness at transitions
- Concrete façade repair for adjacent structural elements
Treating these as isolated fixes leads to recurring issues. Addressing them together improves long-term performance and reduces lifecycle costs.
Chicago-Specific Considerations That Affect Tuckpointing
Commercial buildings in Chicago face a unique combination of environmental stressors:
- Freeze–thaw cycling that expands moisture within mortar joints
- Lakefront exposure increasing wind-driven rain
- Historic construction methods with aging steel support systems
These factors don’t just accelerate deterioration, they change how repairs should be approached. Mortar selection, joint depth, and sequencing all need to align with how the building was originally constructed.
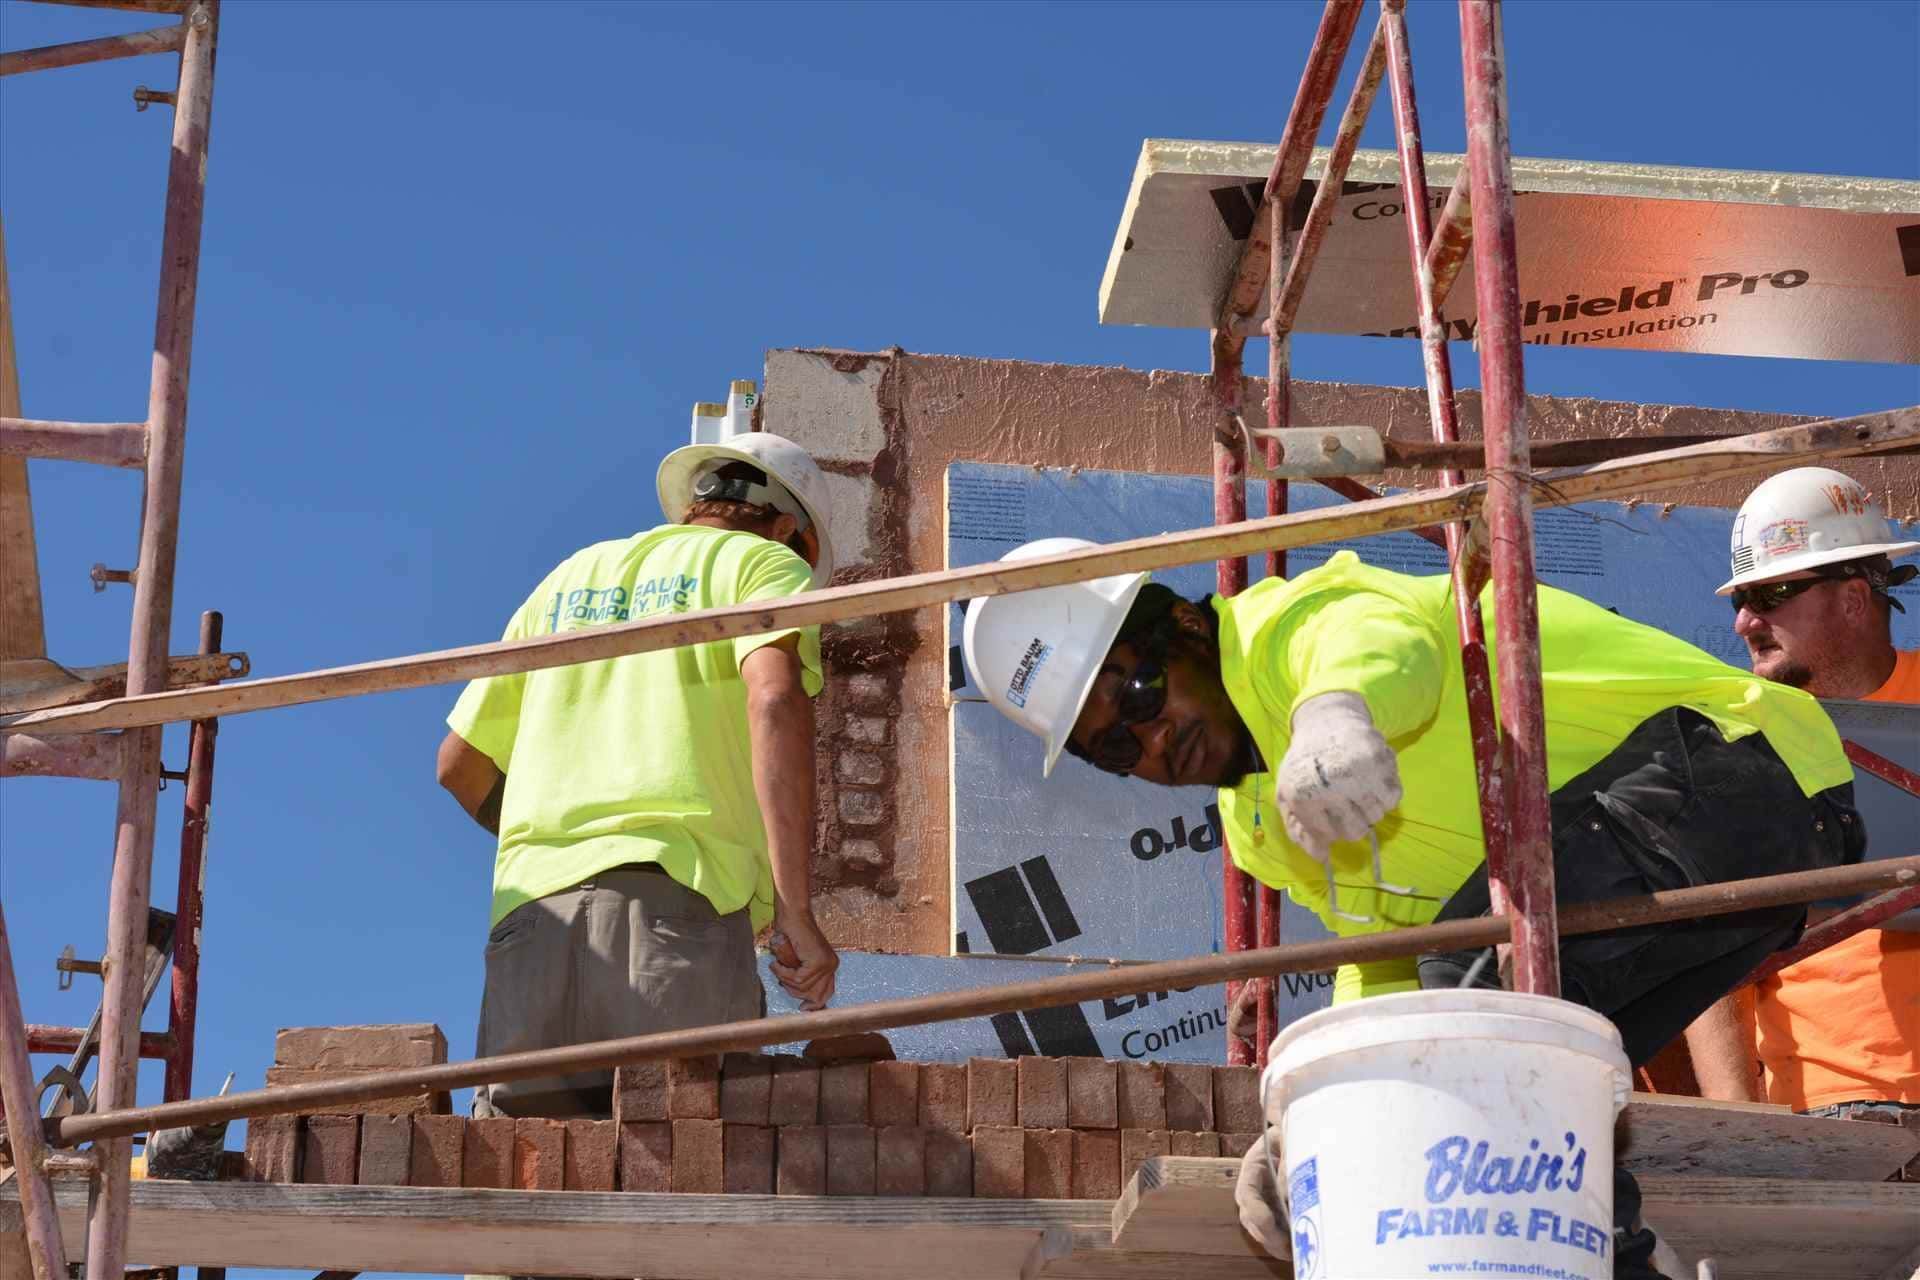
What a Proper Tuckpointing Scope Should Include
Before moving forward with a tuckpointing contractor, the scope needs to go beyond general descriptions. It should clearly define how the work will be executed, not just what areas are being repaired.
A well-developed scope should include:
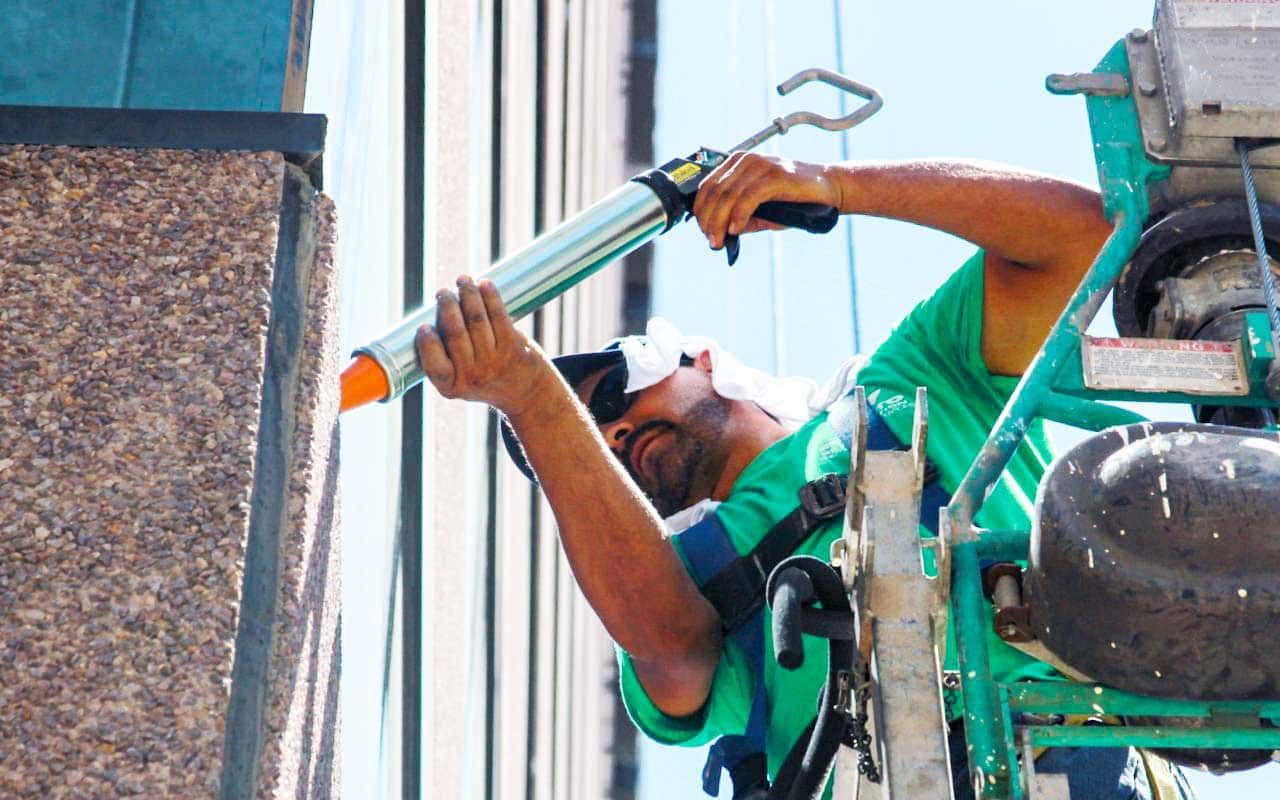
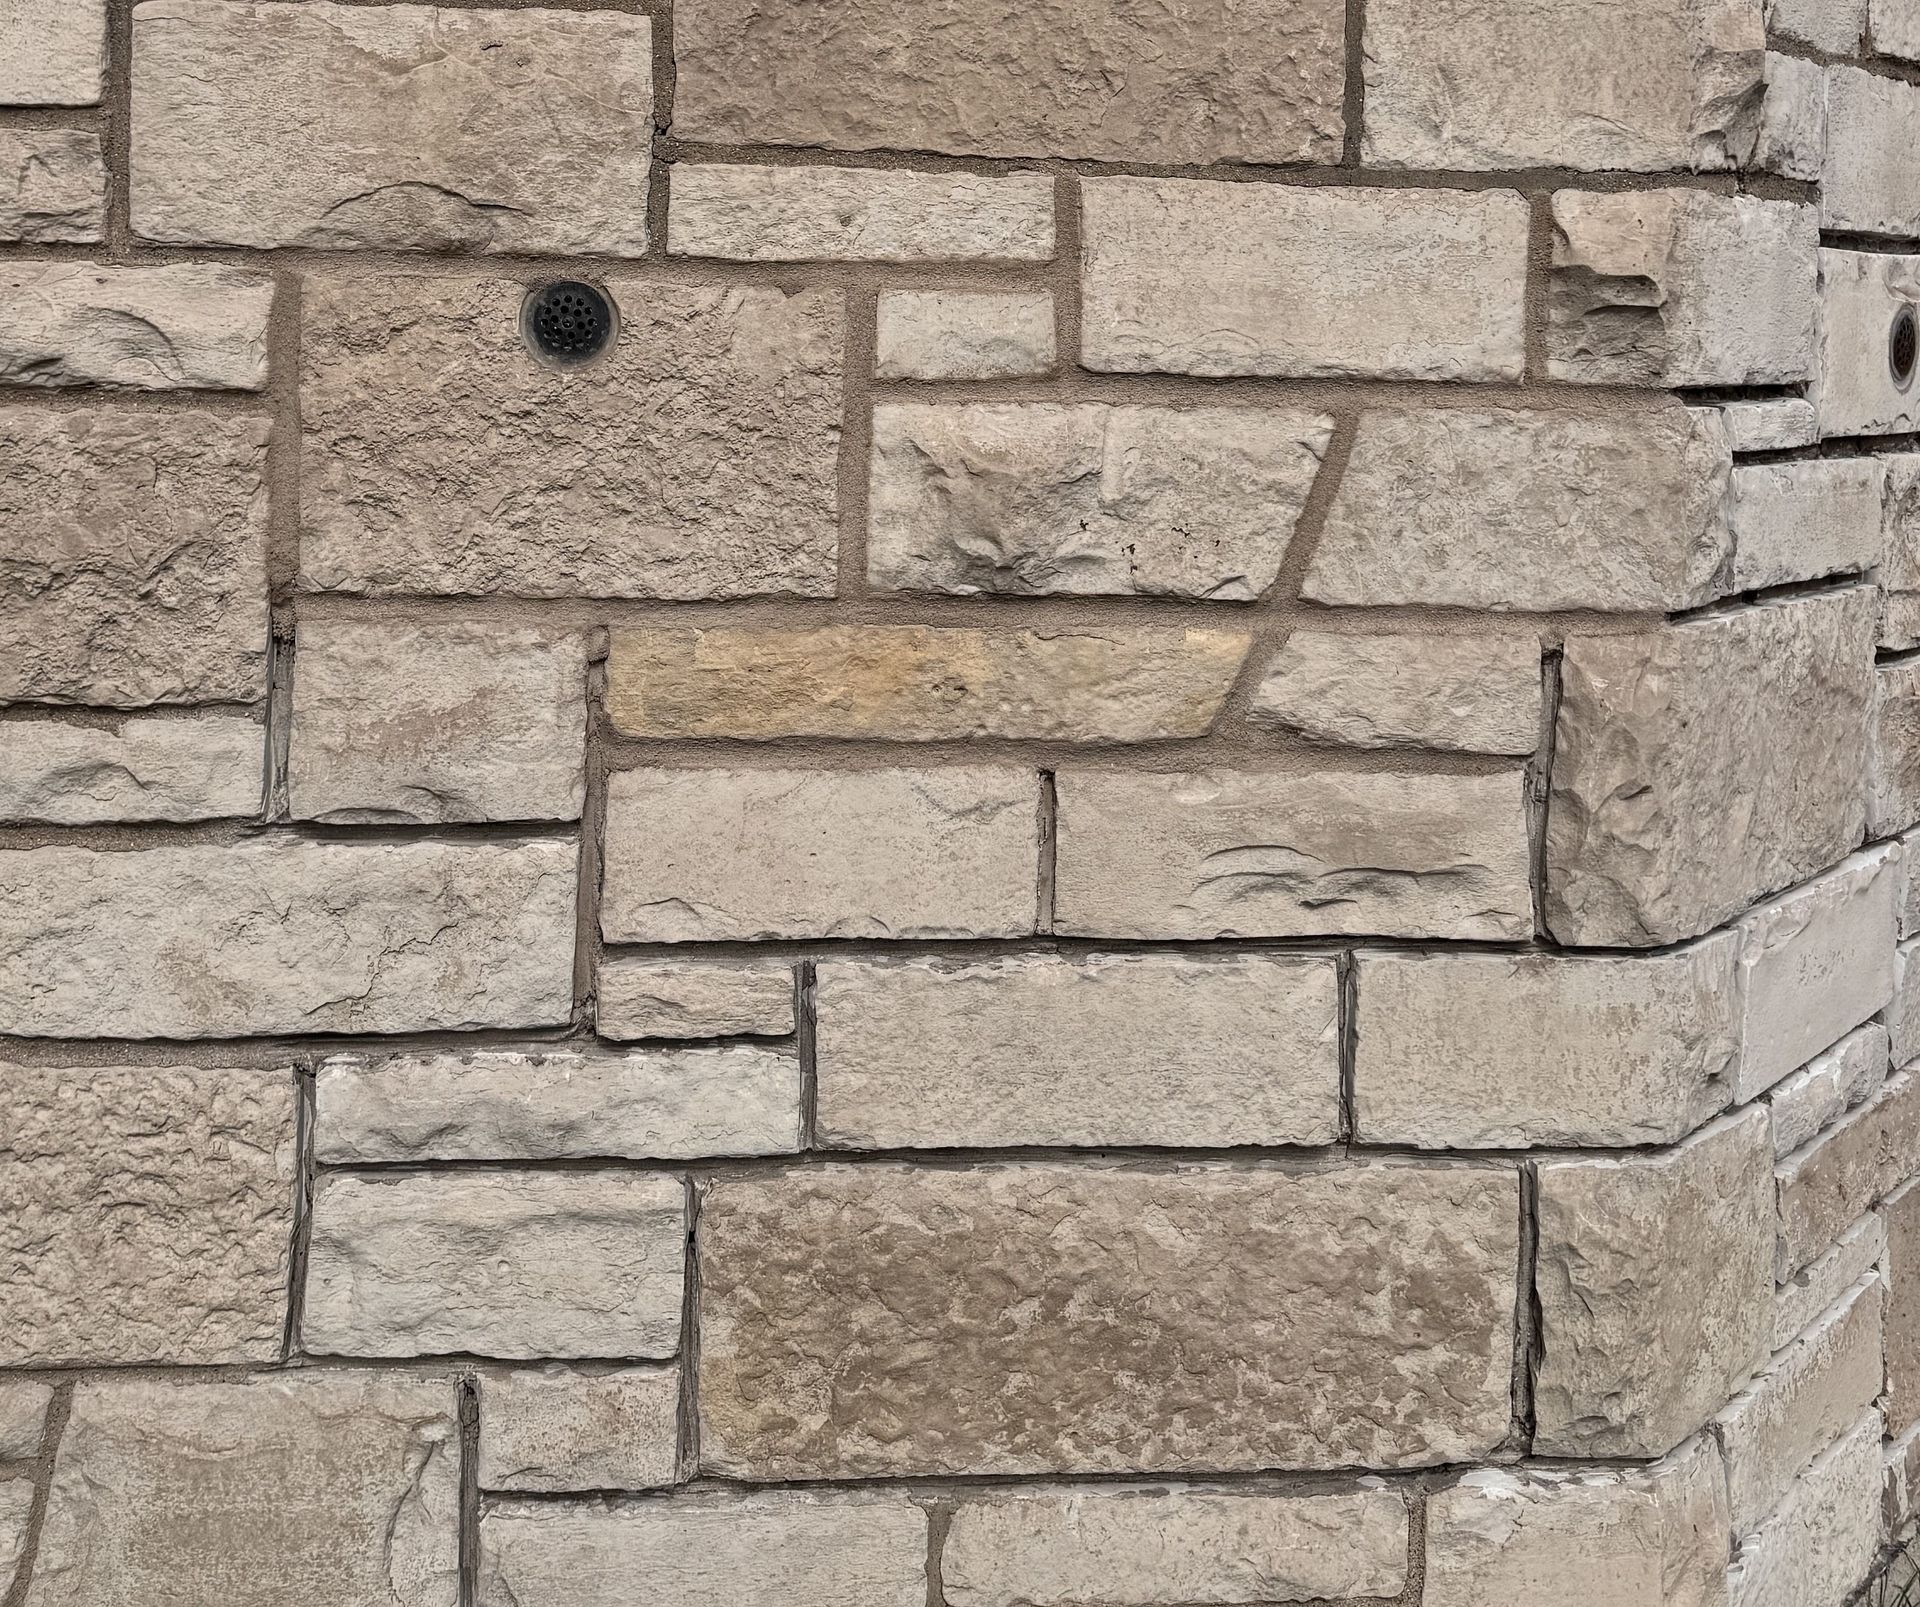
Joint removal depth and method
Mortar should be removed to a sufficient depth, typically at least twice the joint width or until sound material is reached. The method (hand tools vs. grinders) should be specified to avoid damaging surrounding masonry.
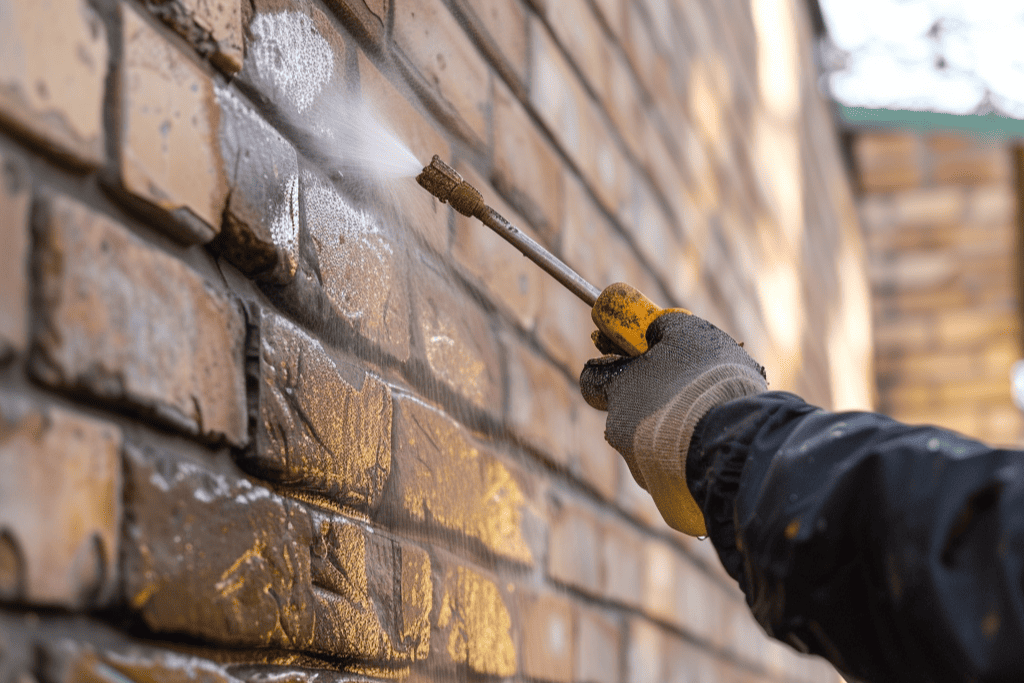
Joint preparation requirements
Joints must be cleaned of dust and debris prior to repointing, and the masonry should be properly pre-wetted to control suction and improve bond strength.
Mortar type and mix design
Mortar must be compatible with the existing masonry in strength, permeability, and composition, especially on historic buildings.
Installation method and sequencing
Mortar should be installed in controlled lifts (layers) and properly compacted to eliminate voids. Tooling should occur at the correct stage of curing to ensure durability and consistent appearance.
Curing and protection requirements
Proper curing, often involving moisture retention and protection from rapid drying, is critical to long-term performance. This is frequently overlooked but directly impacts durability.
Mock-ups for approval (color and tooling)
A field mock-up should be completed and approved before full production begins. This becomes the standard for color, joint profile, and workmanship across the project.
Areas of full vs. spot tuckpointing
Clearly define where full-depth repointing is required versus localized repairs.
Identification of related repairs
Tuckpointing often coincides with:
- Lintel and shelf angle repairs
- Caulking and sealant replacement
- Isolated masonry replacement
- Restorative cleaning
As outlined in guidance from Sika, details like joint depth, proper cleaning, controlled installation, and curing are not minor steps, they directly determine whether the repair performs long-term or begins to fail prematurely.
Mock-ups are especially important on visible façades or historic buildings. They ensure alignment between expectations and final appearance before full production begins.
Frequently Asked Questions About Tuckpointing for Commercial Buildings
How do I know if my building needs tuckpointing or just minor repairs?
If deterioration is isolated, spot repairs may be sufficient. But if mortar loss is widespread, recessed, or allowing water infiltration, full tuckpointing is typically required. A façade inspection is the most reliable way to determine scope and avoid under- or over-repairing.
How much does tuckpointing cost per square foot?
Costs vary based on access, height, and condition. Commercial projects are rarely priced strictly per square foot without context. Factors like scaffolding, material matching, and repair complexity often have a greater impact on total cost than area alone.
How long does tuckpointing last on a commercial building?
Properly executed tuckpointing can last 20-30 years, depending on exposure and maintenance. Buildings with high weather exposure or poor water management may require earlier intervention, especially if sealants and flashing are not maintained alongside mortar joints.
Can tuckpointing be done in winter in Chicago?
It’s possible but not ideal. Cold temperatures affect mortar curing and bond strength. Winter work typically requires enclosures and heating, which increases cost. Most projects are planned between spring and fall for better performance and efficiency.