Mortar Extraction, Preparation, and Pointing: Best Practices in Masonry Restoration
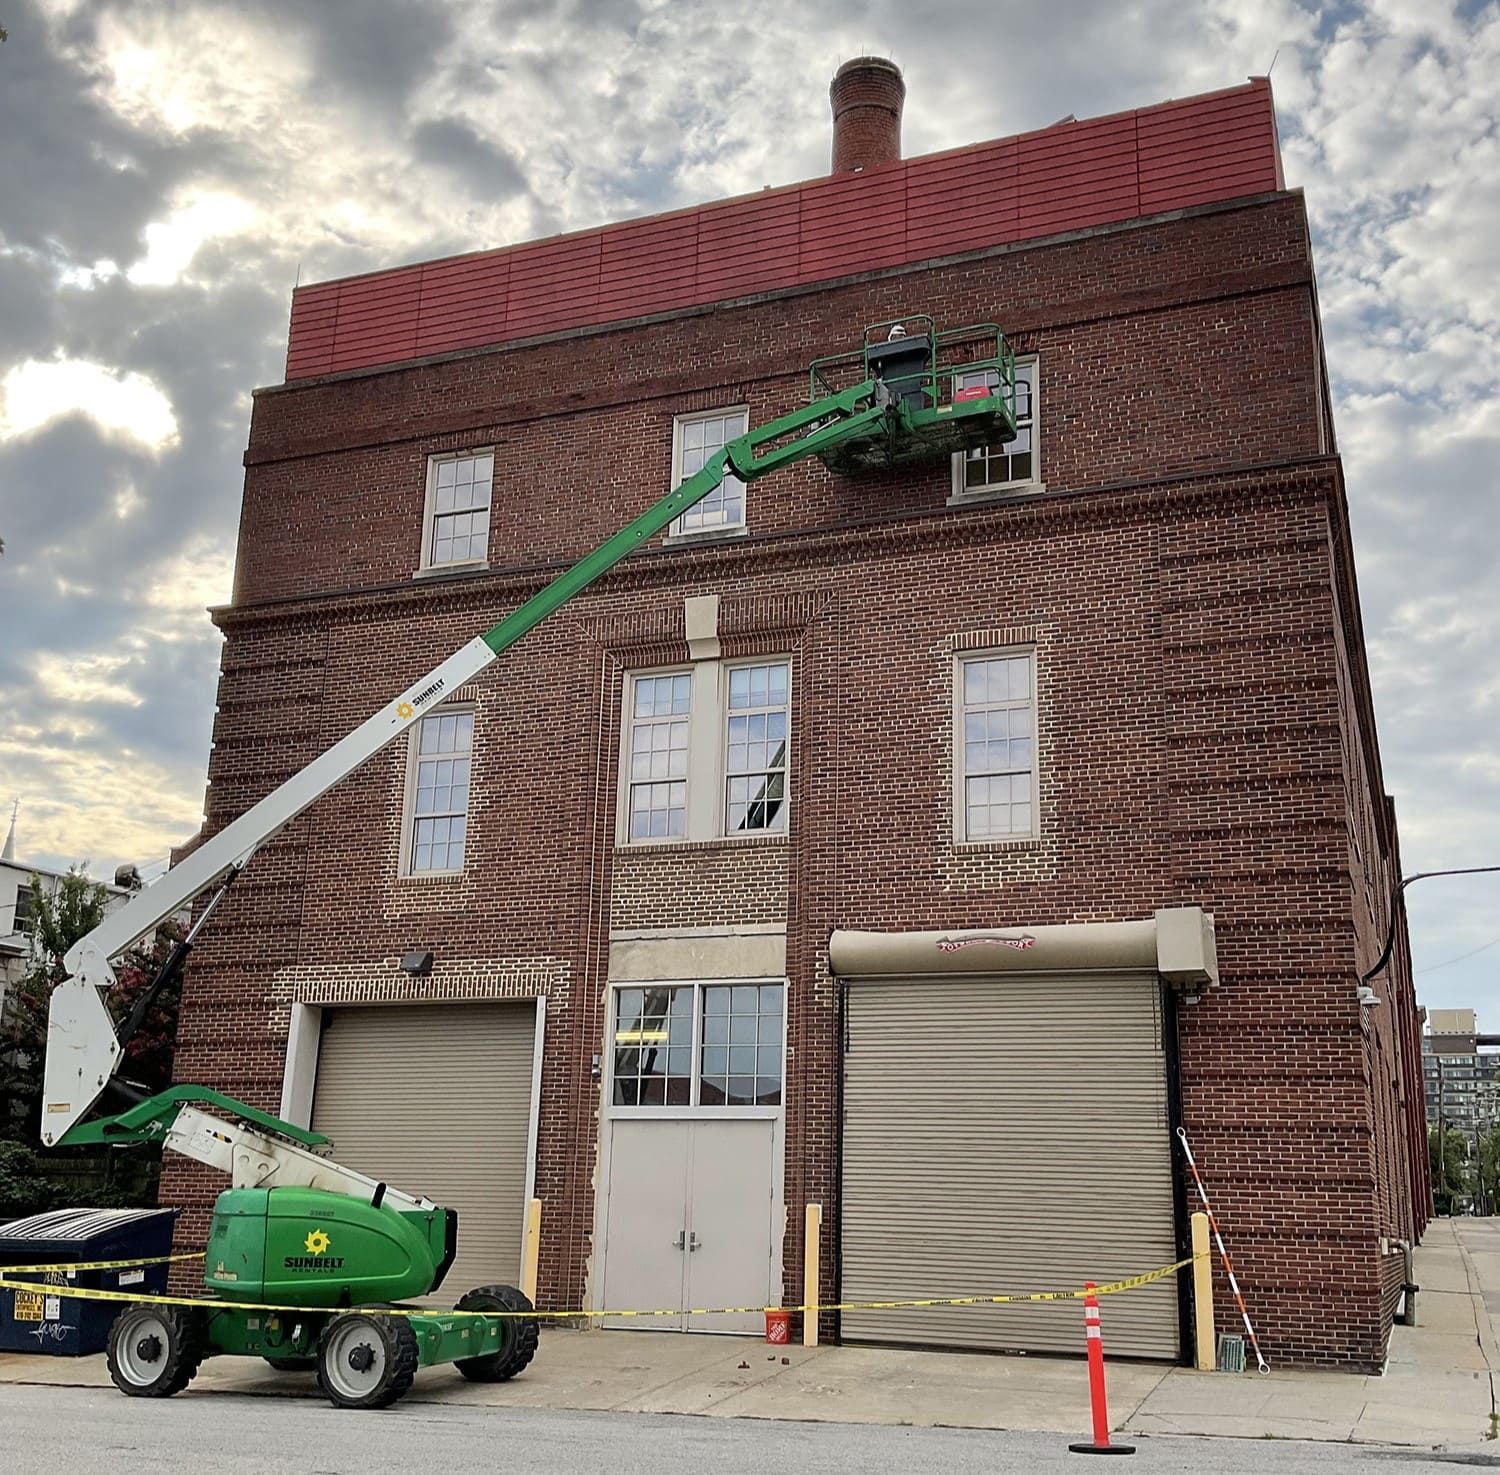
At RestoreWorks, we recently had the opportunity to collaborate with the International Masonry Institute (IMI) for a hands-on masonry restoration workshop at their Addison, Illinois facility. One of the stations during the event focused on mortar extraction, preparation, and pointing, which is a foundational process for ensuring the longevity and performance of masonry walls, especially in Chicago’s challenging climate.
In this blog, we’ll break down the highlights from that session, providing a deeper look into why proper mortar restoration is important, how skilled craftsmen approach it, and what architects, engineers, project managers, and property managers should understand when planning restoration work.
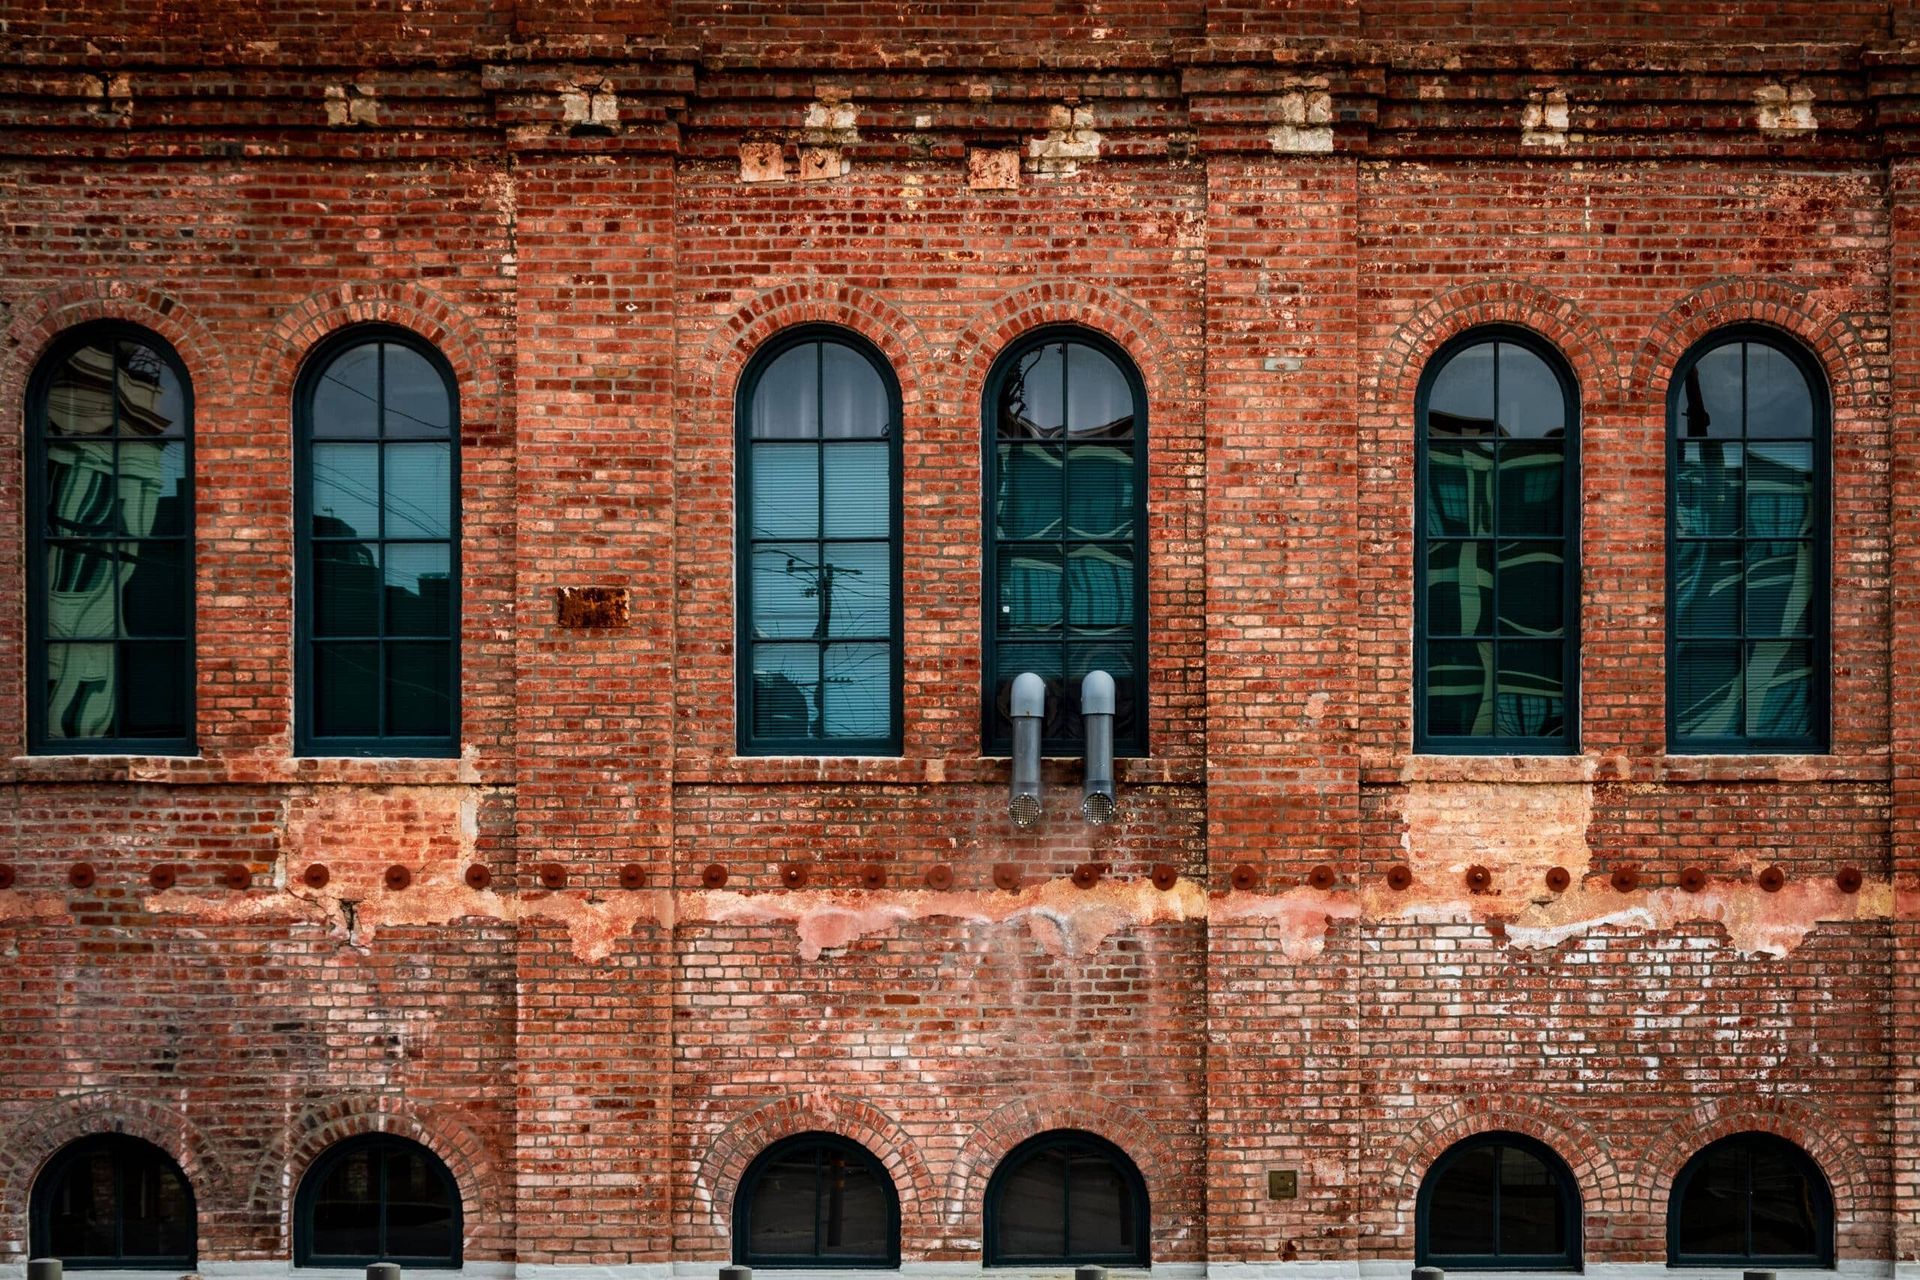
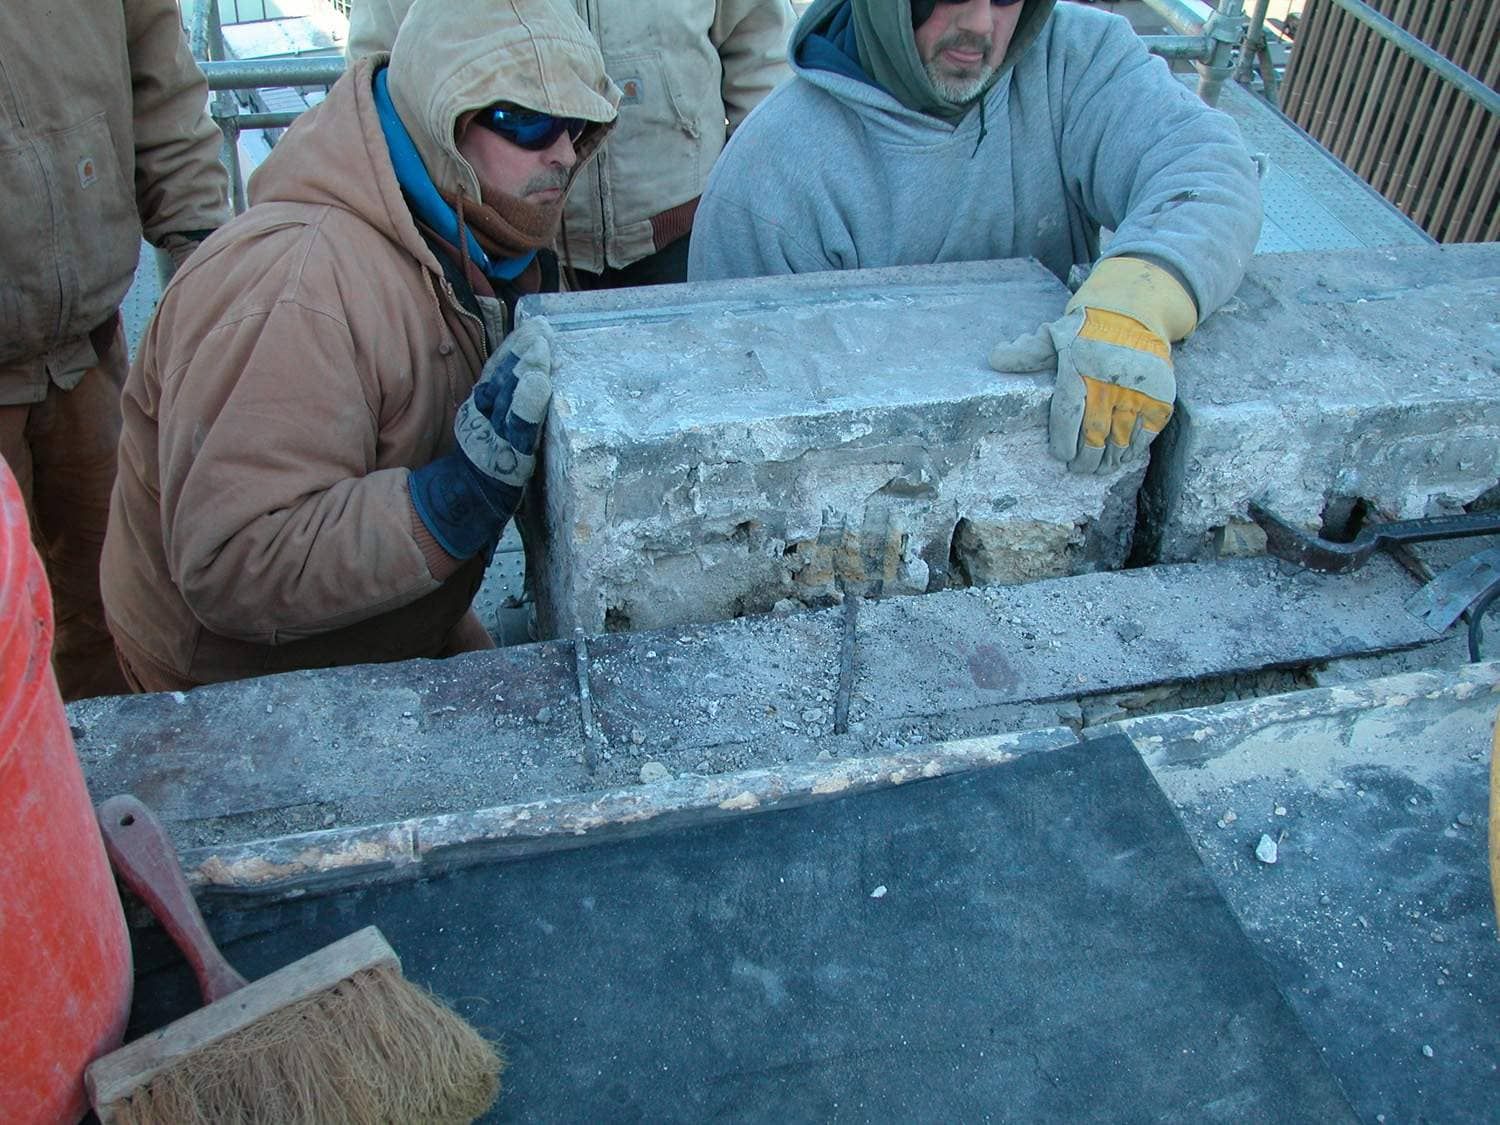
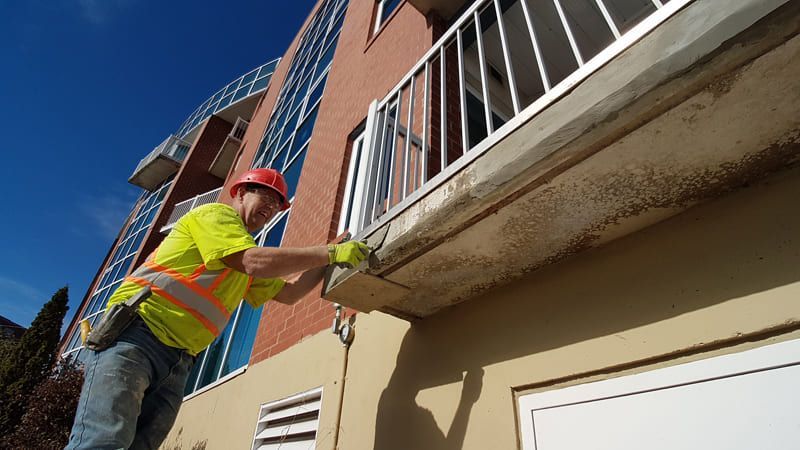
Why Extract Mortar?
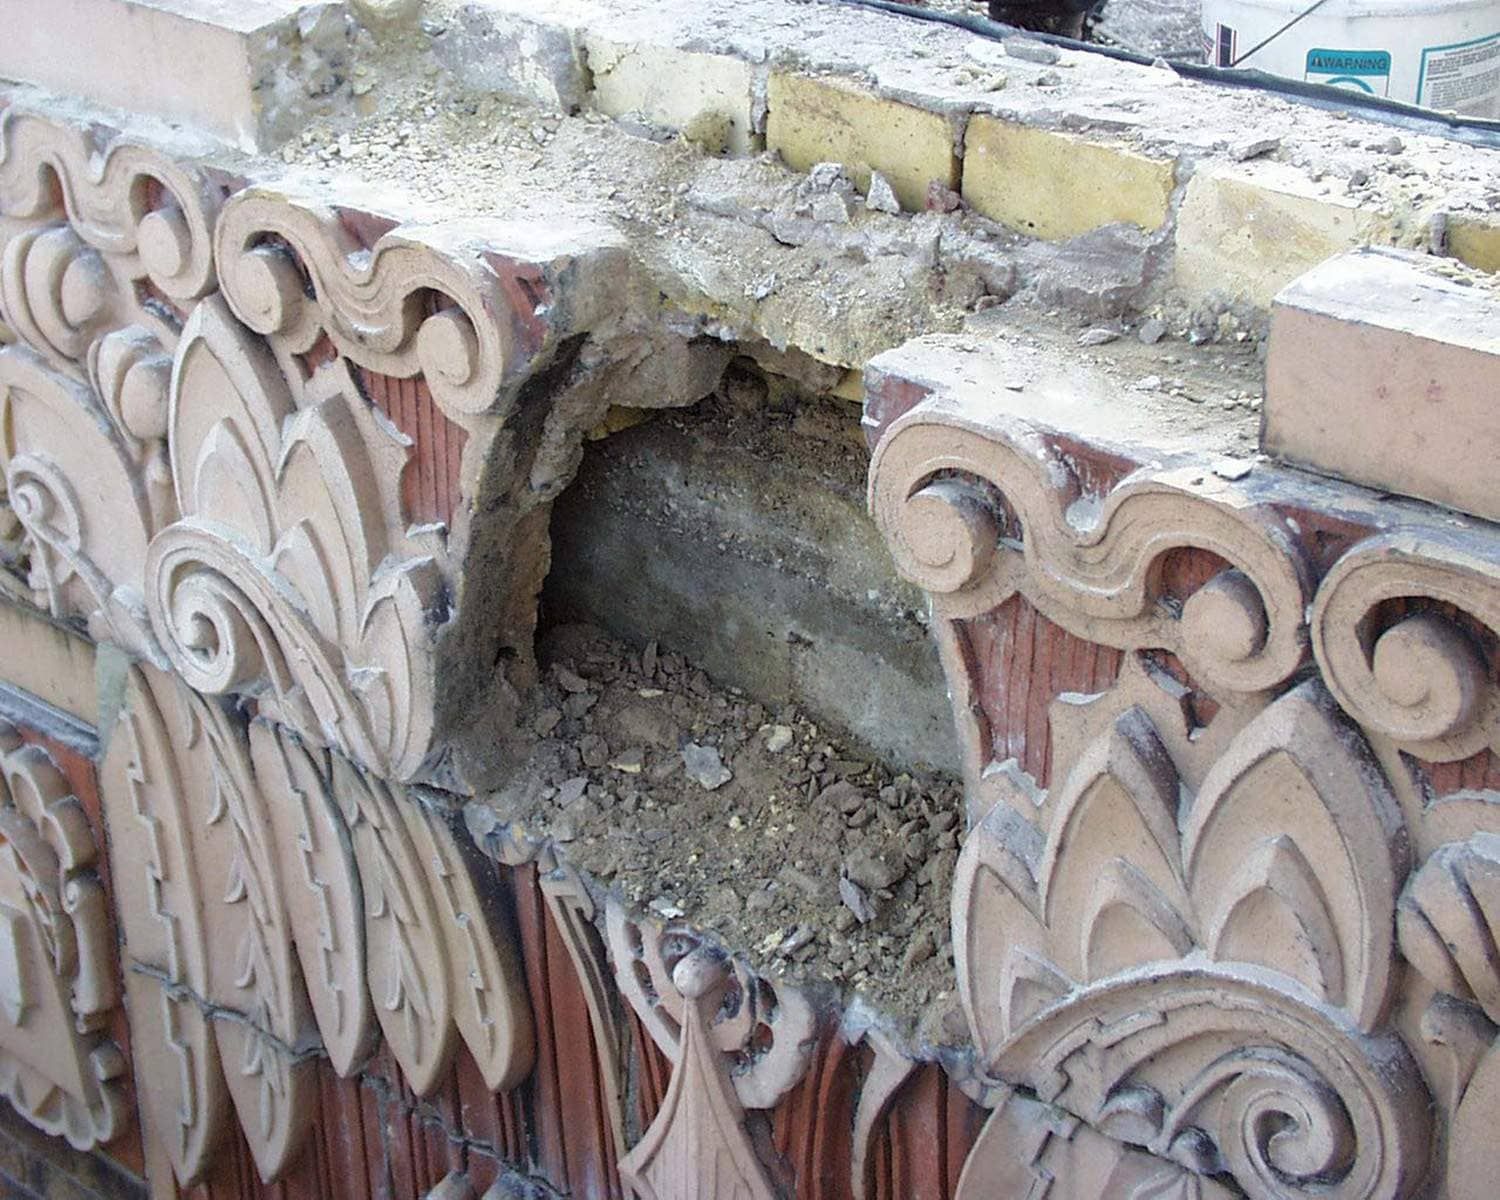
Mortar extraction, often referred to as raking or cutting out, is a crucial first step when repointing masonry walls. Common reasons for mortar deterioration and the need for extraction include:
- Water infiltration leading to leaks and efflorescence.
- Freeze-thaw cycling, which causes expansion and cracking.
- Normal weathering and aging of mortar joints.
When compromised mortar isn't properly removed and replaced, it can allow moisture into the wall system, ultimately leading to much more costly damage to both the masonry units and the structure itself. According to the National Park Service’s Preservation Brief 2, deteriorated mortar joints are a primary cause of masonry failure in historic and commercial buildings (NPS).
Mortar Extraction Techniques: Mechanical vs. Hand Tools
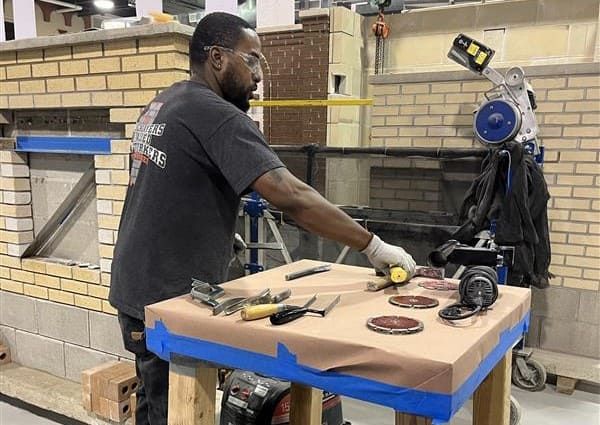
The workshop emphasized two main approaches to mortar removal:
- Mechanical Tools:
Tools like a grinder equipped with a sandwich blade (typically a 3-diamond blade setup) allow for quicker removal, but must be used carefully to avoid damaging adjacent masonry units. Using a dust collection system is essential both for worker safety and to comply with OSHA's regulations on silica dust exposure.
- Hand Tools:
Hand chiseling remains an important method for delicate projects or areas where greater precision is needed. Starting with head joints (vertical joints) first minimizes stress on the units. Smaller hammers offer better control, reducing the chance of damaging the brick or stone, while heavier hammers can make mistakes harder to control.
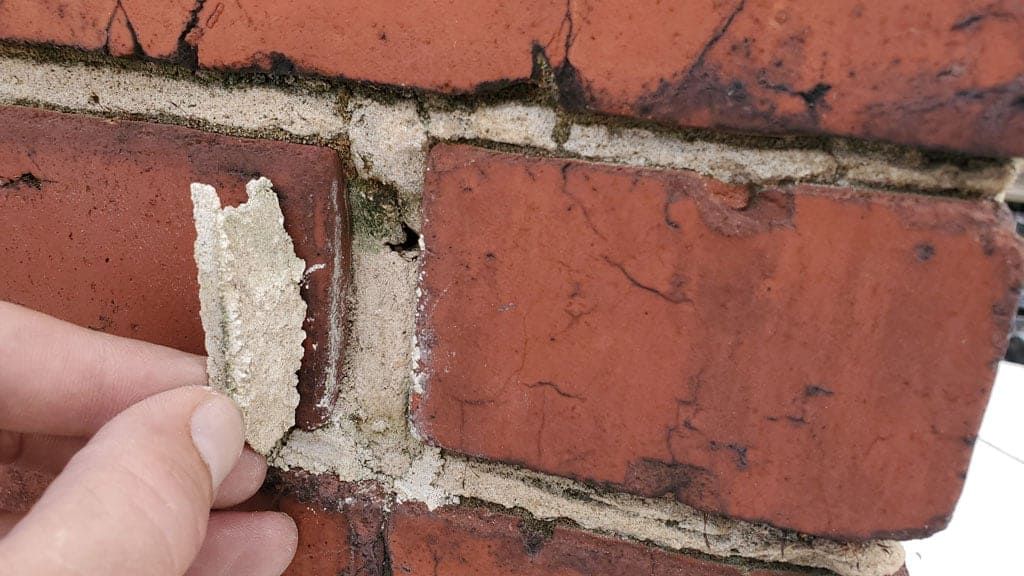
One important concept discussed was the presence of “half moons”, which are the leftover bits of mortar at the tops and bottoms of joints that are easy to miss. Full extraction to the correct depth (generally 2 to 2.5 times the width of the joint) is essential for proper bonding of the new mortar.

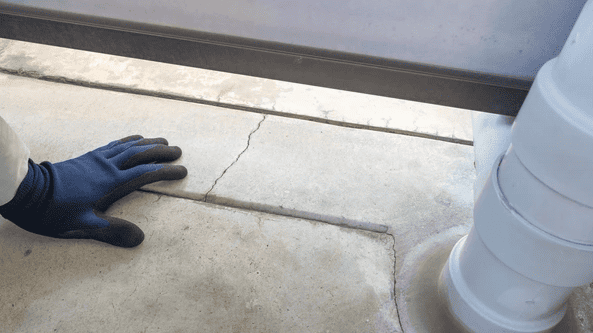
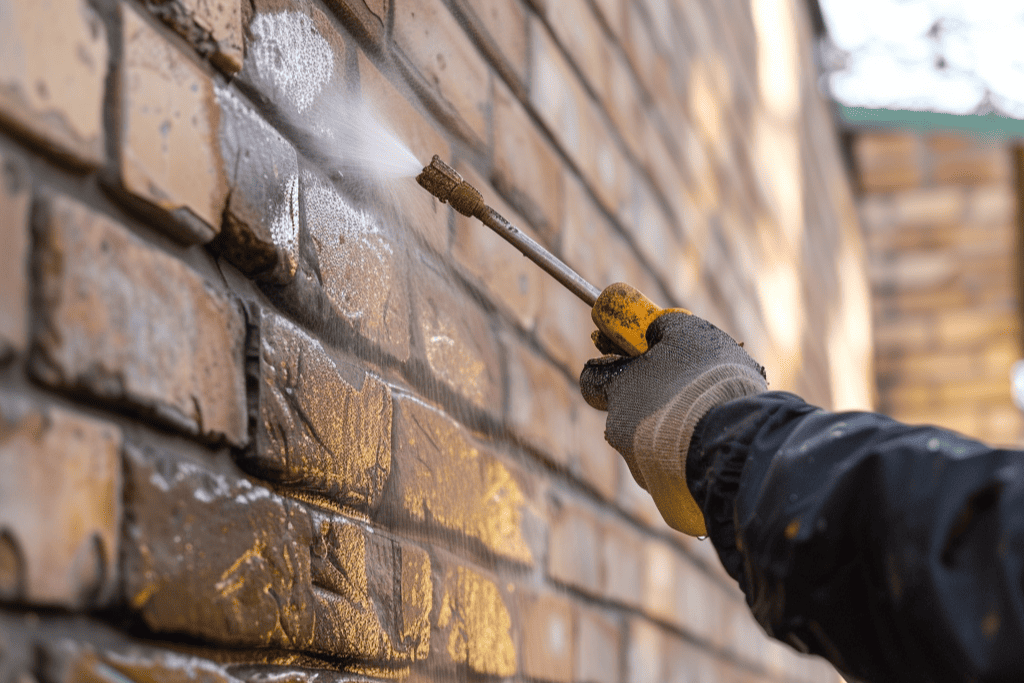
Preparing the Joints Before Repointing
Proper joint preparation ensures the longevity of the repointing work:
- Cleaning: Remove dust and debris after extraction.
- Pre-Wetting: Saturating the joints with clean water helps prevent premature drying of the new mortar, especially important during hot or windy conditions.
These steps are important for achieving a strong mechanical bond between the old masonry and new mortar.
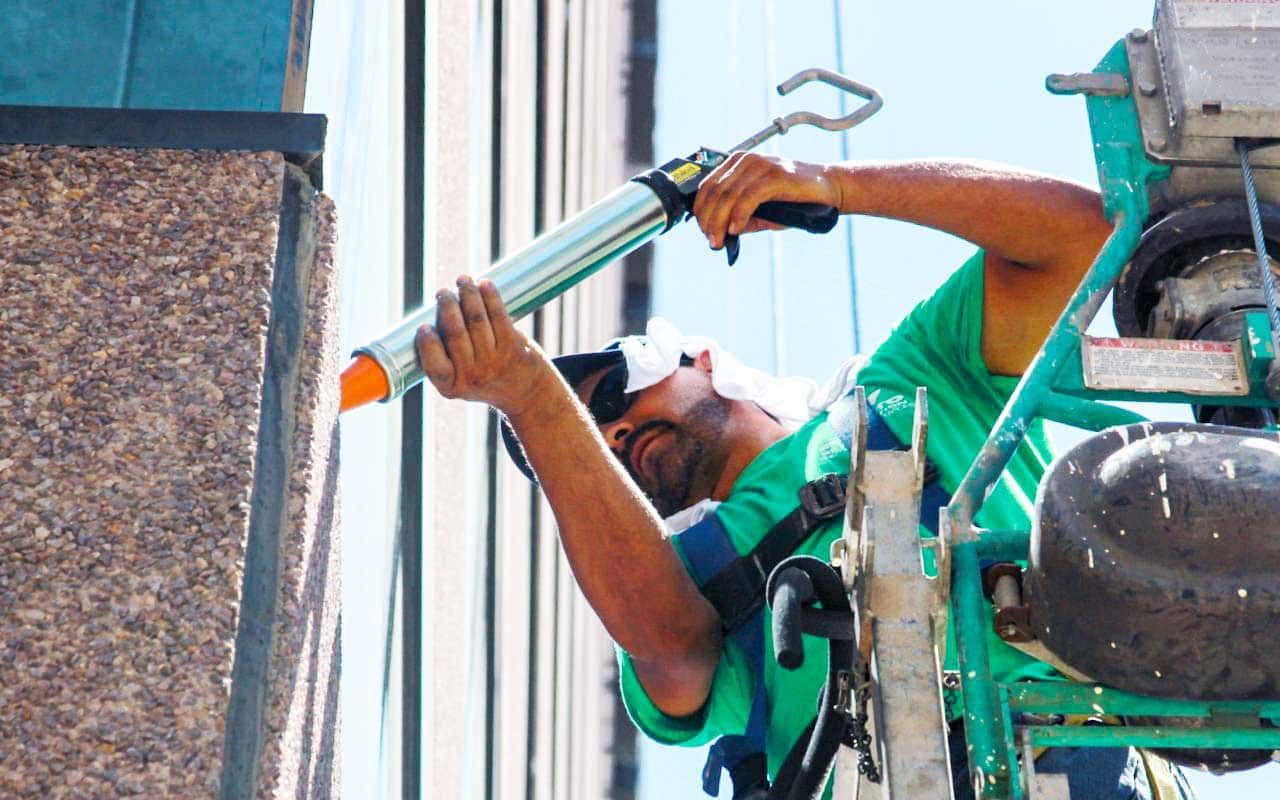
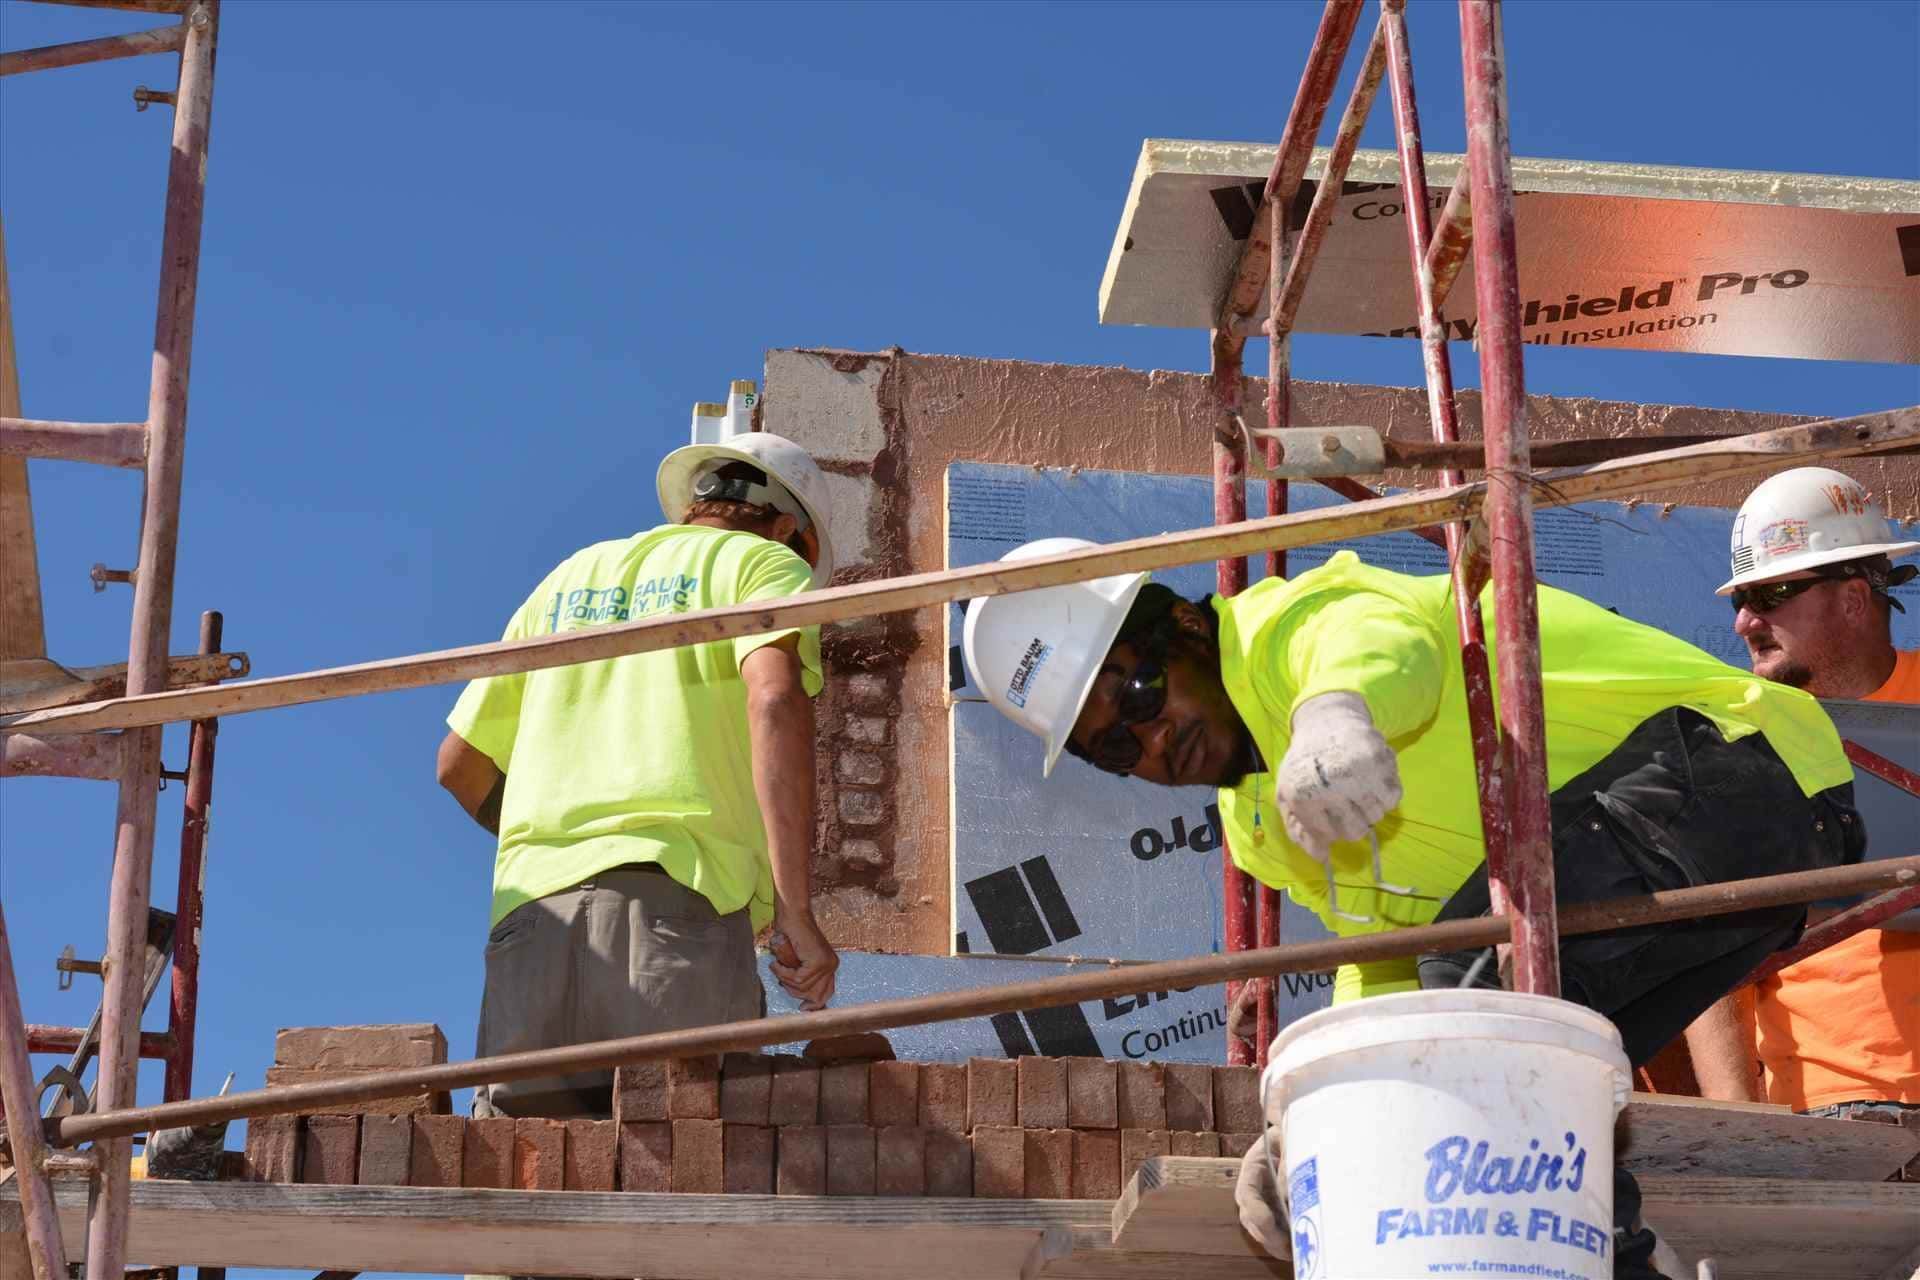
The Art and Science of Pointing
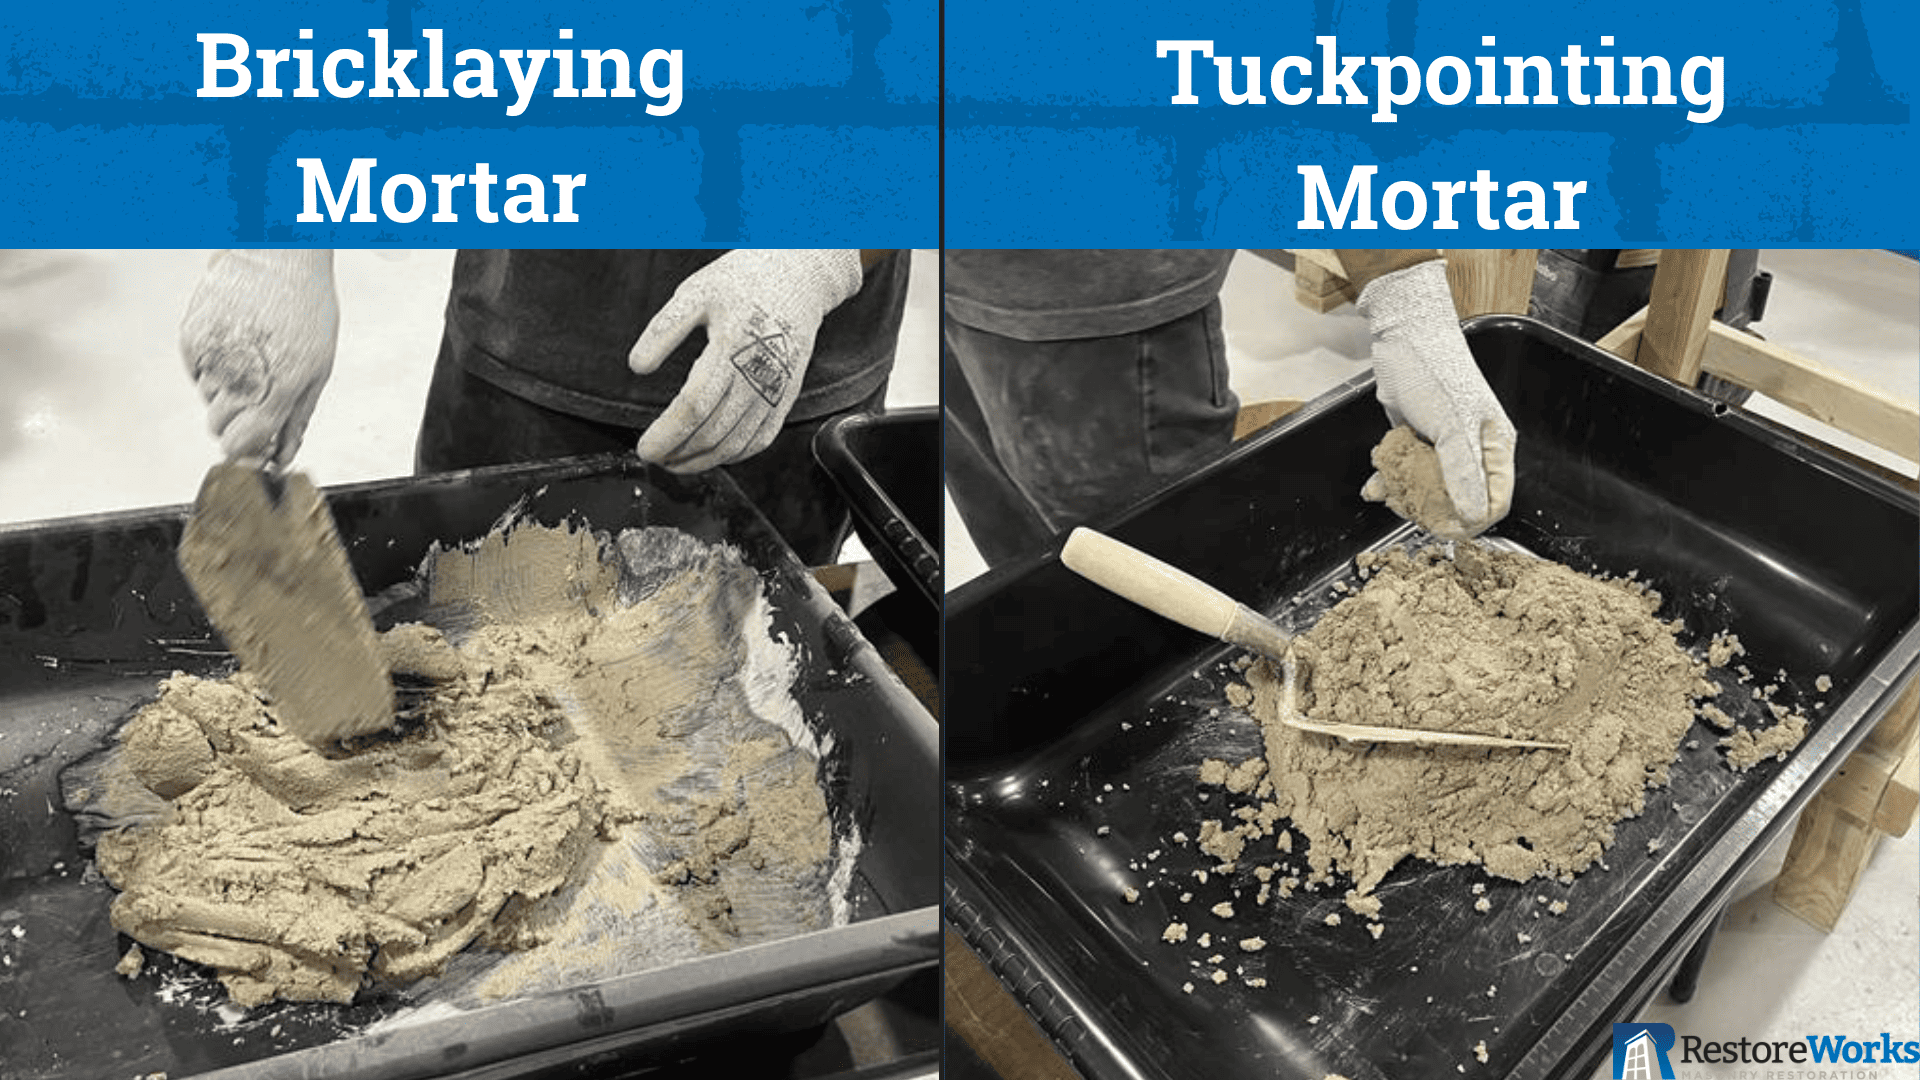
The actual installation of mortar (known as pointing) is done in lifts, typically about 1/4" thick per application. This ensures each layer properly bonds without creating air pockets. Different types of mortars are used for different needs:
- Tuckpointing Mortar: Typically a Type N mortar, it’s slightly drier and designed for repointing work to match the properties of the original wall system.
- Bricklaying Mortar: Generally wetter to improve workability for new masonry construction.
The choice of mortar impacts everything from appearance to performance. For example, lime putty mortars are often used for historic restoration because they allow buildings to "breathe" and accommodate movement without cracking. However, these mortars react differently based on material. For instance, lime putty on sandstone will dry faster due to its porosity.
As mortar cures, a key milestone is reaching "thumbprint hard", which is when the mortar holds a thumbprint but is not fully set. This is the ideal time for final tooling and finishing.
Finishing: Striking the Right Look
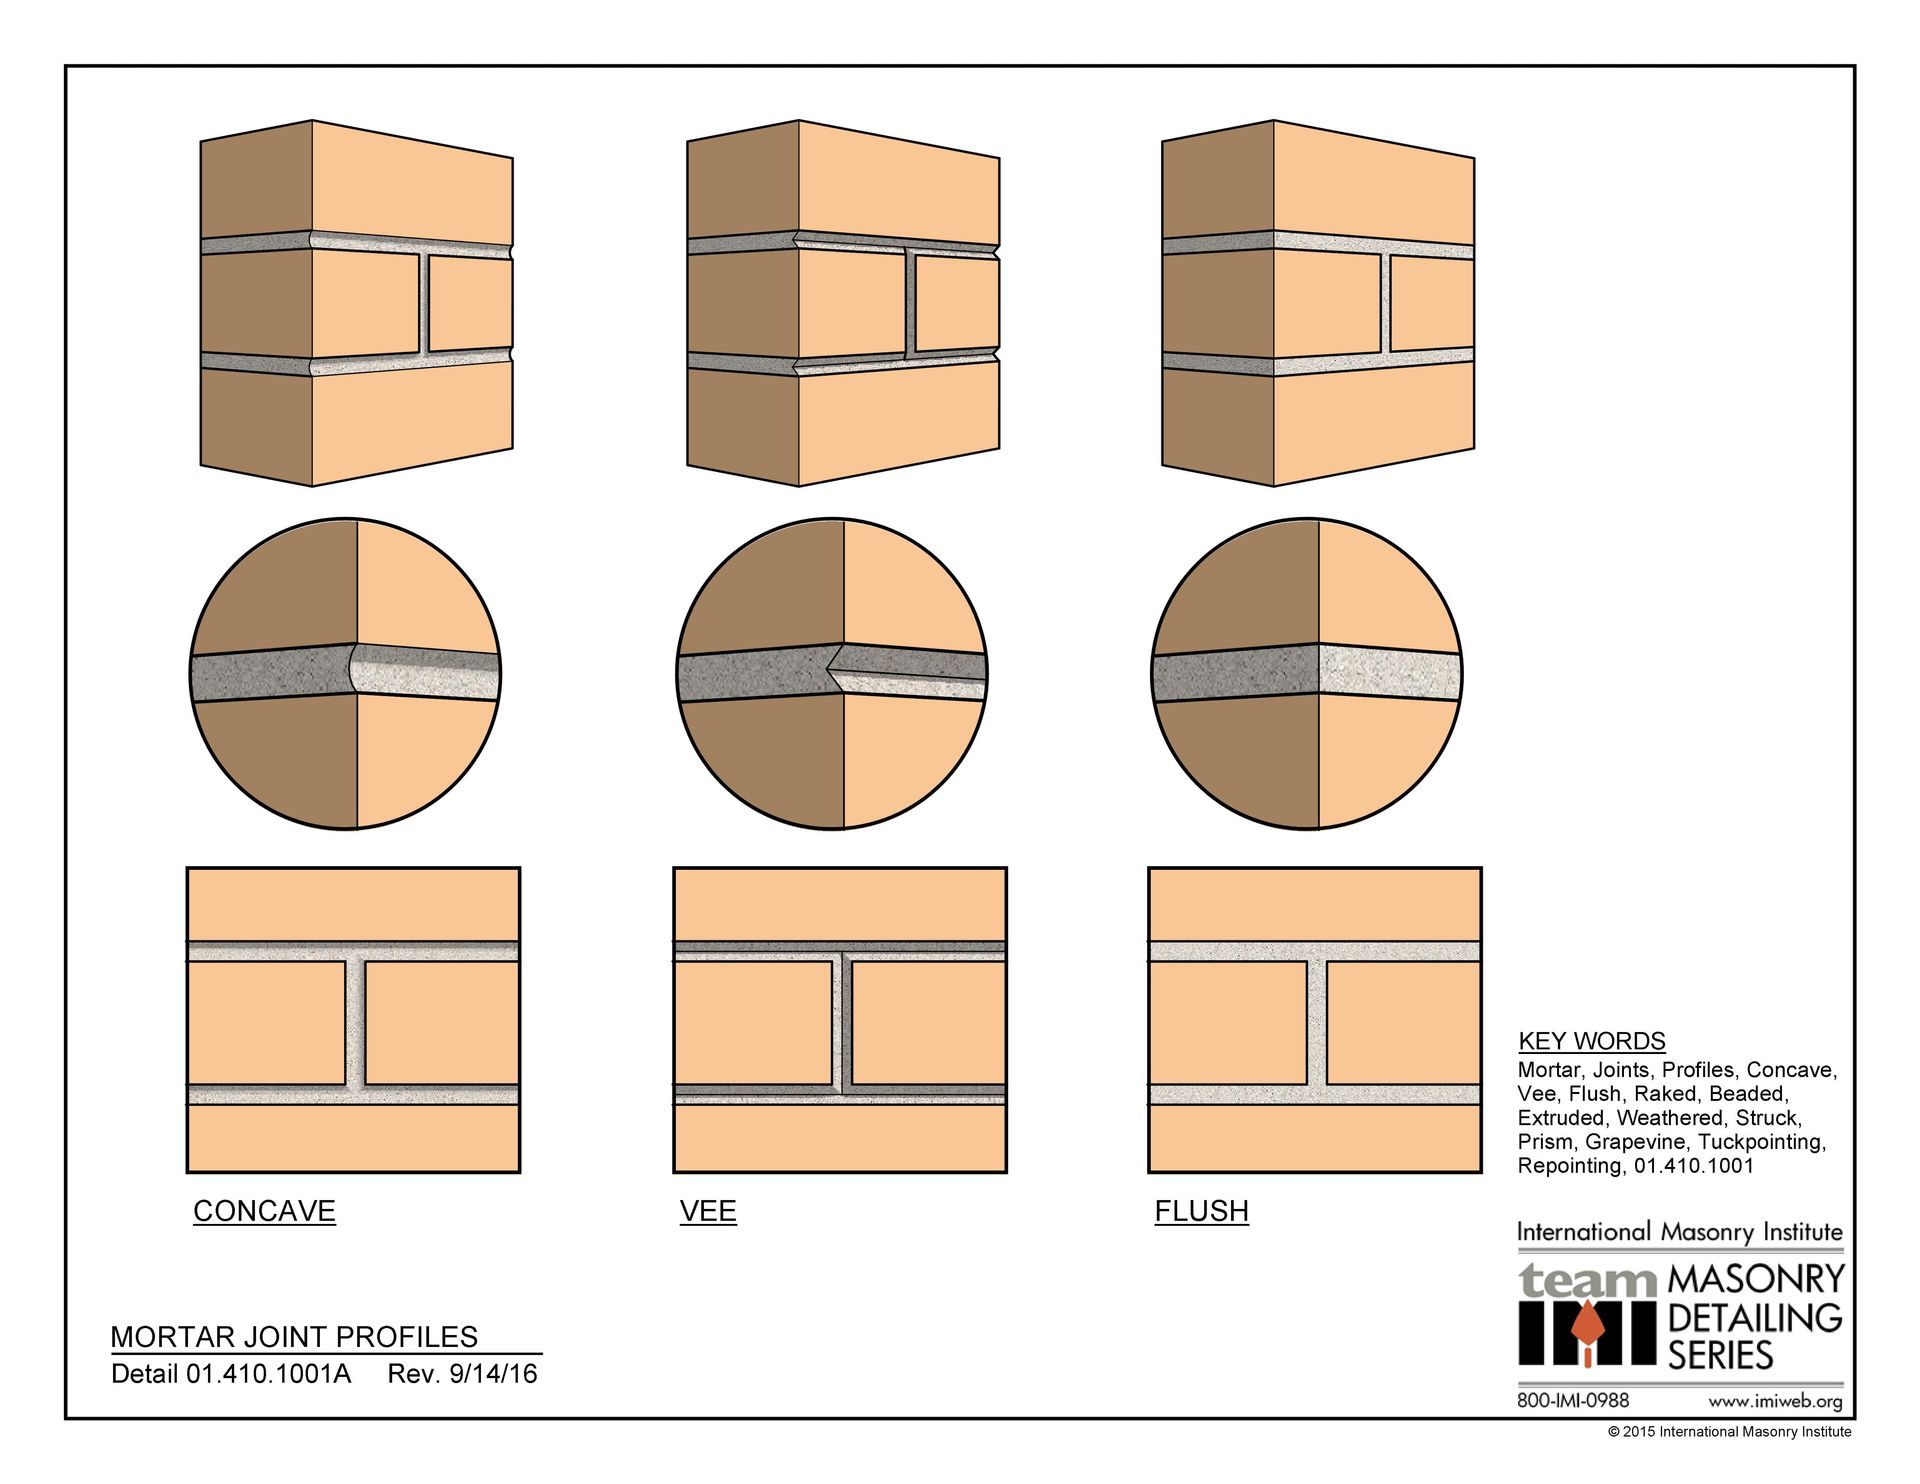
Final joint profiles are not just aesthetic choices. They affect water shedding and wall performance. The two most common finishes are:
- Flush Joint: Finished flat with backfiller (flat) tools.
- Concave Joint: Struck with an "S-sticker" tool to create a slightly recessed, curved finish that sheds water effectively.
In some specialized cases, V-joints are used, but flush and concave finishes remain the most common for commercial and historic restoration work.
Tuckpointing vs. Repointing: What’s the Difference?
While the terms are often used interchangeably, it’s important to understand:
- Repointing refers to the process of removing and replacing deteriorated mortar.
- Tuckpointing traditionally refers to creating the appearance of fine joints using two different colors of mortar, often seen in historic preservation.
In modern practice, however, "tuckpointing" is commonly used to refer to standard repointing work. When working with a qualified contractor, understanding these nuances ensures that the project scope and specifications are aligned.
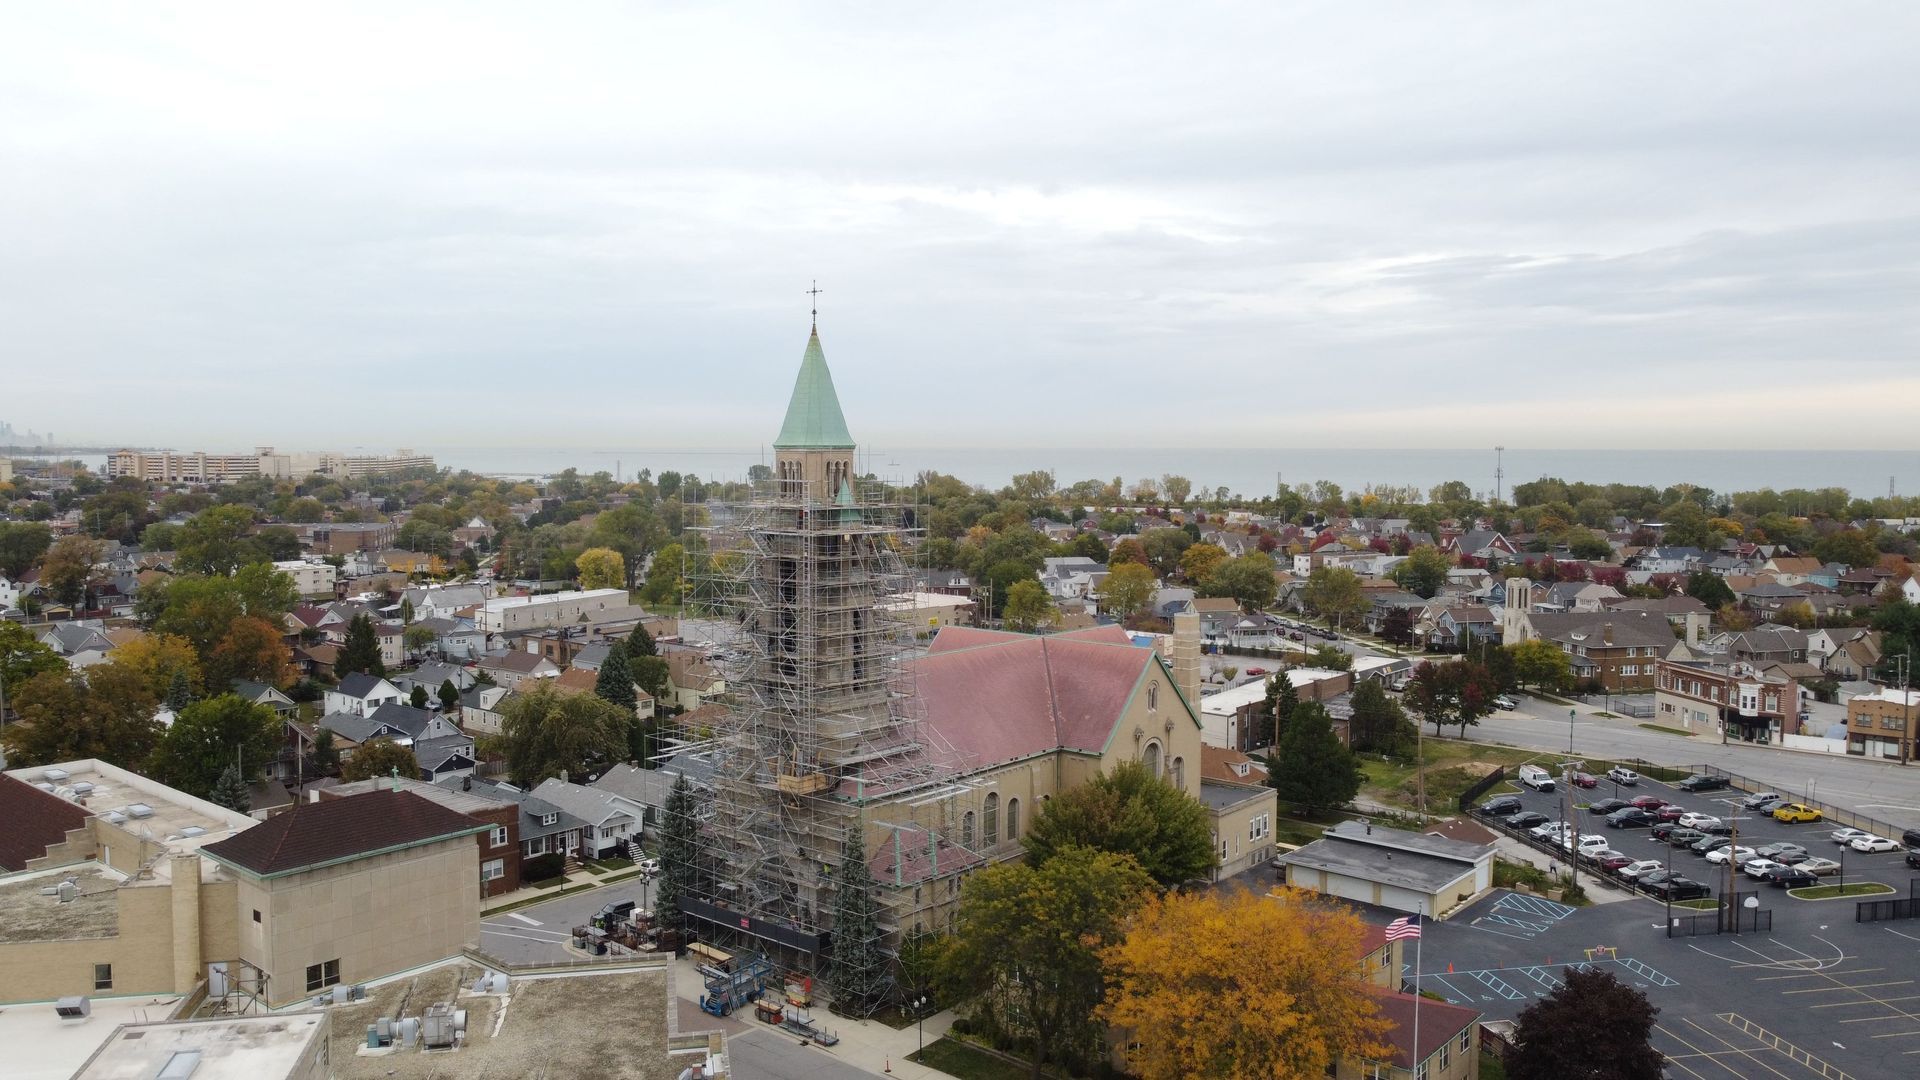
Why Proper Mortar Work Matters, Especially in Chicago
Chicago's climate, with its wide temperature swings and frequent freeze-thaw cycles, is particularly harsh on masonry structures. Inadequate mortar repairs can lead to accelerated deterioration, higher maintenance costs, and even structural failure.
That’s why at RestoreWorks, we emphasize craftsmanship, best practices, and material compatibility in every restoration project we undertake. Whether you're managing a historic building, a school, a commercial property, or a multi-family complex, proper mortar extraction and repointing are critical investments in the life of your building.