Why Lintel Repair, Flashing, and Bricklaying Matter in Masonry Restoration
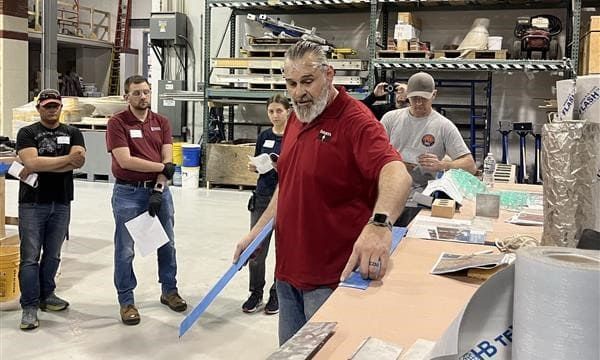
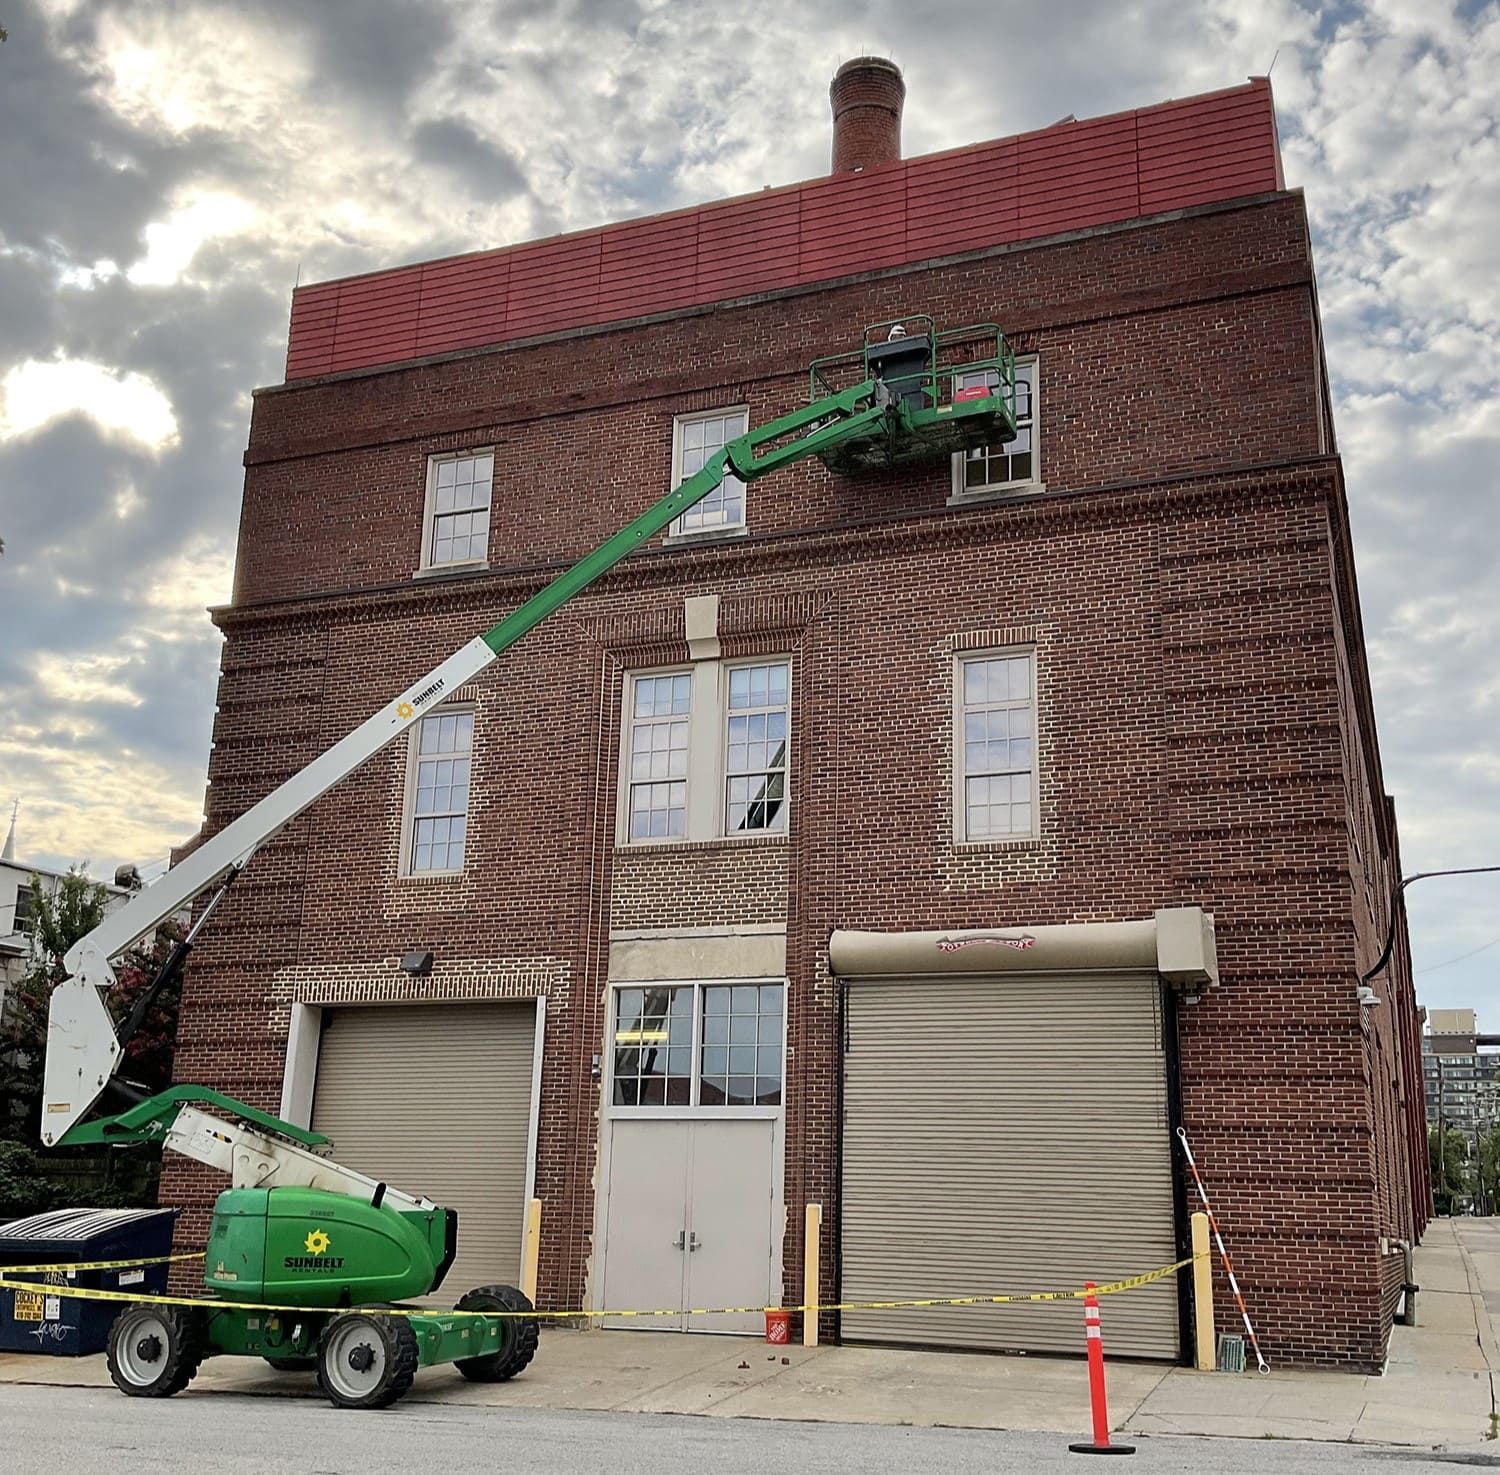
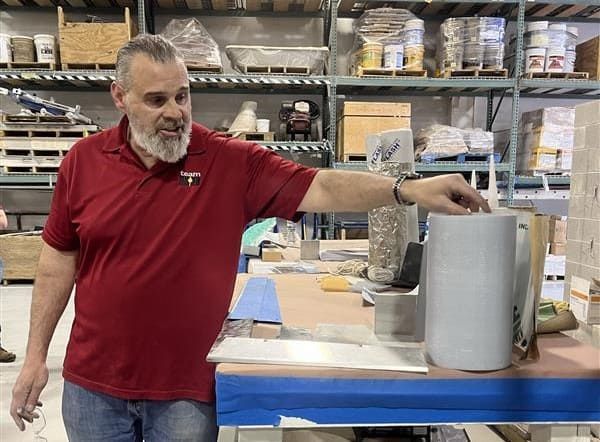
At RestoreWorks, we believe in equipping project stakeholders with the technical knowledge they need to protect their buildings from premature deterioration. That’s why we recently partnered with the International Masonry Institute (IMI) to host a hands-on masonry restoration workshop at their Addison, Illinois training center. One of the stations at the event focused on Lintel Repair, Flashing Installation, and Bricklaying, an essential system for preventing water intrusion and extending the life of commercial and historic masonry walls.
If you’re an architect, structural engineer, general contractor, or property manager overseeing masonry assets in the Chicago area, here’s what you need to know.
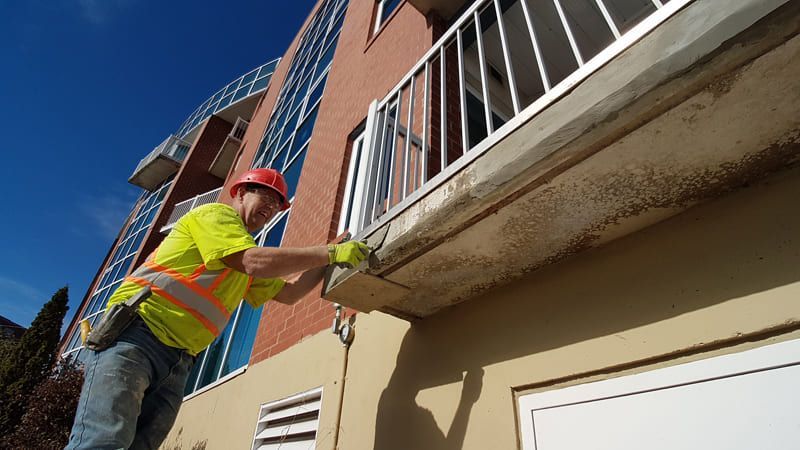
Why Flashing Matters: Managing the Inevitable Presence of Water
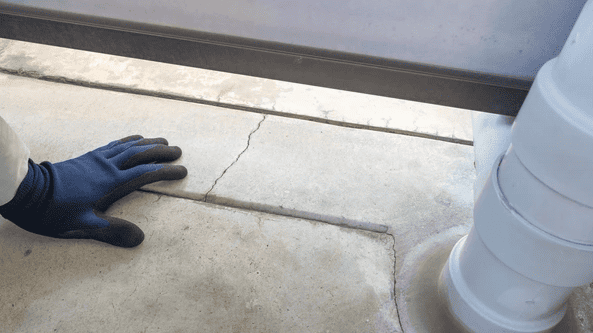
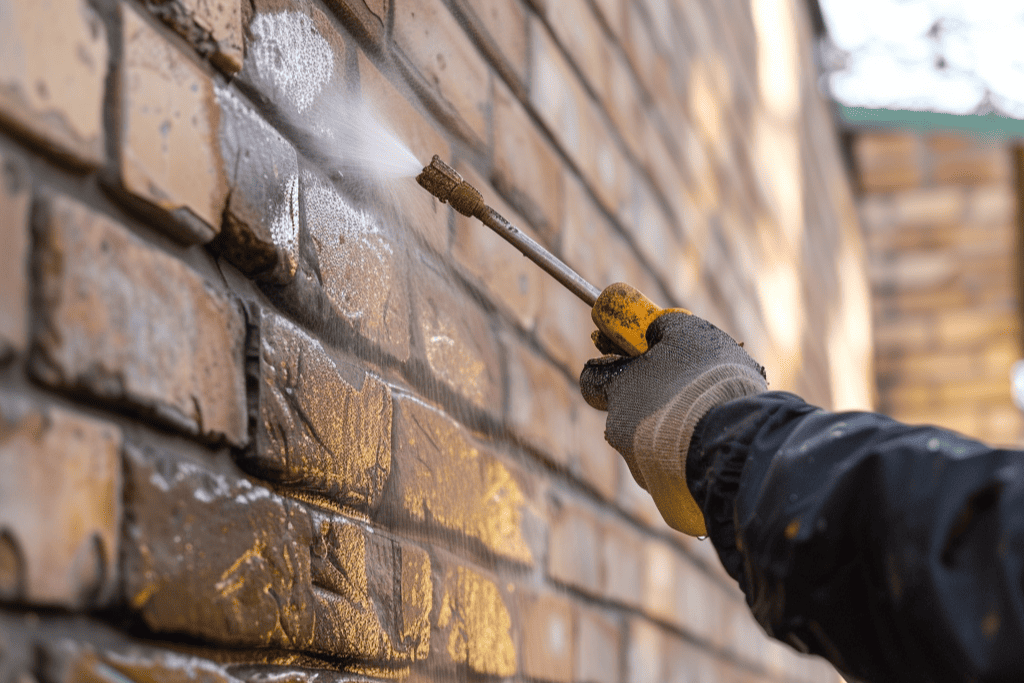
Water in masonry walls is inevitable. Moisture enters through porous materials, hairline cracks, and mortar joints, even when walls appear intact. The goal isn't to keep water out completely, but to capture it and direct it out before it causes damage.
That’s the role of a well-designed flashing system, which acts as a hidden drainage layer within the wall assembly. Flashing, along with components like end dams, weeps, and drip edges, diverts trapped moisture to the exterior, reducing risks such as:
- Rust jacking from corroded steel lintels
- Efflorescence and staining
- Freeze-thaw damage
- Degradation of embedded anchors and ties
As the National Institute of Building Sciences points out, “bad details lead to bad workmanship and ultimately poor performance.” That’s why flashing must be installed as a complete system, not an afterthought, especially when restoring aging masonry walls in moisture-prone climates like Chicago.
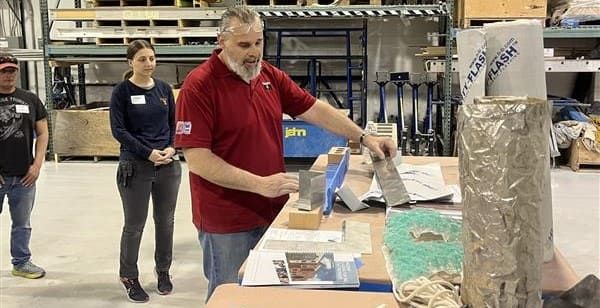
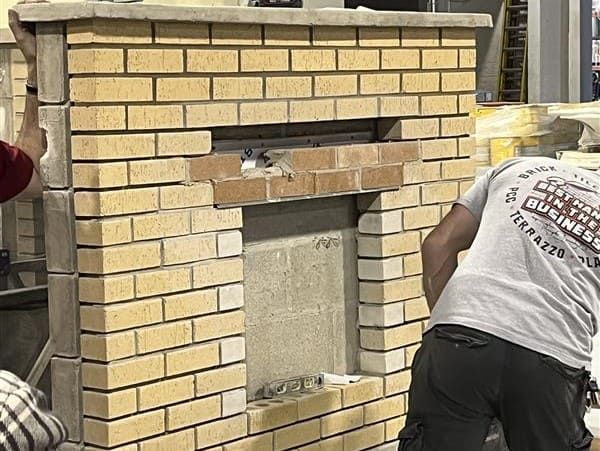
Step-by-Step: How the System Comes Together
Here’s how our team demonstrated proper flashing and lintel repair during the workshop:
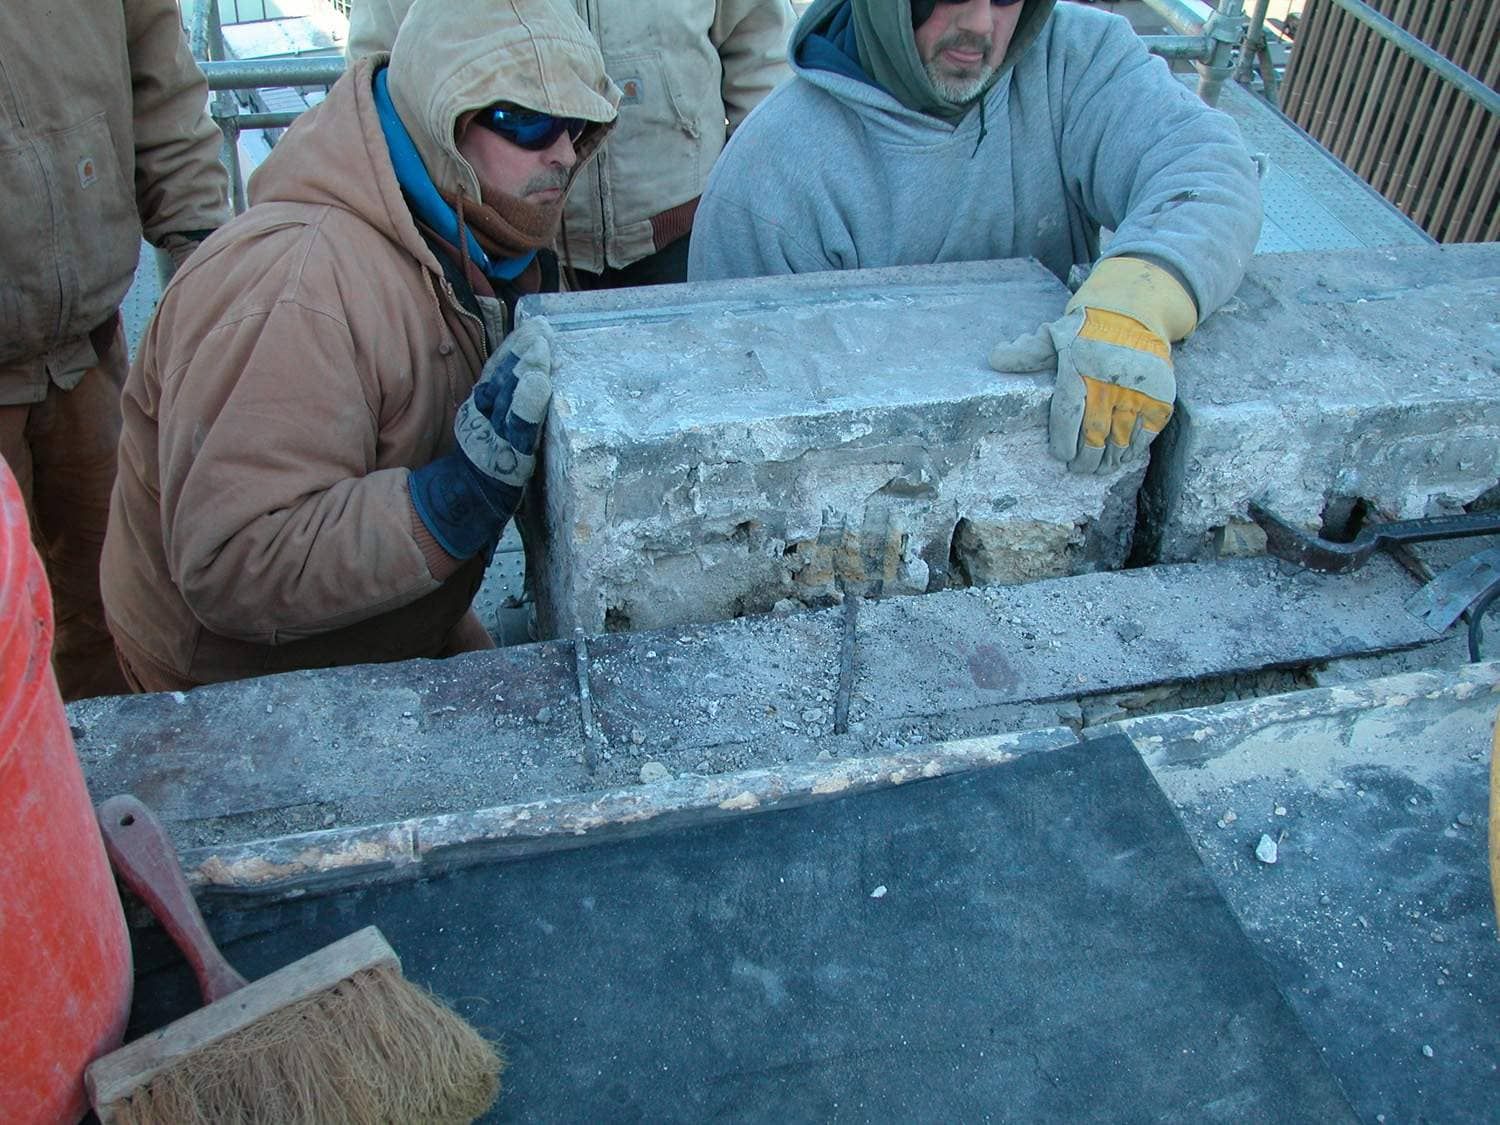
#1. Steel Lintel Preparation
- Clean and coat the lintel with compatible corrosion-resistant paint.
- Make sure it has a slight positive slope away from the wall, never backward.
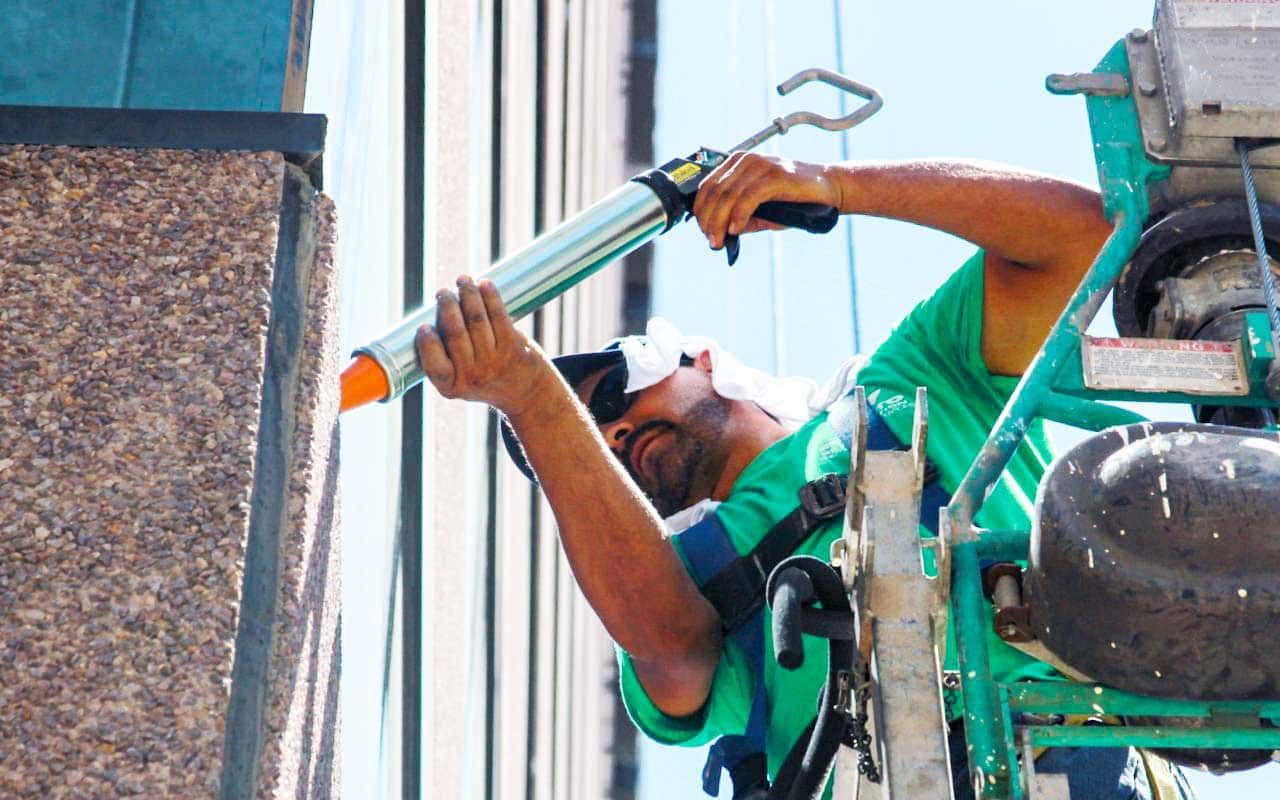
#2. Sealant & Drip Edge Installation
- Apply two continuous beads of sealant on the top face of the lintel.
- Set a stainless steel or copper drip edge in place to channel water away from the wall face.
#3. End Dams
- Install end dams at both ends of the lintel to stop water from running off the sides.
- Flashing should always overlap end dams to create a watertight seal.
#4. Main Flashing Application
Two options were covered:
- Thru-wall Flashing: Tuck the top of the flashing into the CMU backup and seal it, preventing water from getting behind.
- Termination Bar: Mechanically fastened 12" (or higher if needed) above the lintel, sealed to the wall.
#5. Flashing Material Types
- Stainless Steel/Copper Sheet Flashing: The gold standard in durability.
- Flexible Composite Flashing: Easier to handle, no asphalt base, but must be stepped properly if used at multiple levels.
#6. Weeps and Drainage Accessories
- Mesh weeps were highlighted as the best-performing option. They let water out and air in, supporting drying of the cavity.
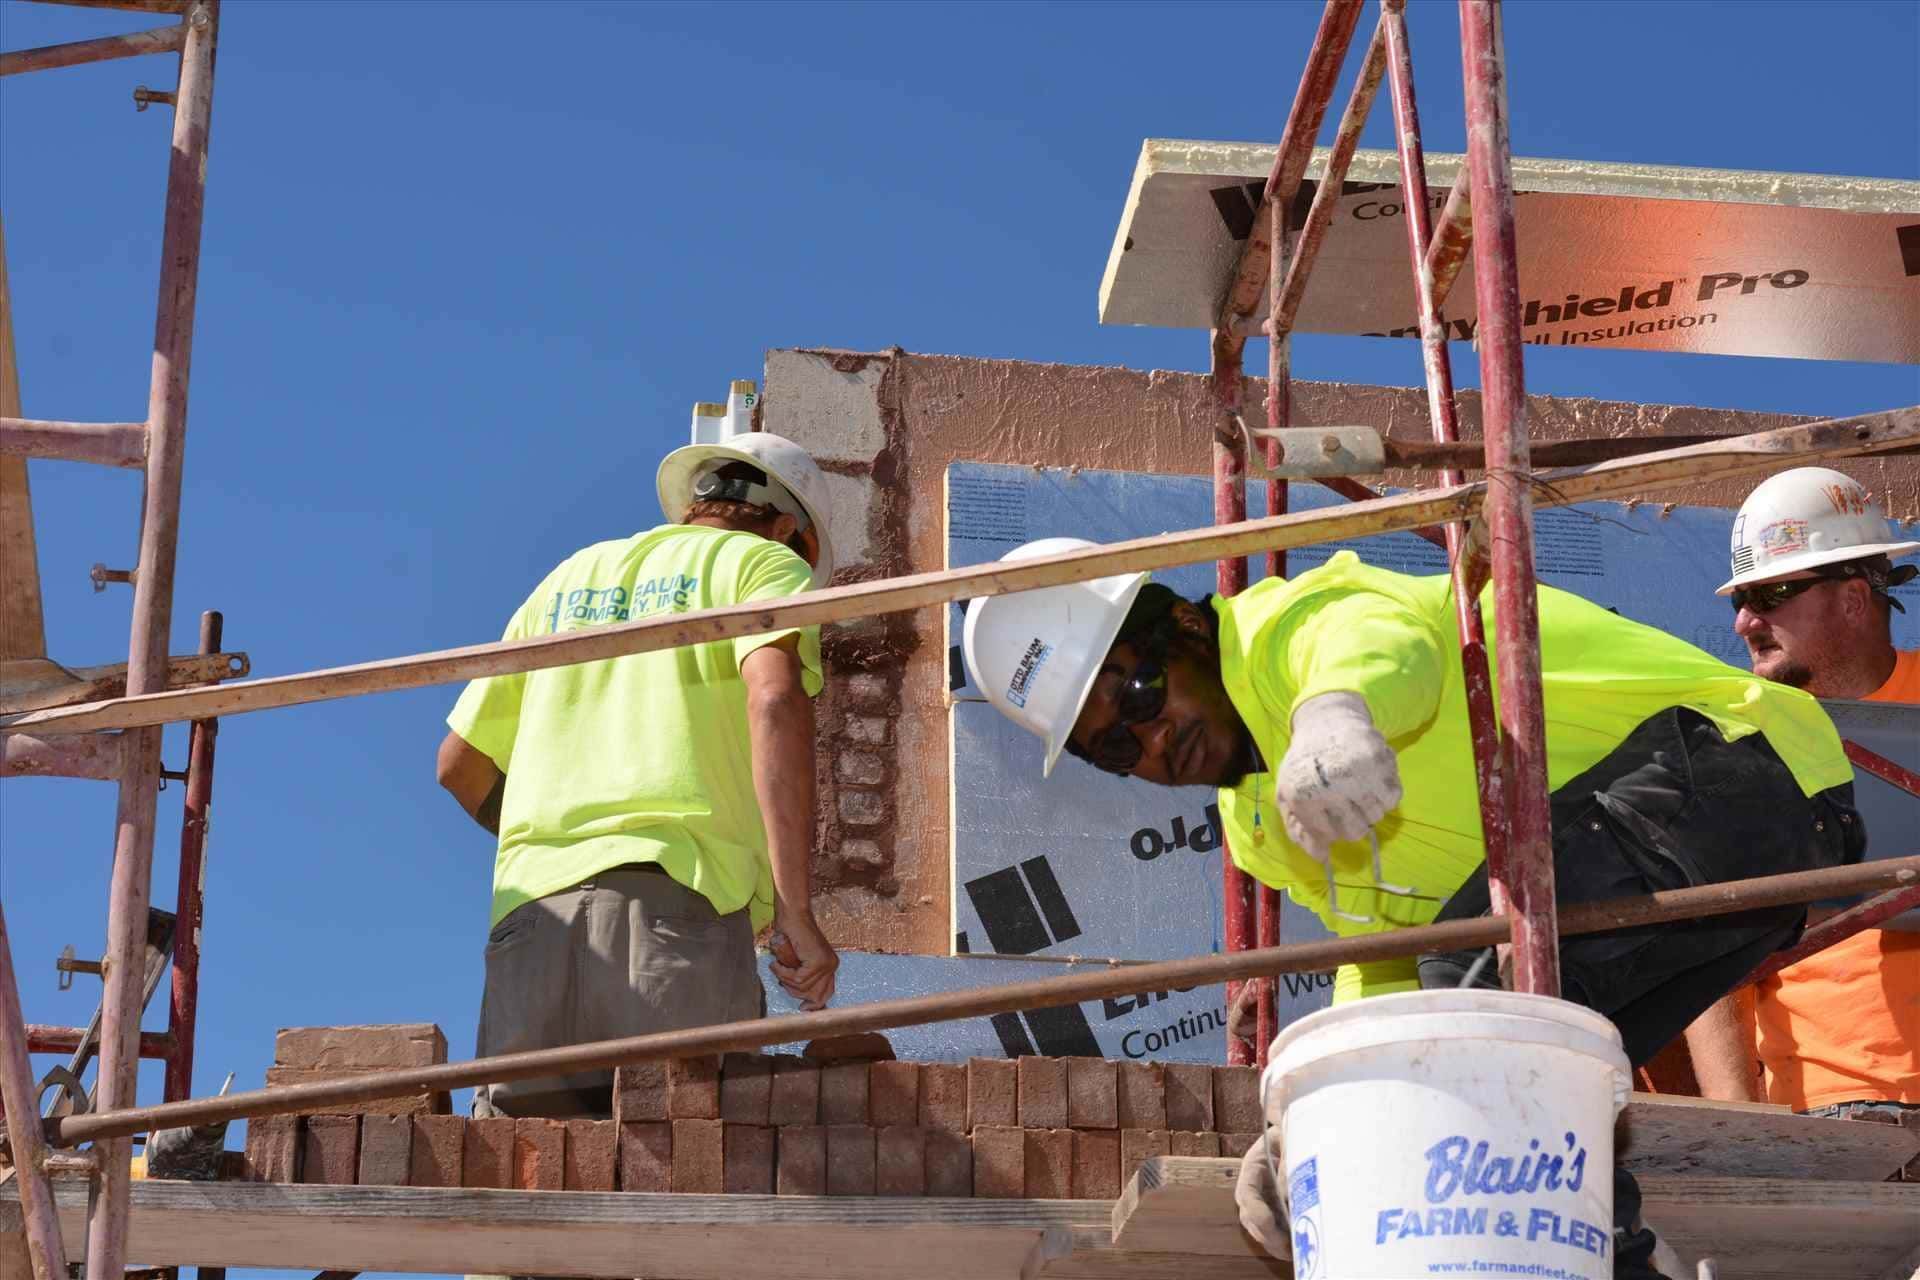
Brick Installation & Joint Best Practices
Once flashing is in place, bricklaying begins. A few key points for long-term durability:
- Mortar Joints Must Be Full: At least 80% solid to avoid shrinkage cracks and moisture tracking.
- Head Joints should be tight and fully compressed.
- Start at the center of the span and work outward, especially over steel supports.
- After setting wall ties or anchors, be sure to seal over them to prevent leaks at connection points.
As Preservation Brief 1 from the National Park Service emphasizes, detailing at the mortar joint level can make or break a restoration project’s effectiveness, especially in freeze-thaw climates like Chicago.
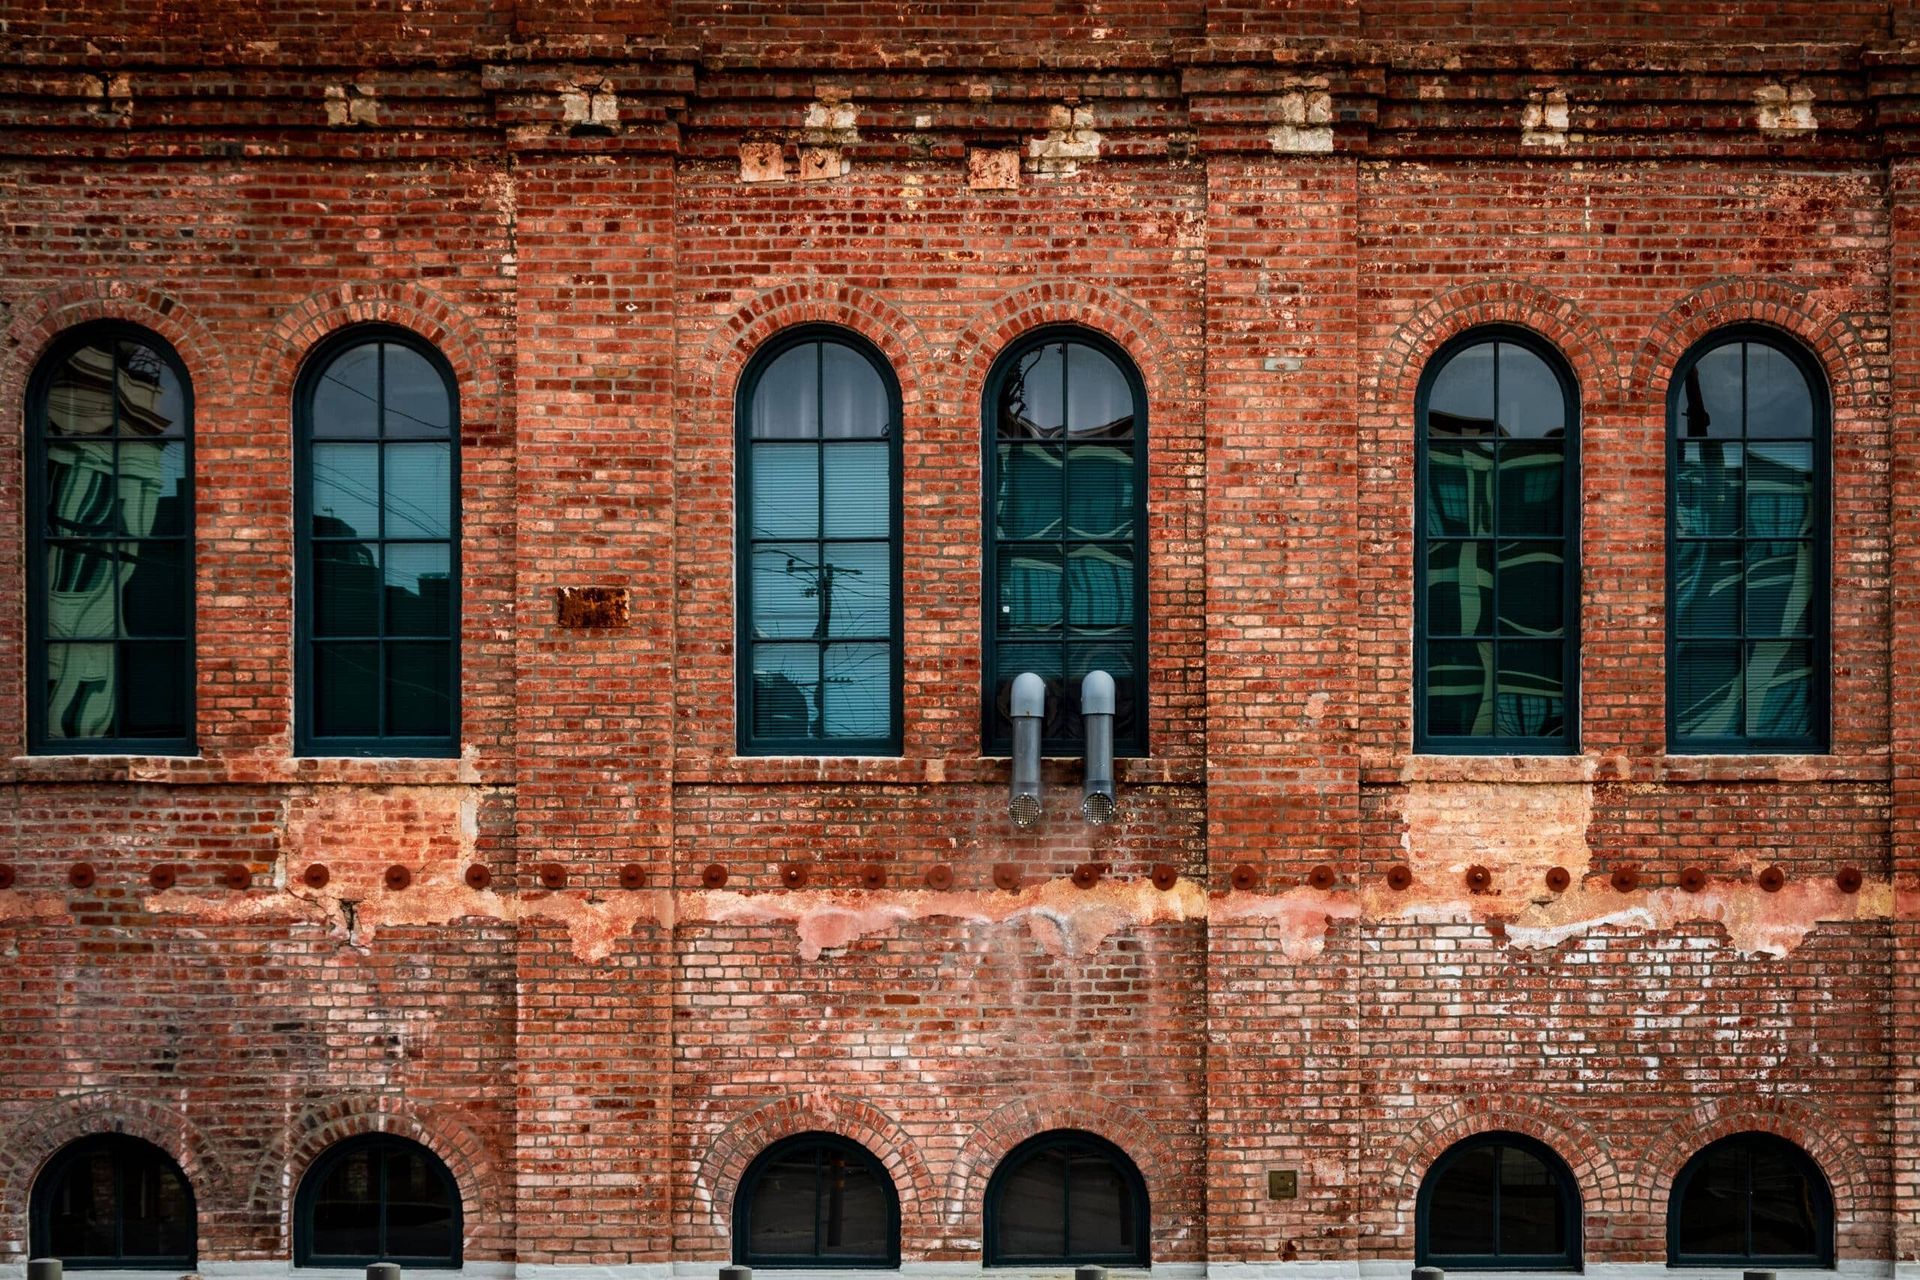
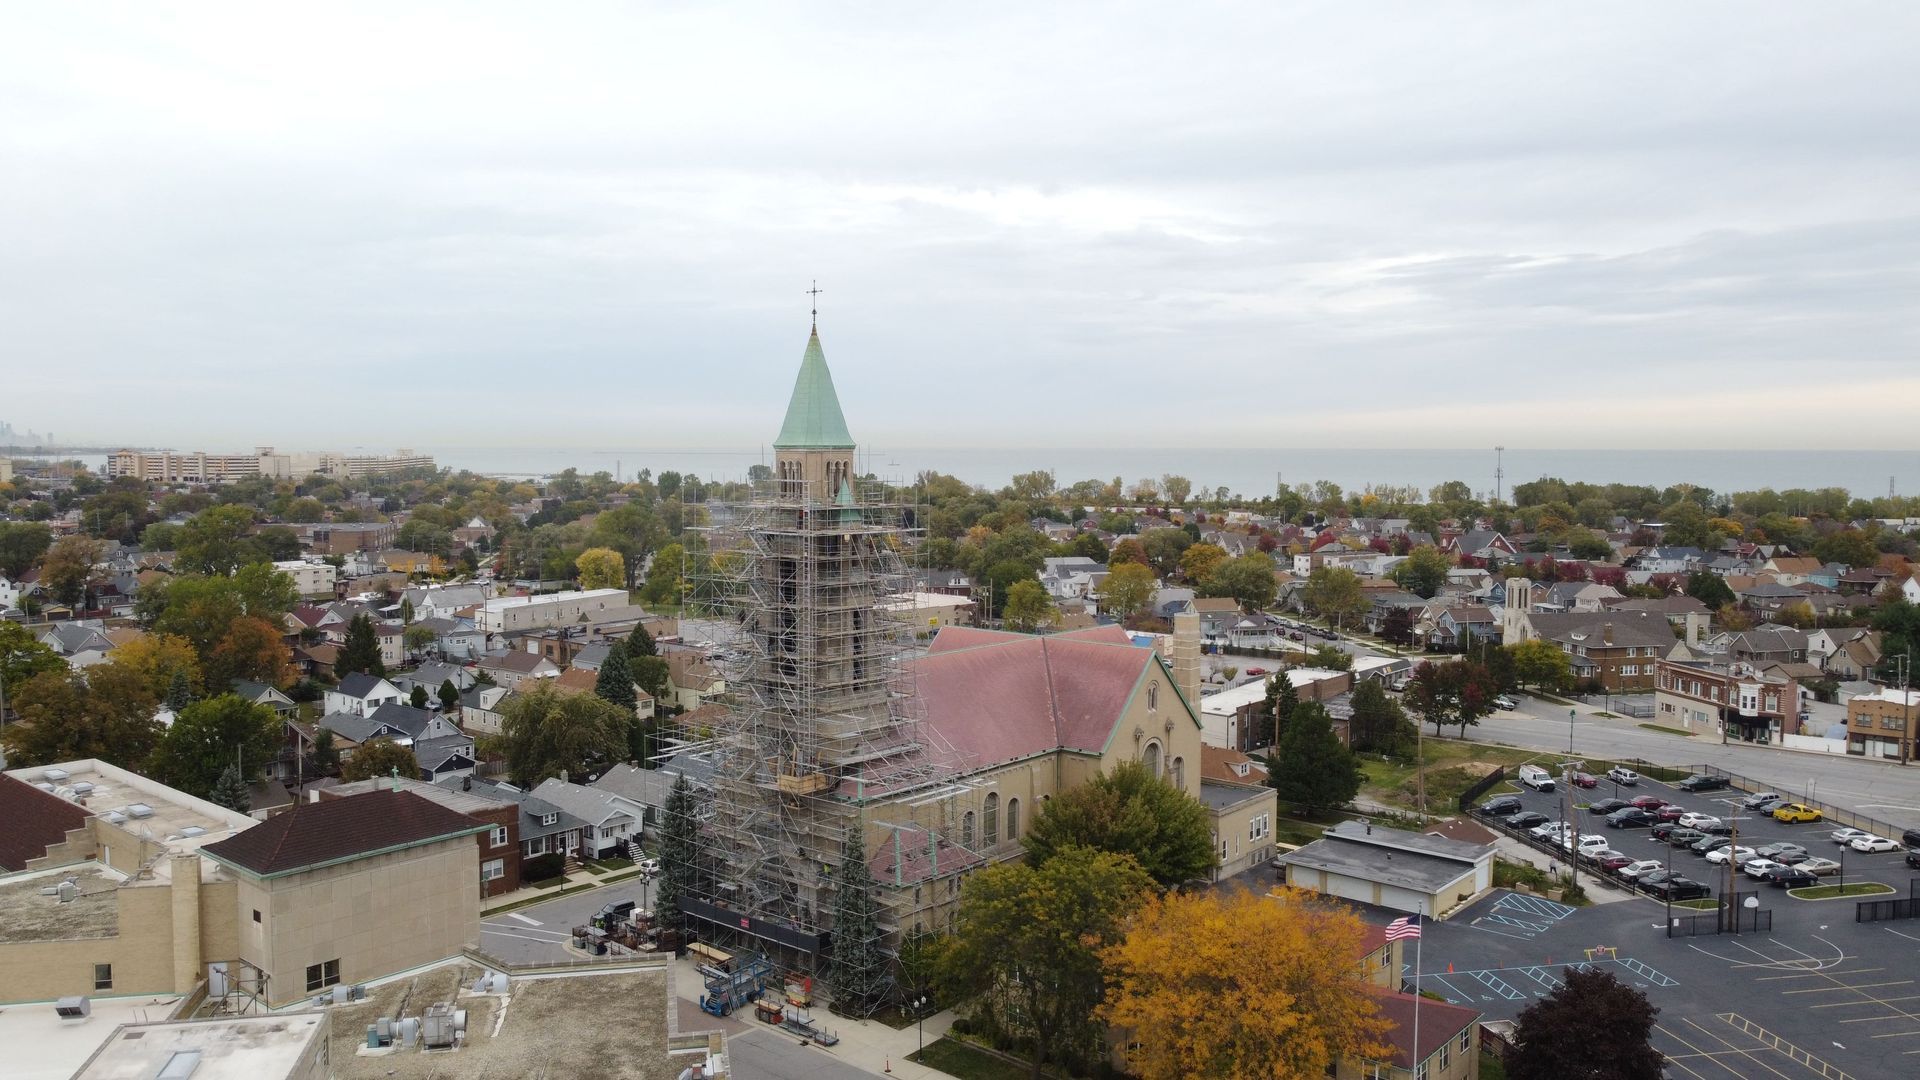
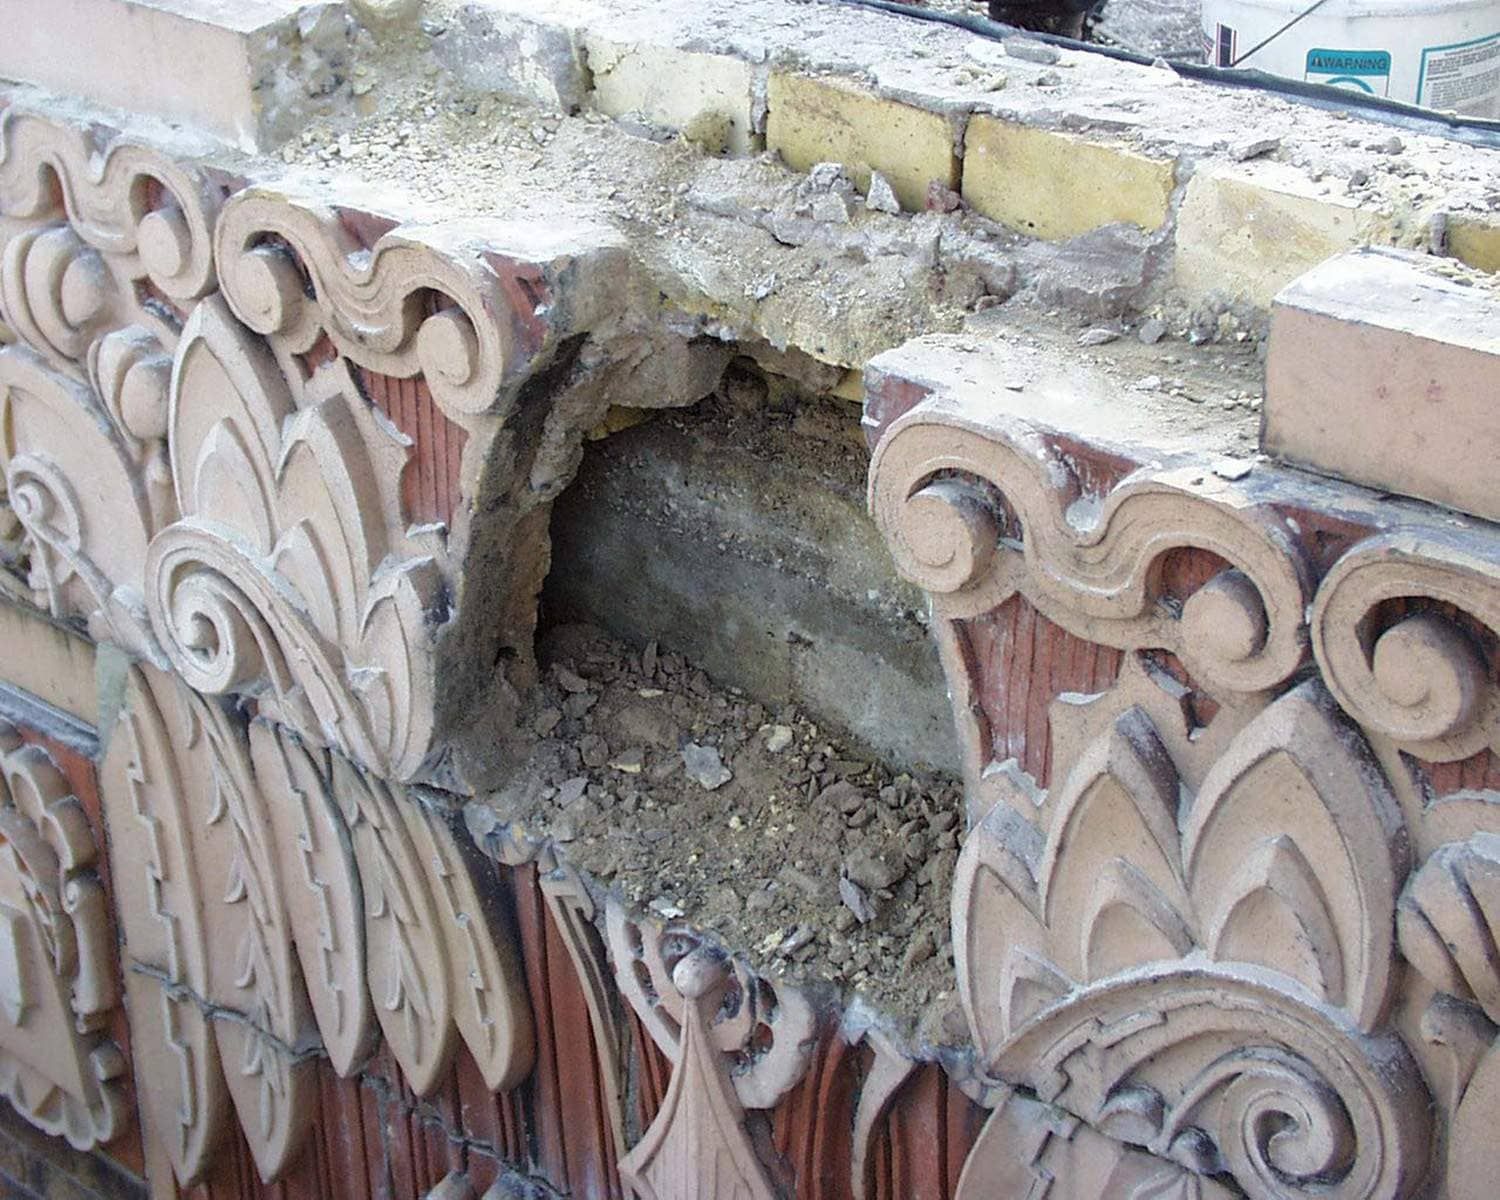
Chicago-Area Buildings Deserve Better than Band-Aid Repairs
Too often, flashing is omitted or poorly installed in older masonry buildings. Without proper repair, moisture can compromise structural steel, stain façades, and lead to more costly interventions down the road.
At RestoreWorks, we’ve seen firsthand how implementing a complete wall system (starting with lintel prep and ending with solid brickwork) can transform a building’s long-term performance.
If your commercial property, campus, or multifamily building in the Chicago area shows signs of water infiltration, spalling brick, or rusting lintels, it may be time to open the wall and take a closer look.
Let’s Talk About Your Masonry System
Our team specializes in masonry restoration for historic, commercial, and institutional buildings across Chicago and Northwest Indiana. Whether you’re planning repairs or conducting exploratory work, we’re here to help you design a solution that lasts.
Get in touch to schedule an inspection or request technical input on your next project.