Sealants in Masonry Restoration: Key Lessons from Our Hands-On Workshop with IMI
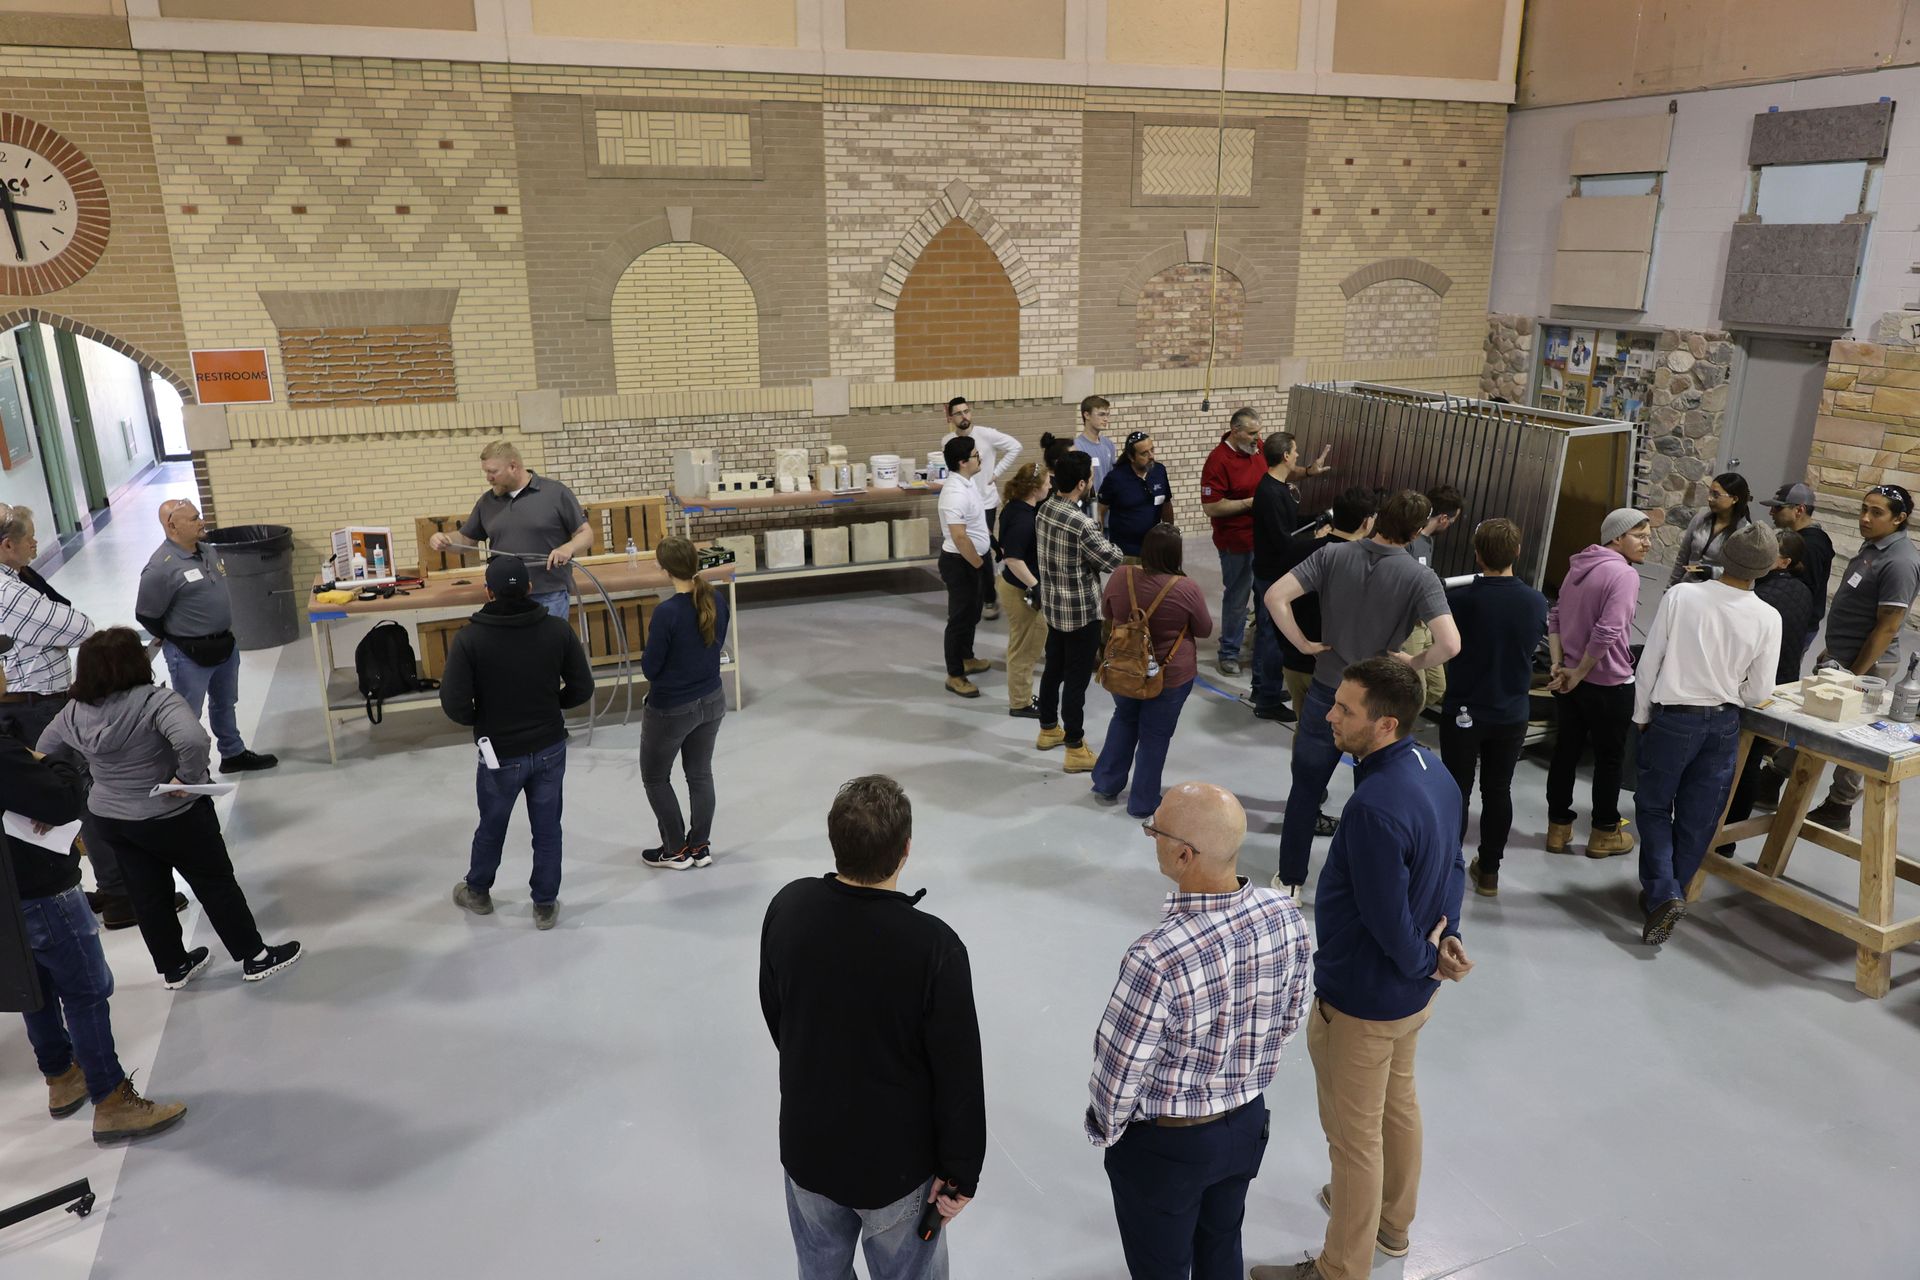
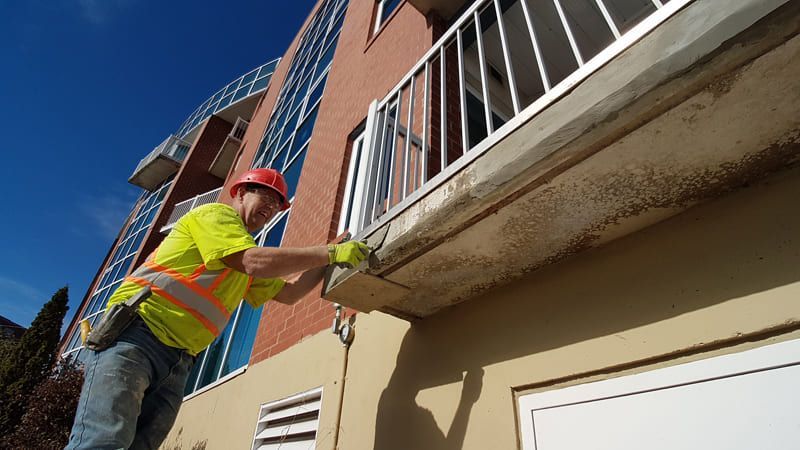
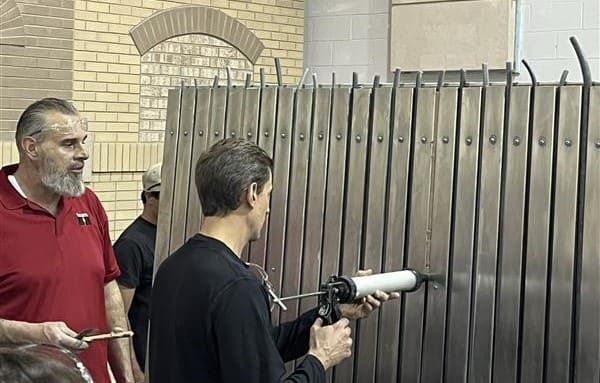
At our recent hands-on masonry restoration workshop hosted in collaboration with the International Masonry Institute (IMI) at their Addison, Illinois facility, one of the most information-packed stations focused on sealants, a component that often gets overlooked but plays a critical role in long-term building performance.
Whether you're a structural engineer, architect, general contractor, or property manager, understanding sealant selection and application can prevent major problems down the line. According to Sika, sealants account for less than 0.1% of a building’s total construction cost, yet sealant failure is the second most common complaint among building owners, often due to premature failure, poor adhesion, or improper installation.
In this article, we’ll recap some of the key lessons shared by our instructors and demonstrate how thoughtful sealant application can extend the life of your building envelope.
Understanding Sealant Technologies: One vs. Two-Component Systems
One of the first things covered in the station was the distinction between single-component and two-component sealants:
- Single-Component (Neutral Cure): Cures with exposure to atmospheric moisture. Ideal when airflow is present but has longer cure times.
- Two-Component (Chemical Cure): Cures regardless of air exposure. Preferred in enclosed joints or situations with minimal airflow.
Choosing the correct curing method matters when you're dealing with recessed joints, cold climates, or short project timelines, especially in a region like Chicago, where weather variability is a major consideration.
Types of Sealants: Benefits and Limitations
The station included an in-depth breakdown of various sealant chemistries. Here's a simplified summary of what was shared:
| Type | Key Benefits | Limitations |
|---|---|---|
| STPE (Silane-Terminated Polyether) | Paintable, low odor, solvent-free, eco-friendly | Not for wet seals or continuous water immersion |
| STPU (Silane-Terminated Polyurethane) | Low VOC, good UV resistance, fewer moisture issues | Incompatible with wet polyurethane, not for structural glazingez |
| Polyurethane | Excellent abrasion and chemical resistance | May bubble, strong odor, requires priming |
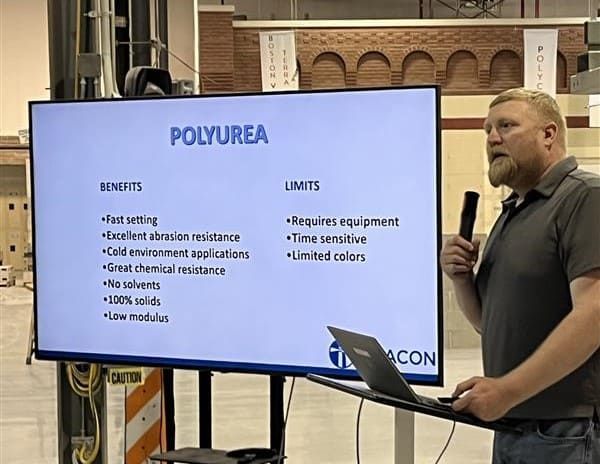
| Polyurea | Very fast cure, great in cold conditions | Requires equipment, limited working time |
| Polysulfide | Performs well under water (with primer), chemical resistant | High viscosity, poor abrasion resistance |
| Silicone | Ideal for wet seals, UV stable, versatile | Not paintable, prone to staining, attracts dirt |
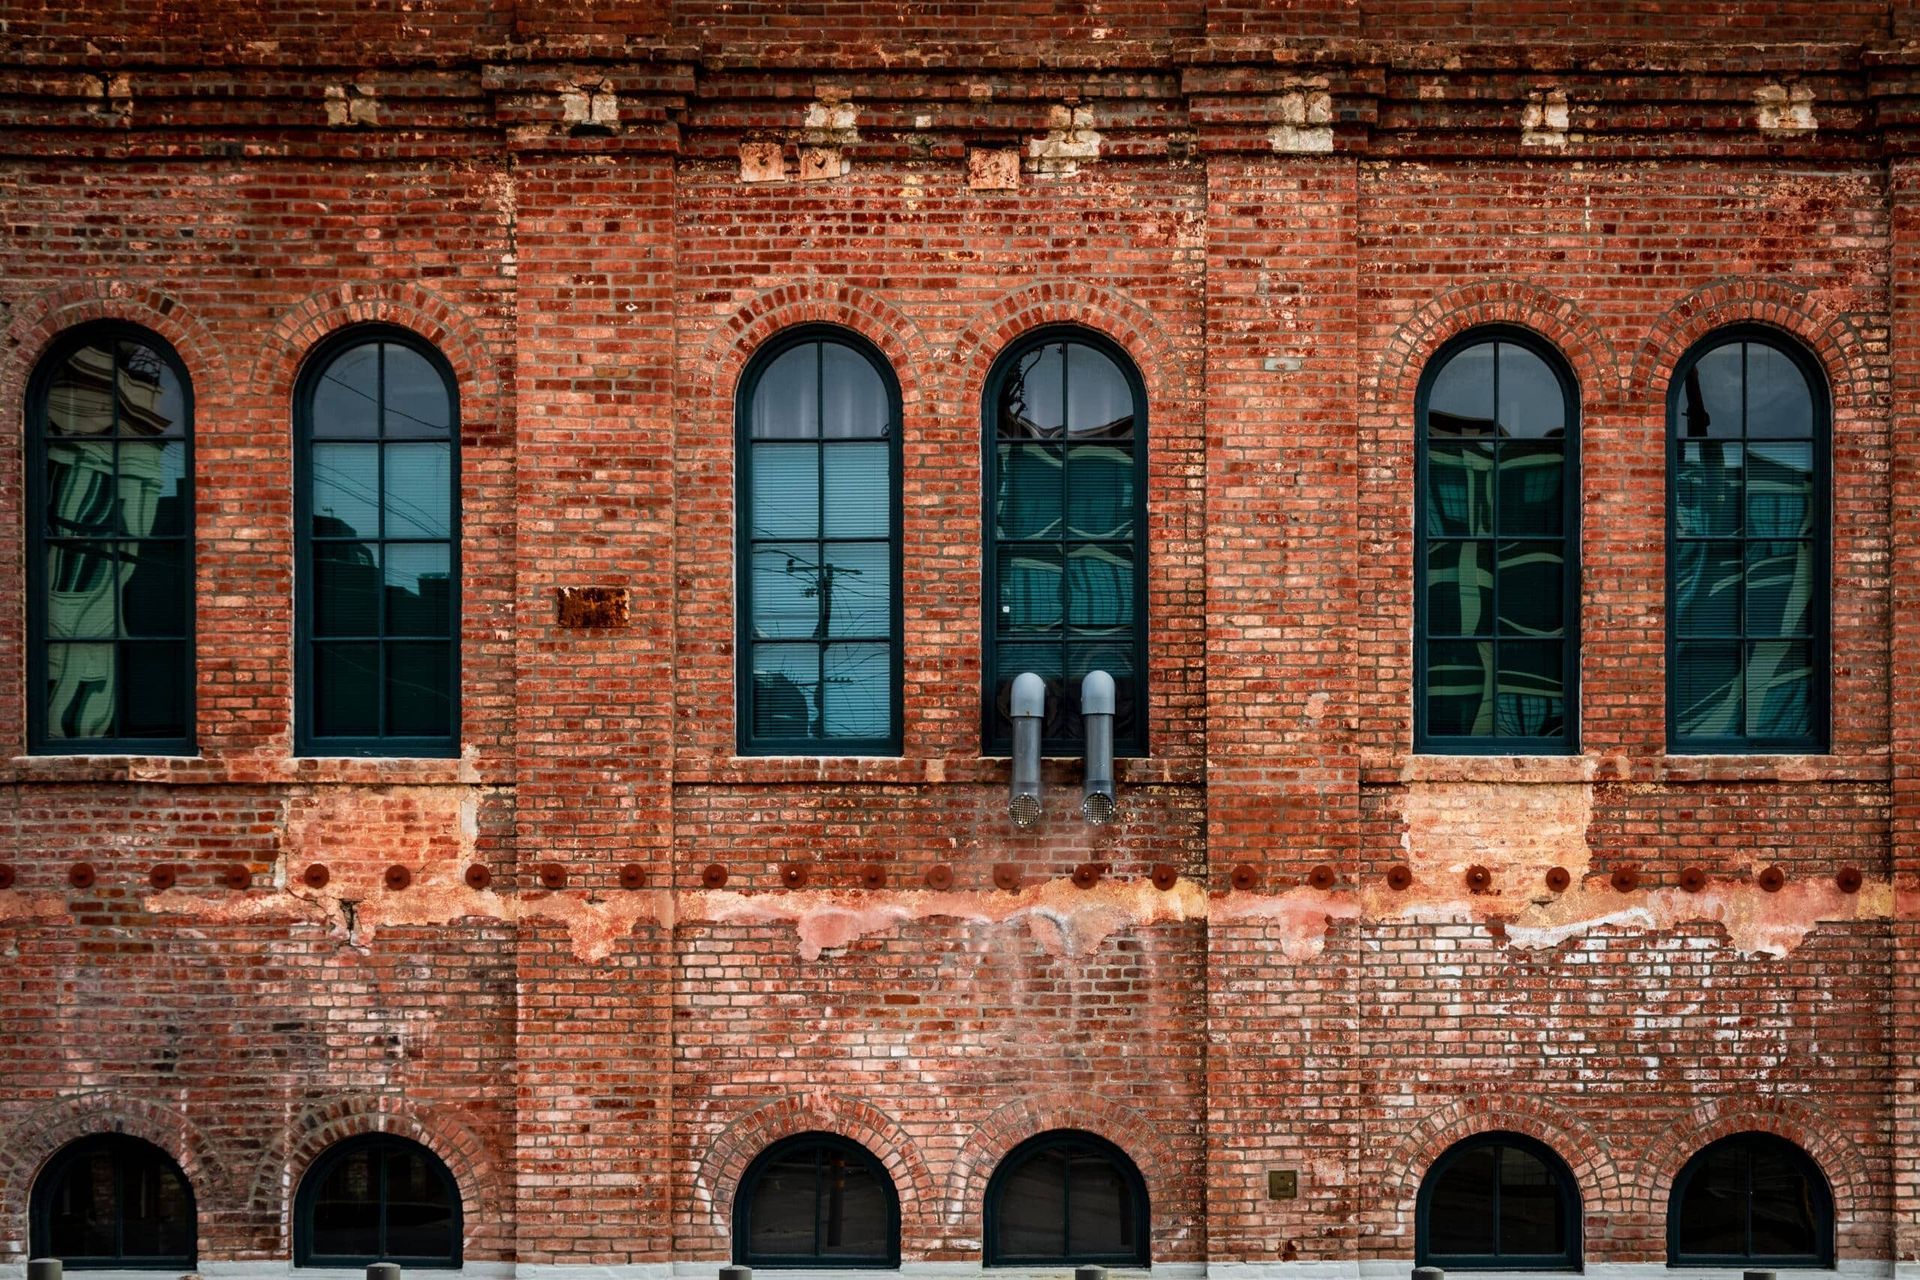
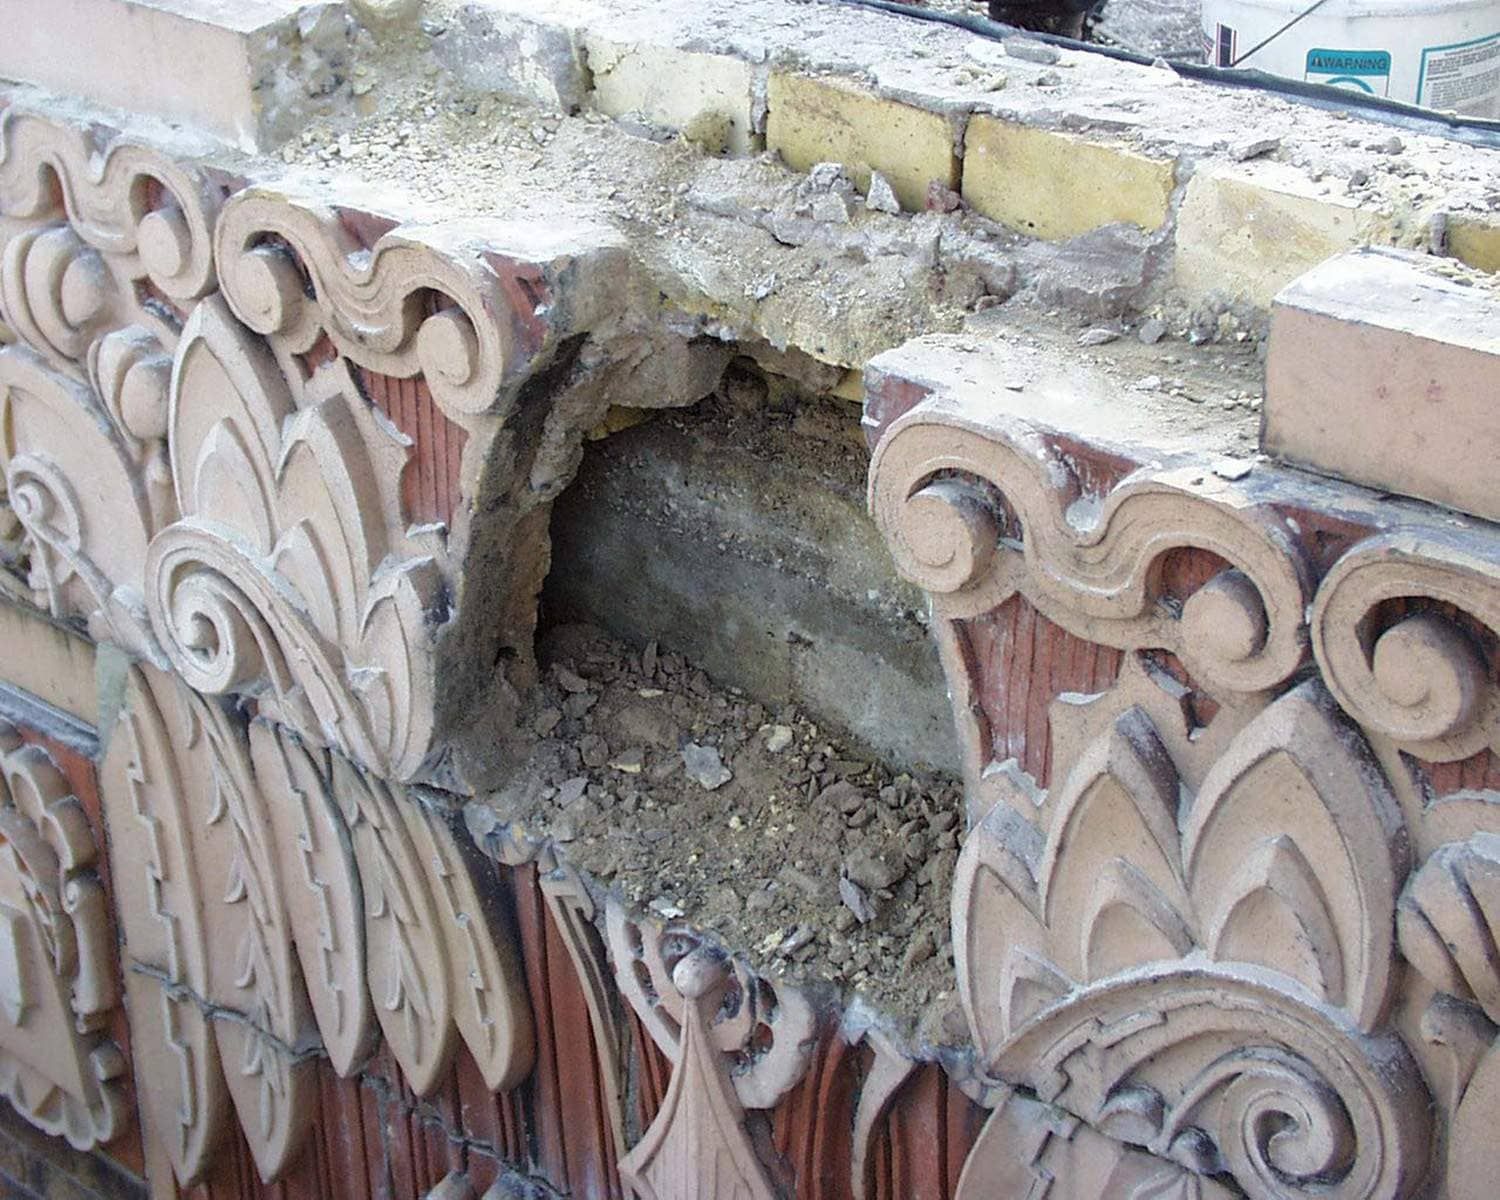
Silicone and STPE are especially relevant in commercial restoration work due to their flexibility and UV durability, but selecting the wrong type for an application can quickly lead to adhesion loss or staining, particularly on historic limestone or terra cotta facades found throughout Chicago.
What to Consider When Choosing a Sealant
There’s no one-size-fits-all. A high-performing sealant must meet several key criteria:
- Flexibility (movement capability)
- Adhesion (to the intended substrates)
- Durability (against UV, chemicals, freeze-thaw cycles)
- Compatibility (with adjacent materials and coatings)
Sealants must also meet anticipated joint movement requirements. Improper joint design or sealant selection is one of the leading causes of performance failure.
According to the Sealant, Waterproofing & Restoration Institute (SWR), many sealant failures are attributed not to the product itself, but to factors like improper joint design, poor surface preparation, and incorrect installation. These issues can be prevented with proper planning and application.
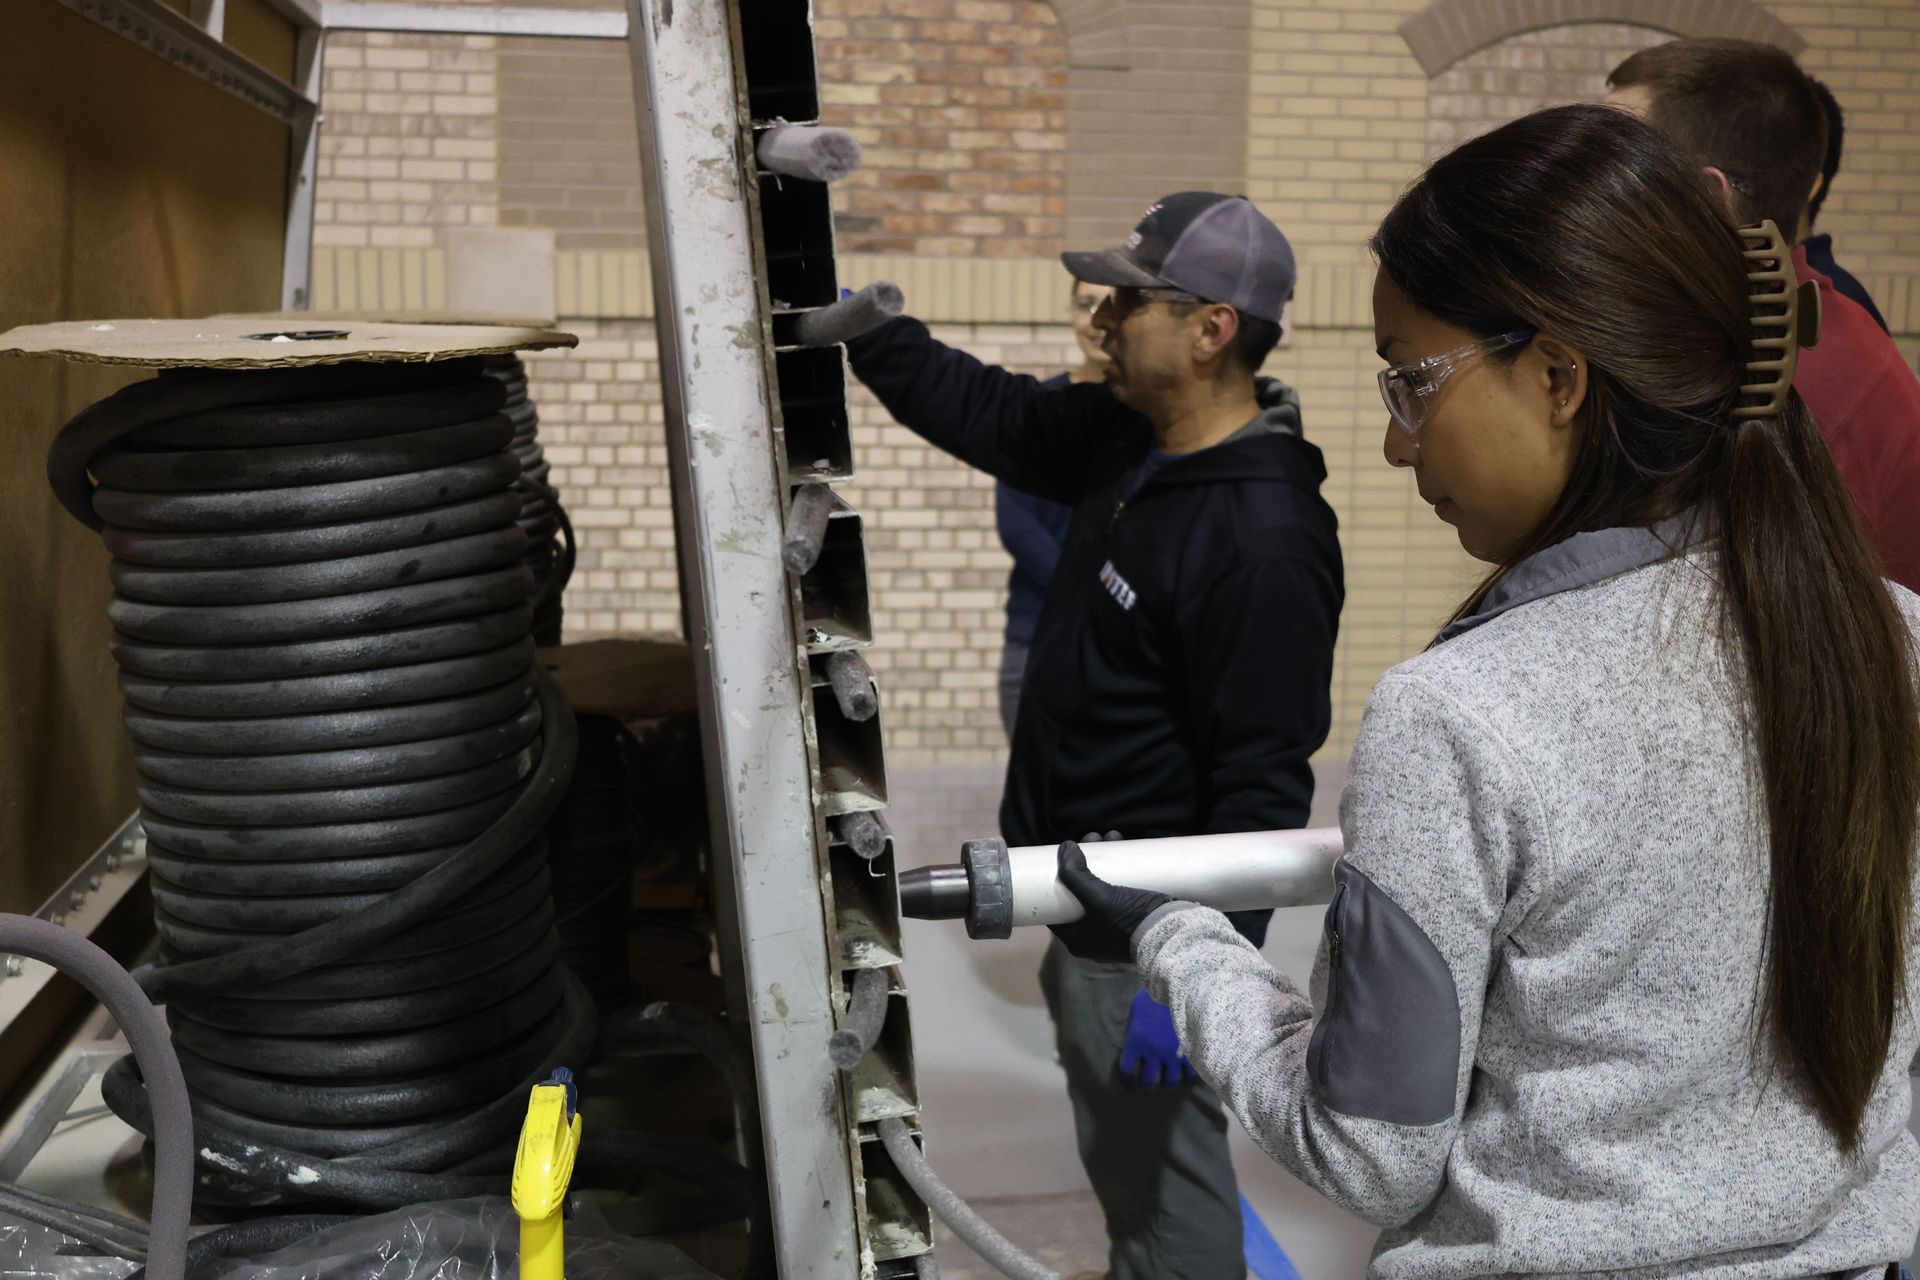
Backer Rods: More Than Just Fillers
Backer rods are essential in joint design. They set the stage for proper sealant depth and tooling. Four types were covered at the workshop:
- Open Cell: 50% larger than the joint; absorbs water, use with caution.
- Closed Cell: 25% larger; resistant to moisture, but may outgas if punctured.
- Soft Rod: 50% larger; doesn’t outgas, ideal for more sensitive installs.
- Bond Breaker Tape: Used in shallow joints to avoid 3-sided adhesion.
The goal is always to prevent three-sided adhesion, which restricts movement and leads to premature failure. For best results, select a rod that suits the size, depth, and exposure conditions of the joint.
Application Best Practices That Make the Difference
The instructors emphasized that even the best sealant will fail without proper surface preparation and installation. Here’s what they recommended:
Mechanical Prep:
- Use wire brushing, grinding, or sawing to clean out the joints.
- Always blow out debris with oil-free compressed air.
2-Wipe Cleaning Method:
- Wipe with a clean solvent (manufacturer-approved), then dry with a clean white rag.
- Change rags frequently to avoid smearing contaminants.
Primer Use:
- Apply only to the sides of the joint (not the bottom).
- Use light coats, avoid pooling.
- Always prime and seal the same day.
The most common cause of sealant failure? Poor adhesion. Typically due to dirty surfaces, incompatible primers, or improper joint prep.
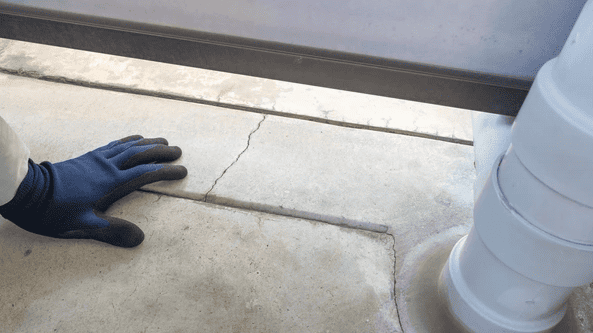
Testing and Quality Assurance: Pull Tests
Another standout from the station was a demonstration of pull testing, which is a simple but essential method to confirm the sealant’s adhesion to substrate materials. It’s a low-cost measure that can prevent high-cost repairs later on.
According to ASTM C1193 guidelines, field adhesion testing should be done:
- At project startup
- When changing materials or substrates
- When site conditions change
Final Thoughts: Why This Matters to Building Professionals
Sealant failures don’t just lead to water infiltration. They compromise the integrity of the entire building envelope. For buildings in the Chicago region, where joint movement due to temperature fluctuations is common, getting sealants right is essential.
Whether you’re restoring a historic facade in downtown Chicago, managing repairs for a multi-family complex, or overseeing new construction in the suburbs, partnering with a restoration contractor that understands these nuances can reduce long-term maintenance costs and extend the lifecycle of your building envelope.
Want to Learn More?
RestoreWorks partners with architects, engineers, and contractors throughout the Chicago area to deliver high-quality masonry restoration services, including sealant repair and replacement. Contact us to schedule a consultation, or reach out about upcoming workshops, case studies, and more.